


Laptop Stand From Plywood

12 Materials
$30
3 Hours
Medium
There are times that I want to work on my laptop while being in the living room rather than my office, so I wanted to make a stand that can be used while I sit on my couch and provide comfort for me and protection for my laptop.So I came up with this idea and design. Stay tuned to see how it came out.
{
"id": "4404369",
"alt": "",
"title": "",
"video_link": "https://www.youtube.com/embed/bbowI-G5W5Q",
"youtube_video_id": "bbowI-G5W5Q"
}
{
"width": 634,
"height": 357,
"showRelated": true
}
Click on the video link above to see step by step how it's made:
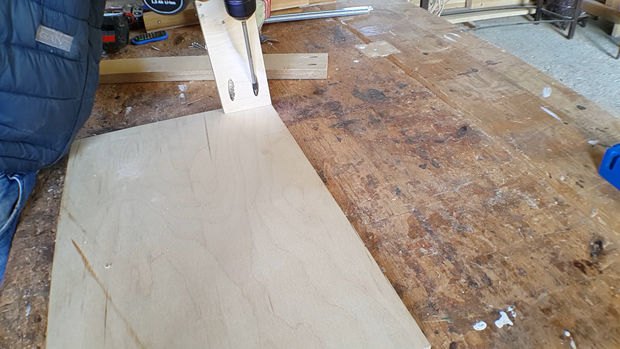
For this step you will need four pieces of plywood, two for the legs, one for the top and one more for the bottom.The top and bottom parts are the same, 46 x 30 cmThe two legs are two pieces of 20 mm birch plywood with dimensions of 7.5 x 60 cm. On the one end cut at 5° angle because you want the table to lean slightly forward to make easier for you to type on your laptop.
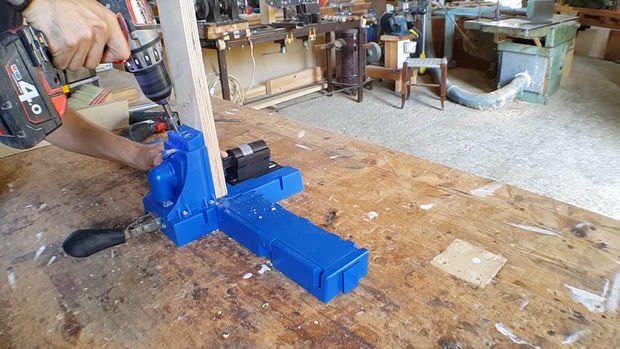
On your pocket hole jig drill four pocket holes on each leg. Assemble with the top and the bottom parts of the stand.
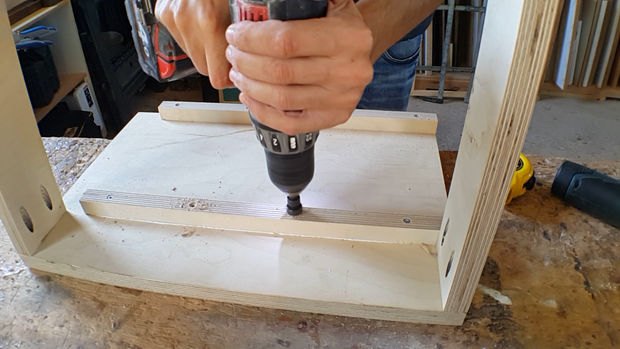
Cut two strips of plywood 2.0 x 2.0 x 40 cm . Glue the first one under the table flush to the edge of the plywood top. Now glue the second one 21 cm away from the first one.
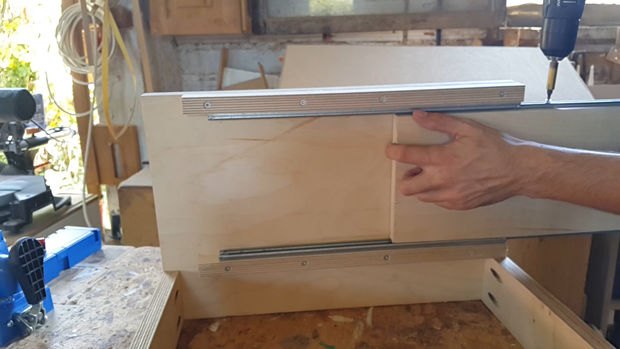
Finally screw on the two drawer slides using the 30 mm screws for each slide and cut one more piece of plywood 40 cm long and wide enough to fit between the two slides. Then attach the plywood piece on the slides. Test if it slides in and out easily and make any adjustments if necessary.
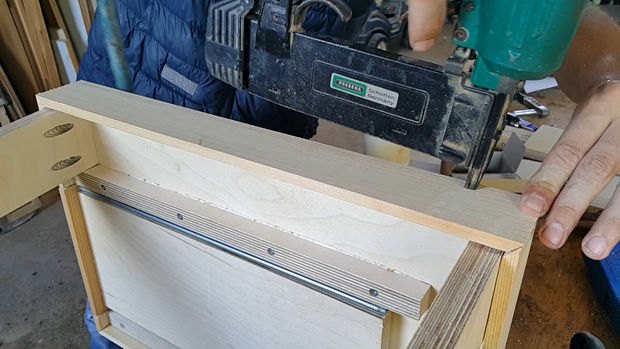
You can add a trim around the top of the table to make it look better. Use a chop saw or even a hand saw to cut two pieces for the front and back and two for the sides. On the drawer side make sure you cut the trim in three pieces to ensure the drawer slides in and out.
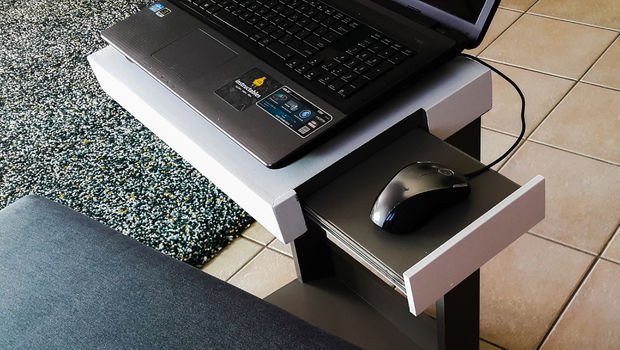
Finished!


Frequently asked questions
Have a question about this project?