


Make a Desk From Pallets
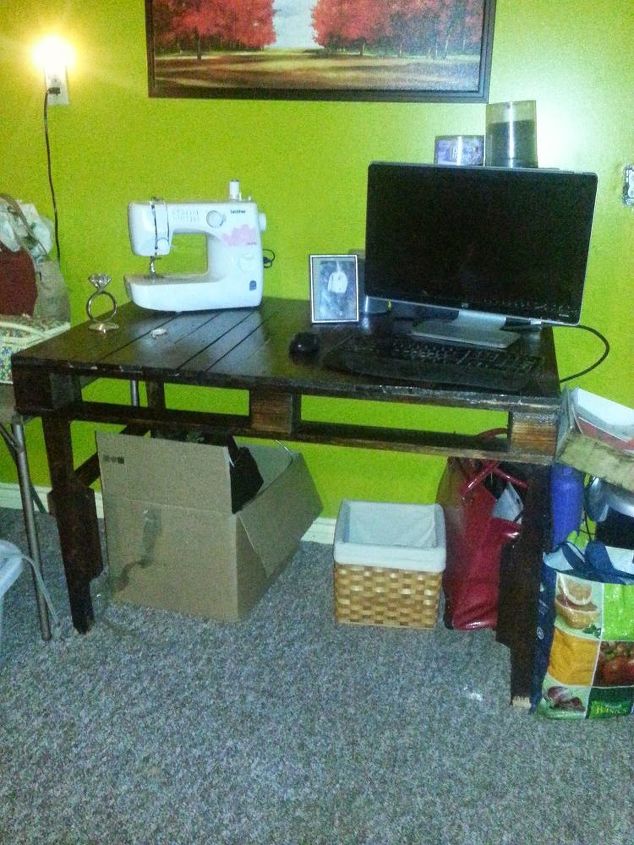
Ok so truth is I am cheap! lol! One day I thought to myself it would be nice to make a desk that would start to wobble after moving it a couple times. This was right around the time Pinterest started the "make everything" out of pallets craze and I figured I'd give it a go. It turned out great and even though I don't own it anymore a friend is actually using it as a table in their kitchen.
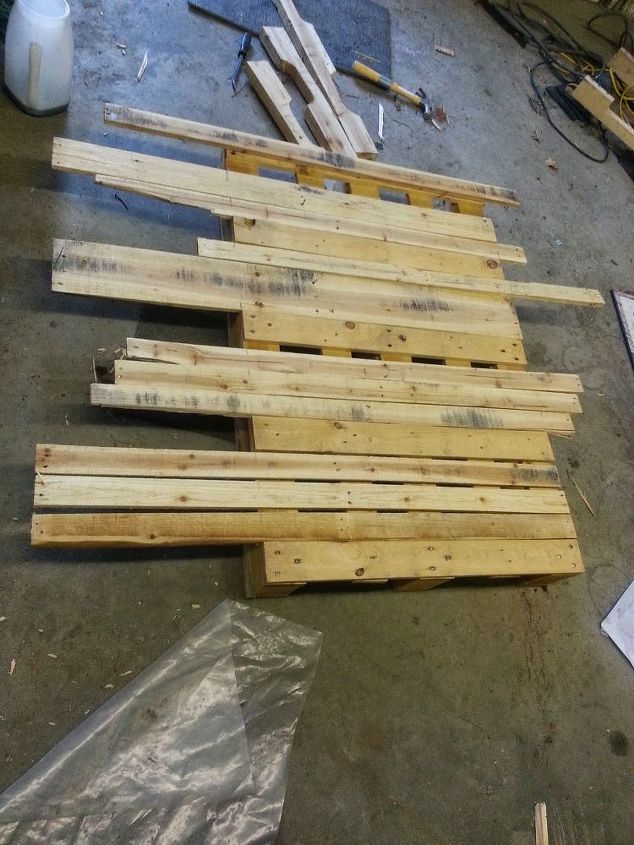
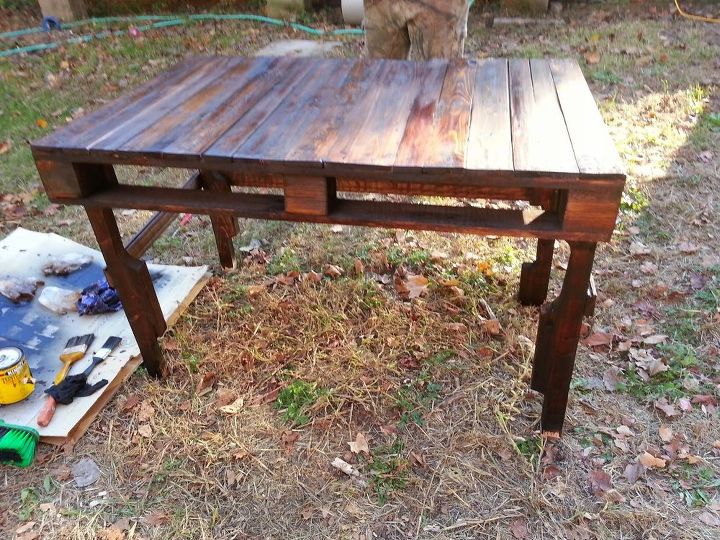
First you are going to want to grab at least 4-5 pallets in good shape. It helps that they are not too dirty or rough when you get to the sanding and staining stage.

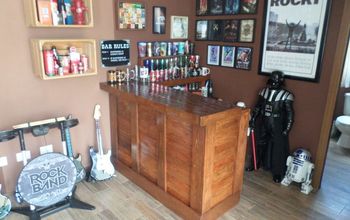
once you have it all assembled you are now ready to start staining. As you can see I used some left over Minwax stain we had, I think it was "early American" color.
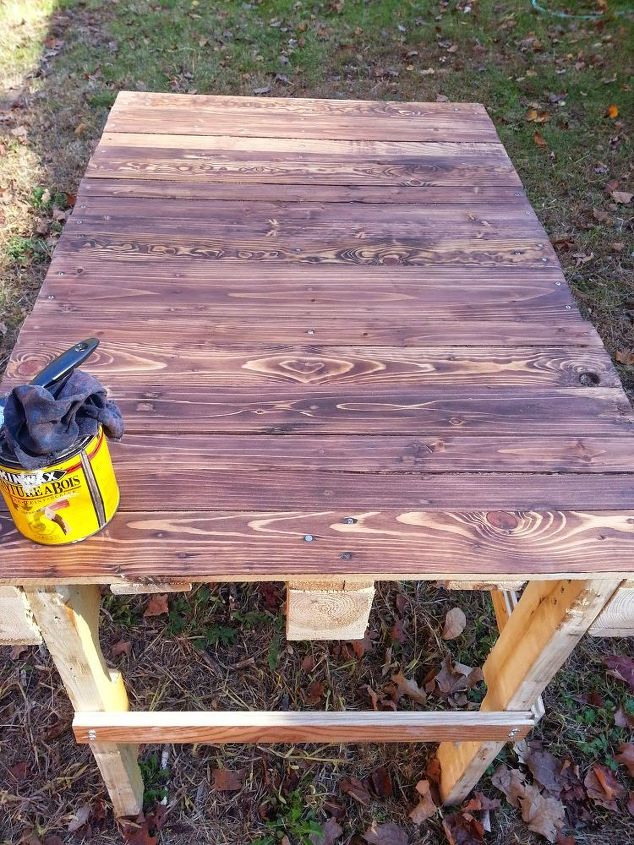
Make sure that you do this in the shade if your outside as the sun will speed up the drying and make it hard to stain evenly. In between coats give your wood a quick sand and let your stain dry thoroughly in between.
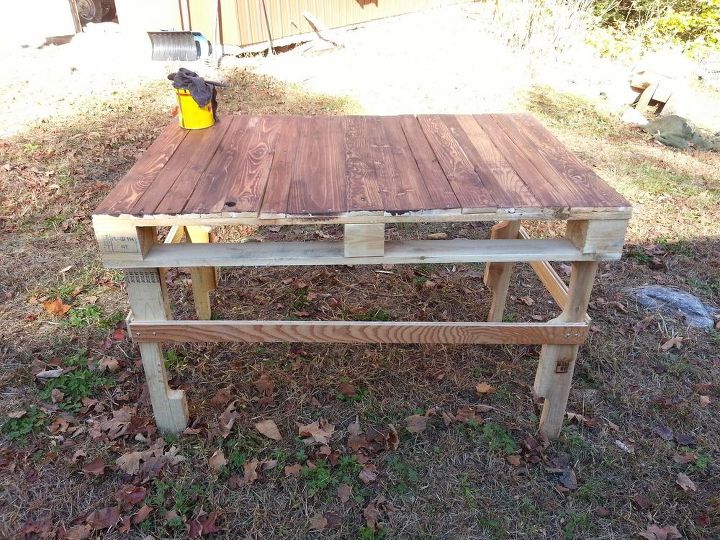

Stain until you achieve the color you are aiming for and you can apply a clear coat to seal everything. This is the one I used in a Gloss. Minwax Is a great product. I've used it on many of my projects without any problems.
For this step if done outside you will want to make sure there is no wind. Wind will blow debris into your beautiful clear finish and it will be aggravating when you see a bug on your finished project. It may take a bit to dry completely but once it is done you will have a desk that will last forever.
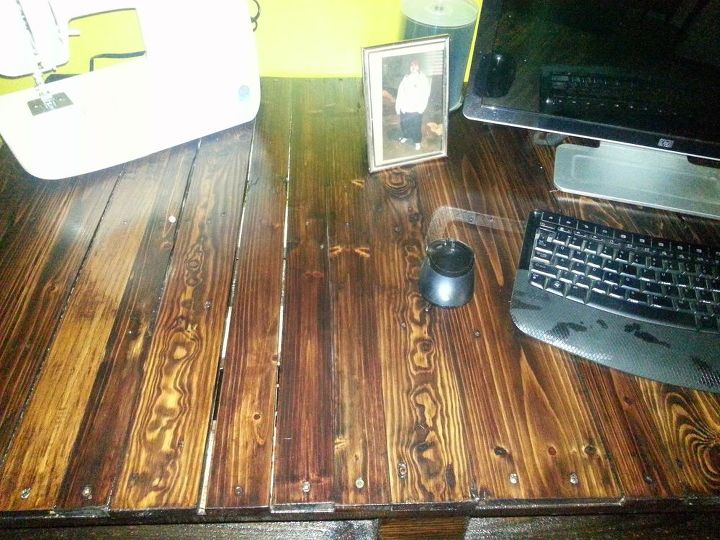
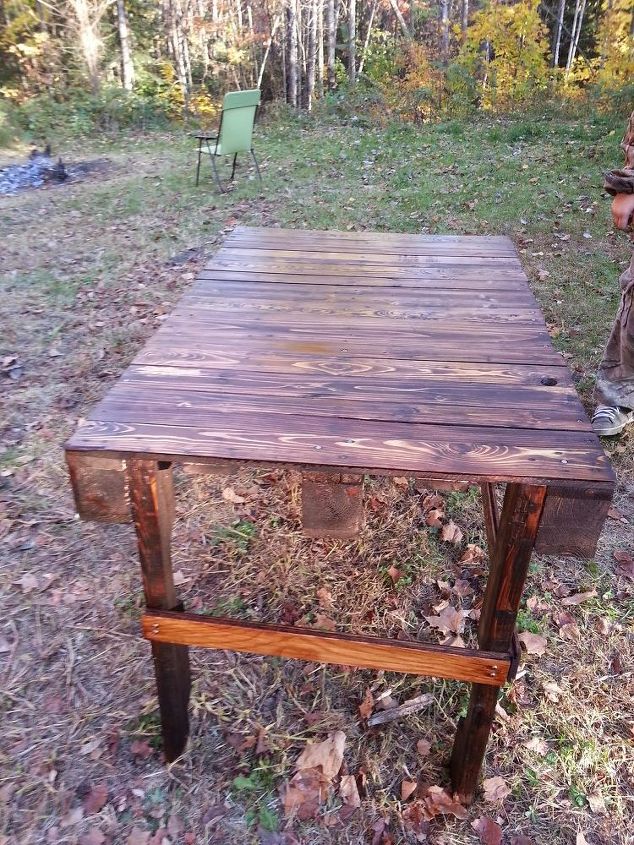
I just love the grain that pallet wood has once its finished.

Want more details about this and other DIY projects? Check out my blog post!
Comments
Join the conversation
2 of 4 comments
-
It looks expensive!! Great job!
-
Awesome pallet project!


Frequently asked questions
Have a question about this project?