


How to Make Wax Melts That'll Make Your Home Smell Divine

By Sharon Brandwein
For anyone unfamiliar with wax melts, the best way to explain them would be to say that they’re essentially a chunk of scented wax that releases a wonderful scent into the air when melted over a lamp.
To be honest, if you’re an avid user of wax melts, buying them over and over can get pricey over time. The good news is it’s relatively easy to learn how to make fragrance wax melts yourself. With a few simple ingredients, a little imagination, and some help from this guide on how to make wax melts, your home will smell great in no time.
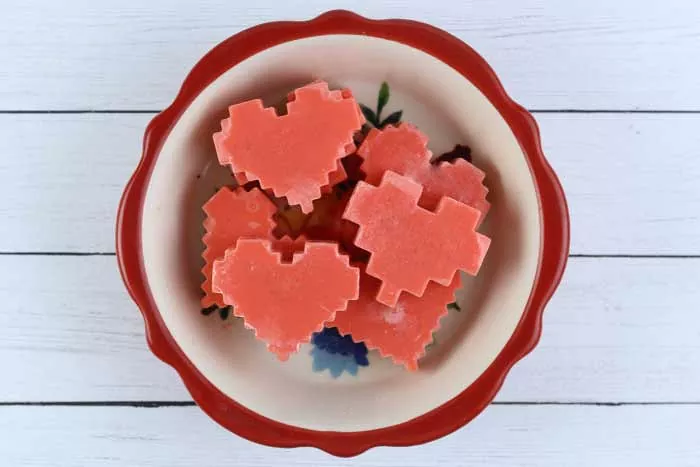
Photo via Everything Pretty
Wax Melts Versus Candles
Wax melts and candles essentially do the same thing, but there’s one big difference—safety. Both of these items will impart a fragrance to your home, but one uses an open flame, and when you have kids or pets, that’s a huge safety hazard.
A few years ago, I lit a candle in the bathroom and let it be as I continued to clean the house. My then-four-year-old went in, washed her hands, and subsequently threw the hand towel onto the counter and, unbeknownst to her, onto the open flame, which promptly led to a fire. Thankfully no one was hurt, but situations like that definitely cause you to rethink using candles in your home.
Basic fire safety dictates that you should never leave a candle unattended or use them in bathrooms— lesson learned. So if you want your home to smell nice, wax melts are a much safer option when you can’t babysit a candle. They make your home smell just as lovely, but they offer a little peace of mind when you’re moving from one room to another.
Why Should You Make Your Own Wax Melts?
Aside from the obvious reason of making your home smell good, there are several reasons why making your own wax melts is a good idea. Here are a few:
They're Toxin-Free
Some commercially-available wax melts use paraffin wax in their products. And while they may work really well, paraffin wax has been known to off-gas known carcinogens and chemicals like benzene, which can be toxic.
The great thing about making your own wax melts is that you can control what goes into the end product. For example, the step-by-step instructions we share in this guide use beeswax and coconut oil as a base for the melts. The fragrance comes from essential oils. Taken altogether, all ingredients in the wax melts are natural.
You Can Customize Scents
By making your own wax melts, you can tailor the fragrances to your liking. Most commercially available wax melts come in the fragrances you would expect, like apple and cinnamon, maybe even rosemary and mint. But everyone is different, and scent preferences can be pretty subjective. So, if you think apple and rosemary should go together, you can make a wax melt that then proves (or disproves) your point no harm, no foul (smell)—hopefully.
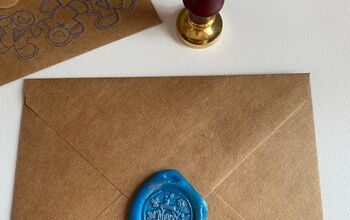
They're Great for Gifting
Keep in mind that wax melts make great gifts for pretty much anyone. Just use a pretty mold, find some cute packaging, top it off with a bow, and you're all set.
Wax Melt Scent Ideas
As we pointed out earlier, one benefit of making your own wax melts is that you can pick, choose and combine scents for what could essentially amount to a signature wax melt fragrance.
Variety packs on the market feature carefully curated scents that complement each other no matter how you mix and match them. But if you prefer to go the DIY route, you can certainly do that too. Here are a few scent ideas to get you started.
- Pumpkin spice
- Cinnamon apple
- Lavender and vetiver
- Lavender lemon
- Citrus mint
- Orange rosemary
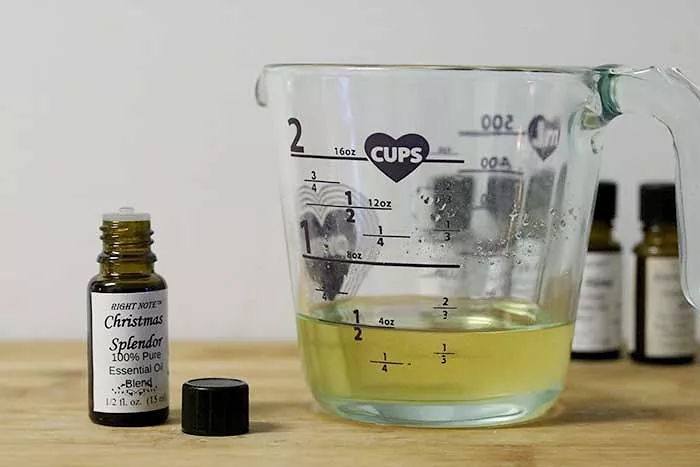
Photo via Everything Pretty
How to Make Wax Melts With Fragrance Oils
If you want to make your own wax melts truly from scratch, this is the way to do it. All you need are one or a few of your favorite essential oils and a few more materials.
Tools and Materials
- Saucepan
- Glass bowl
- ¼ cup beeswax pastilles
- ½ cup coconut oil
- Oven mitts
- ~100 drops of your favorite essential oil or a combination of multiple oils
- Silicone mold
Step 1: Simmer Water
Pour about two inches of water into your saucepan and bring it to a simmer.
Step 2: Add Beeswax to Bowl
Add the beeswax and coconut oil to your bowl and place the bowl over the pan of water that’s still simmering on the stove.
Step 3: Remove from Heat
Once the beeswax and coconut oil have completely melted and combined, remove the bowl and the saucepan from the heat.
Step 4: Add Oils
Add your essential oils or whichever oil combination you’re choosing to the melted wax mixture. In total, you’re going for about 100 drops per batch. So, if you’re using two oils, you should add 50 of each; if you’re using three oils, you should add about 33 drops of each, etc.
Step 5: Pour Wax into Silicone Mold
Once the oils are added to the wax mixture and thoroughly combined, you can pour the wax mixture into the silicone mold.
Step 6: Let Wax Solidify
Allow the wax melts to solidify completely by keeping them in a cool, dark place for a few hours. When they’re solid, pop them out of the mold and store them in a jar or a resealable bag.
Keep Mold Size in Mind
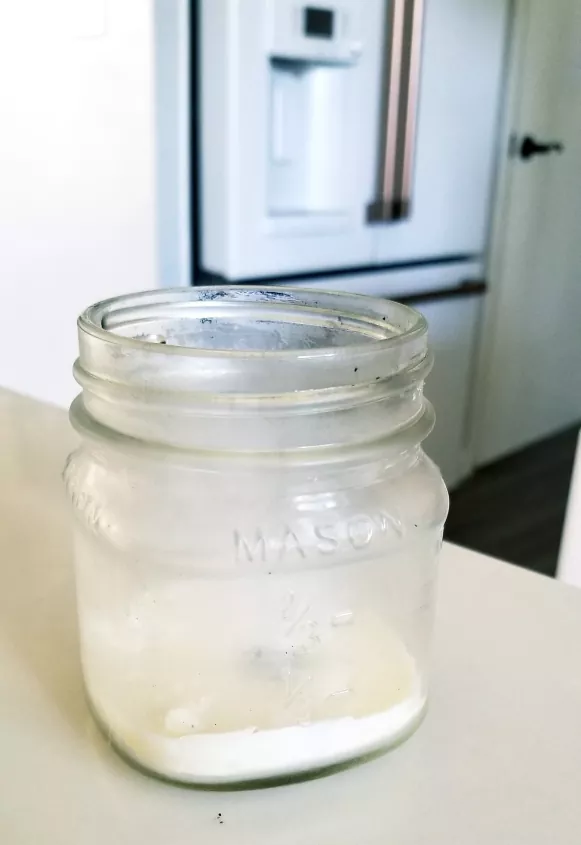
Photo via Ahna Fulmer // Hammers N Hugs
How to Make Wax Melts Using Leftover Candle Wax
Do you have old candles with bits of wax left? You can use those to make candle melts, too! Here’s how.
Tools and Materials
- Saucepan
- Old candle (in its original container)
- Tongs and/or oven mitts
- Silicone mold
Step 1: Bring Water to Boil
Pour about two inches of water into your saucepan and bring it to a low boil.
Step 2: Melt Leftover Wax
Once your water is boiling, add your old candle to the water and wait for it to melt completely. (We also have a full guide on how to clean wax out of a candle jar.)
Step 3: Remove Container
Once the candle wax is completely melted, remove the container from the water.
Step 4: Pour Wax into Mold
Remove the wick, and pour the melted wax into the silicone mold.
Step 5: Let Wax Solidify
Allow the wax melts to solidify completely in a cool, dark place for a few hours. When they’re solid, pop them out of the mold and store them in a jar or a resealable bag.
Do you have any unique scent combinations for wax melts? Comment below—we’d love to hear about them!


Frequently asked questions
Have a question about this project?