


Tips for Filling Holes in Stained Wood
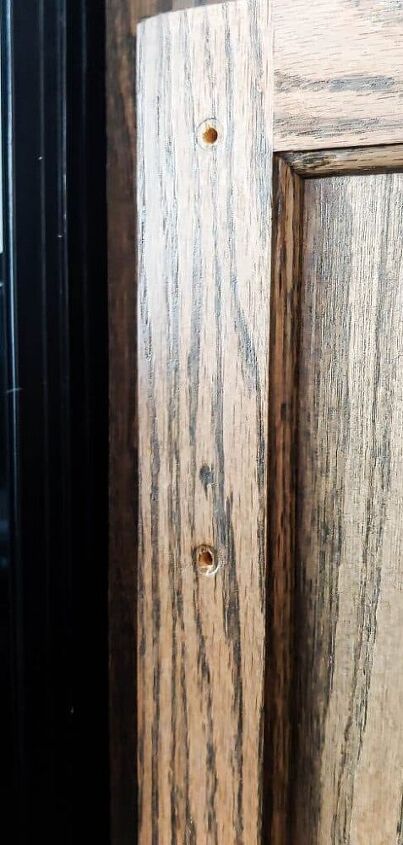
Are you replacing your cabinet hardware and filling holes in stained wood? In this post, we take on this tough DIY problem and teach you how to fill holes in stained wood that are hidden!
If you love this project, grab your quick start DIY guide & subscribe to our blog!
I made a step by step video for how to fill holes in stained wood, so you can either watch the video (turn up your volume for voice over tips) or read the full, detailed tutorial below! Enjoy!
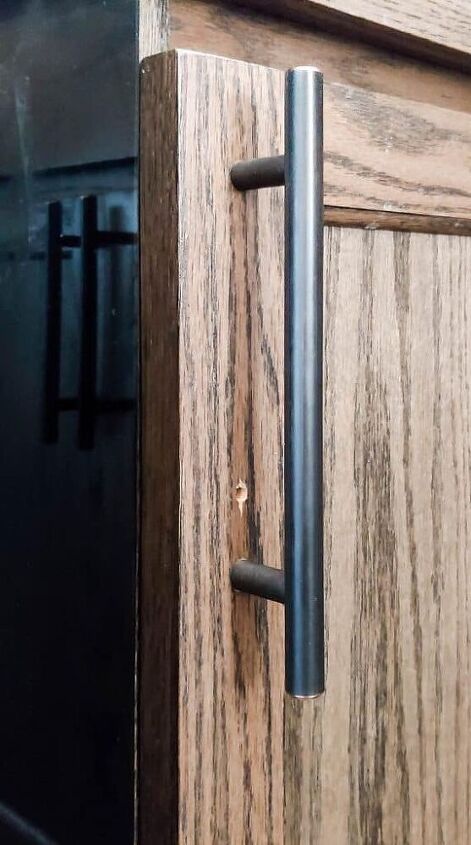
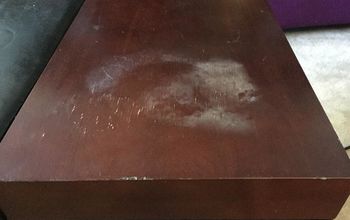
Step 1: Remove cabinet hardware.
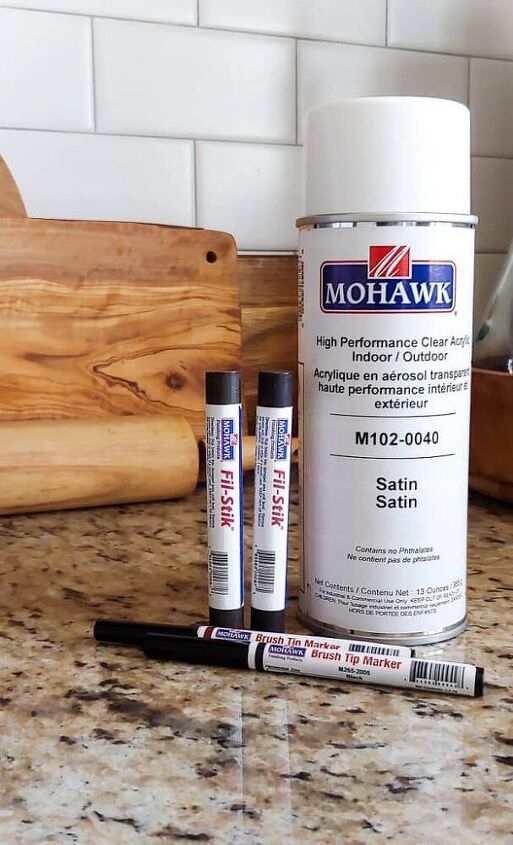
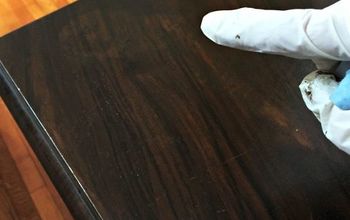
Step 2: Test Fil-Stik on inside of cabinet door.
If you’re not sure about the color of Fil-Stik to use, we would recommend getting 2 or more color options to test.
When in doubt on the color of the Fil-Stik, go lighter and match it to the lightest color tone on your cabinets (usually where there is no grain).
You can test the colors of the Fil-Stik easily on the inside of the cabinet door when filling that side of the hole.
Step 3: Rub Fil-Stik briskly over hole.
Once you decide on the correct color Fil-Stik, continue filling the hole in the cabinet. To do so, you just rub the Fil-Stik briskly over the hole until it is filled completely.
Step 4: Repeat the process on the front side of the cabinet.
Step 5: Wipe excess off with paper towel.
Mohawk’s instructions say that you can wipe excess off with a hard surface (like a credit card) or a paper towel. We found that a dry paper towel worked best.
I stopped the process of rubbing the Fil-Stik over the hole several times to wipe off the excess with a paper towel throughout the process.
Step 6. Use graining marker to match grain lines in wood.
Again, I’d recommend ordering 2 or more colors to test on your cabinets if you’re unsure. We tried both Black and Deep Brown Mahogany. Start on the backside of the door to practice your technique a bit and test colors.
Once your hole is completely filled, carefully use the graining marker to match or replicate grain lines in the wood.
Step 7: Lightly rub Fil-Stik over wood to reduce the shine of the graining marker.
To fix the extra "shine" created from the marker, once the graining marker is dry, you can simply lightly rub the Fil-Stik over the area again and wipe excess away.
Step 8: Spray with sealer.
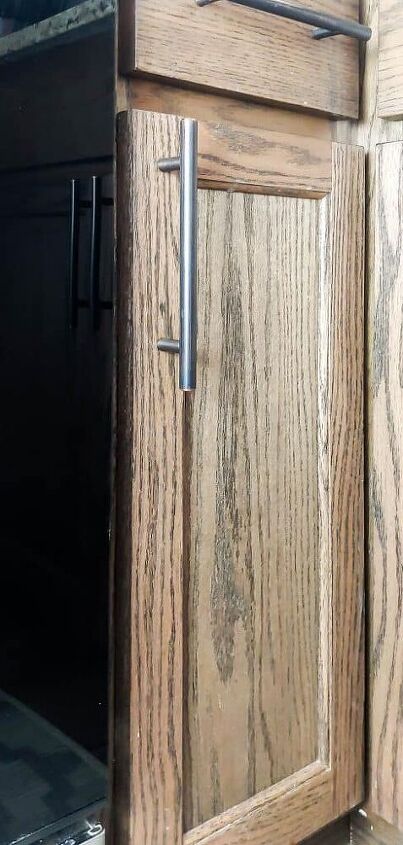
I can’t believe how long it took us to fix this hole in our kitchen cabinets after replacing our cabinet hardware and making this silly mistake! This whole process only took 15 minutes or so and the products are very budget friendly!
Resources for this project:
See all materials


Comments
Join the conversation
-
Thankful for the wonderful idea


Frequently asked questions
Have a question about this project?