


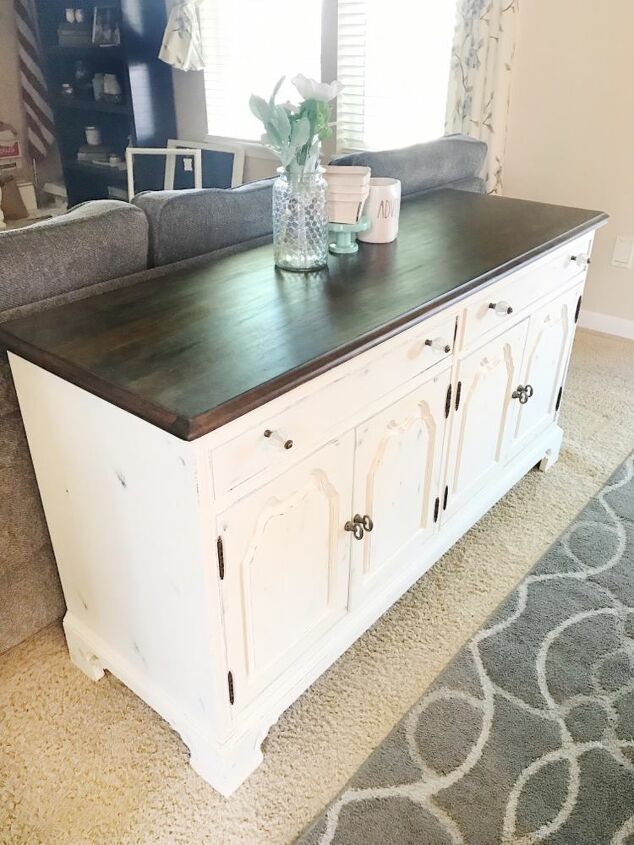
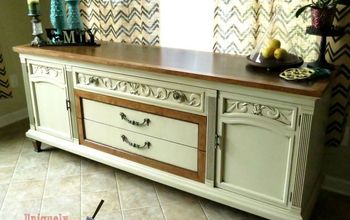
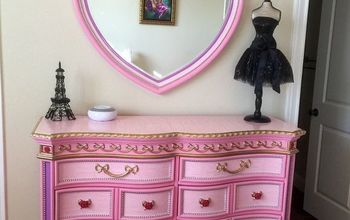
Refinished Buffet
Do you have a tired and worn looking piece of furniture that you’re just not sure what to do with it? Instead of throwing it out, let’s refinish it! Fair warning- rehabbing furniture can get addicting.
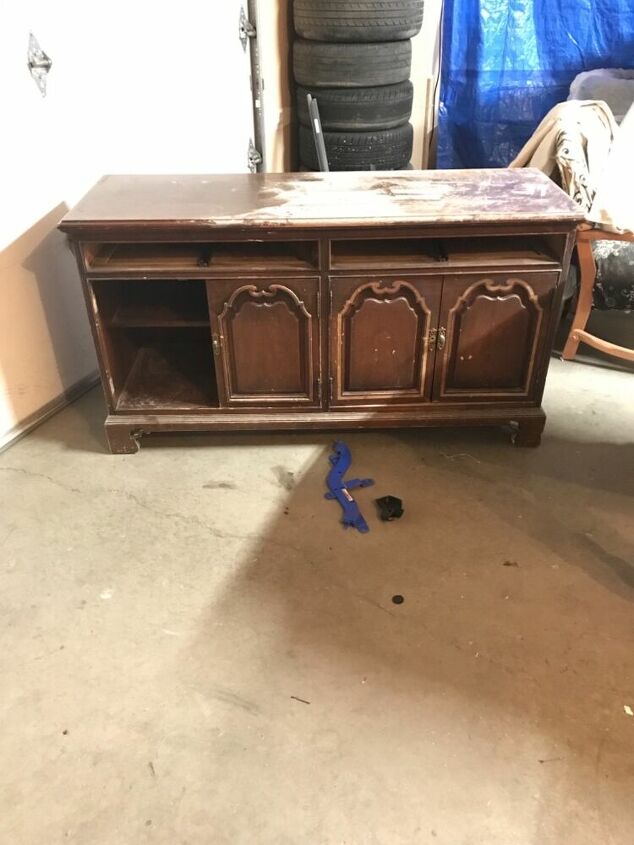
When a friend of ours was getting rid of their tired, beat up buffet, we jumped on board to fix it up and find it a new home.
The materials we used for this project:
• orbital sander
• 220 grit sand paper
• minwax stain
• polyurethane
• wood filler
• chalk paint
• wax seal
• paint brushes
• knobs
Gather your materials and then let’s get to work.
The first thing I do is wipe down the buffet and give it a good cleaning. I used hot water and an old rag towel this time. Then I removed the drawers and doors and all the hardware (including the door hinges).
I used an orbital sander to removed the old stain from the top of the buffet and smoothed out any surface scratches. Wiping the excess dust off the top, I then applied the first coat of stain. My stain of choice is Minwax Jacobean. I let my coats of stain dry completely before applying the second coat. I almost always apply two coats of stain.

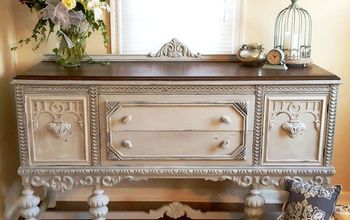
While the stain is drying, I moved on to the doors. Three of the four doors had a decorative trim on them. Because we didn’t have the trim for the 4th door we decided to remove the trim from the other doors. Using a flat head screw driver we gently pried the trim off. The trim had been stapled on. Once all the staples had been pulled out there were a few spots that needed wood filler.
After the wood filler had dried, it was time to sand the doors just to smooth out the filler. We did this by hand because I didn’t want to loose too much of the existing stain and the spots that needed sanding were relatively small spots. This took only a few minutes.
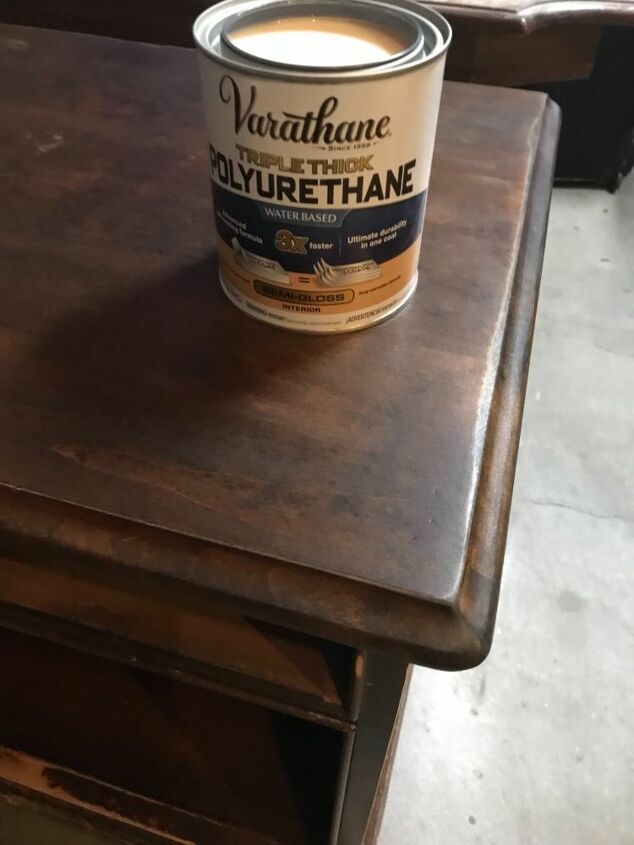
My next step was to go back and polyurethane the top of the buffet. I like to use the one in the picture and I usually put on 3 coats.
I use a lint free piece of cloth that is damp, not soaking wet, as this helps the poly to spread more evenly. I let each coat dry completely before adding the next coat. I also like to use 600-800 grit sand paper and lightly hand sand between the coats of poly. This ensures an even finish without streaks or waves in my poly coats.
The polyurethane I use is a quick drying product. Usually is dry in a hour or less. I generally apply the poly in a thinner coat (not thick) because I have more control over how it spreads and how it turns out looking in the end.

Once I’ve applied the last coat of polyurethane, I start painting the base of the buffet, the drawers and the doors. I used Valspar chalk paint (color “her danties”), and either an angled 2” brush or a chalk paint bristle brush.
**Painters tip** invest in good paint brushes. Good paint brushes will last a long time if you take care of them. They will be a little more expensive but well worth the investment. ***
I try not to apply the paint too thick as then I have to worry about drips and running paint. Because this piece had a dark stain it took 3 coats of paint to cover. I like to let each coat dry a good 8 to 10 hours before applying the next coat. I find that humidity and air temperature play a big part in the drying times. I try not to paint with chalk paint on rainy or snowy days unless I’m inside. (I usually paint out in my garage unless it’s too cold or too hot, then the project moves inside)
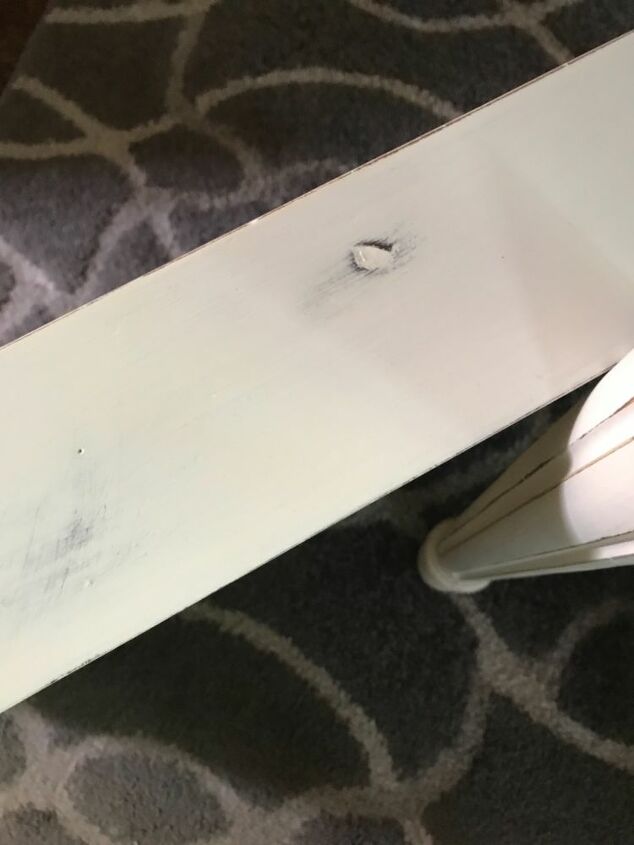
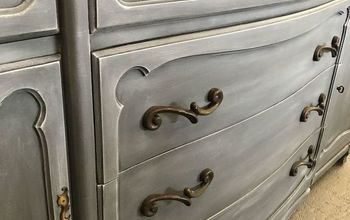
Now that my paint is dry, I use 220 grit sand paper and hand sand the surface of the chalk paint. I also distress the paint at this time. Here’s where the dark stain underneath the paint comes into play. I sand random spots down so the stain is peeking out from under the paint. If there is a dent, knot or knoll in the wood, use that to your advantage with the distressing. See the dent in drawer above? I played off the “imperfection” when sanding/distressing.
This part is a little tedious, but I find it goes pretty quickly. I like to lightly sand the whole surface because it smooths out the grainy feel of the paint. It usually takes me about 30 minutes to sand and distress a piece this size.
**Refinisher’s tip** do not use the orbital sander for this step as it can ruin your paint job and distress too big of a spot. Then you’ll be repainting your piece. ***
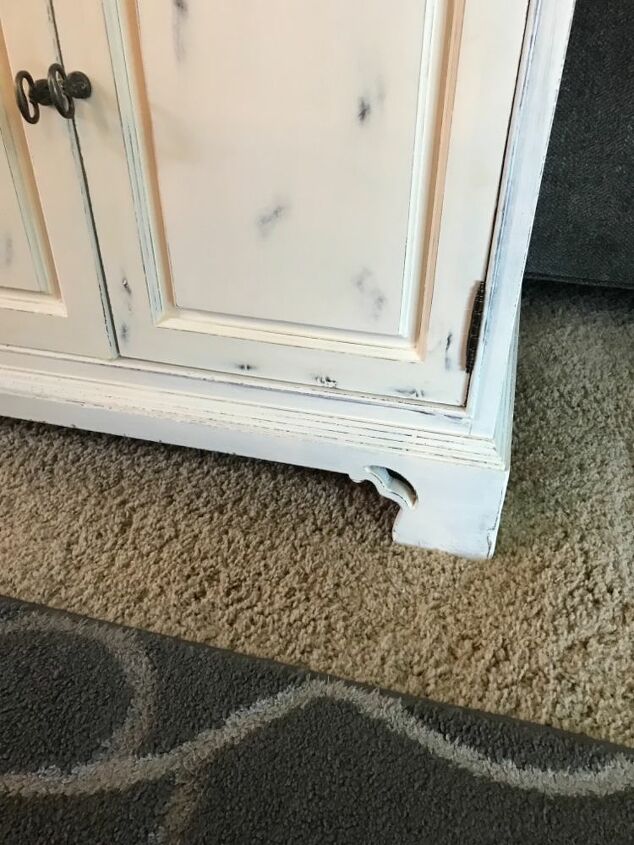
When choosing areas to distress, I look for any decorative spot (like the ribbed edge or the cut out near the foot in the photo). Again, I look for bumps, dents and dings in the surface of my piece and for “high traffic” areas such as the edges. And lastly, I will randomly distress spots to give character and depth.
After distressing and wiping down the dust, it’s now time for the wax seal. I like Valspar’s clear wax for chalk paint. Only one coat is needed. I use a paint brush to apply the wax. Some like to use a lint free cloth.
** Painter’s tip** have a brush designated for painting and another for waxing. I find if I use the same brush for both, even though I’ve cleaned them, the wax can leave a residue behind. ***
**Painter’s tip** use hot water to rinse the majority of the paint out of your brush, keeping the tip of the brush pointing down. Then add a gentle soap to your palm and swirling the tip of the brush work the soap into the bristles. Rinse clean (the water will be clear without paint or suds) and squeeze out the excess water. Then wrap the bristles tightly in a paper towel and let your brush dry. ***
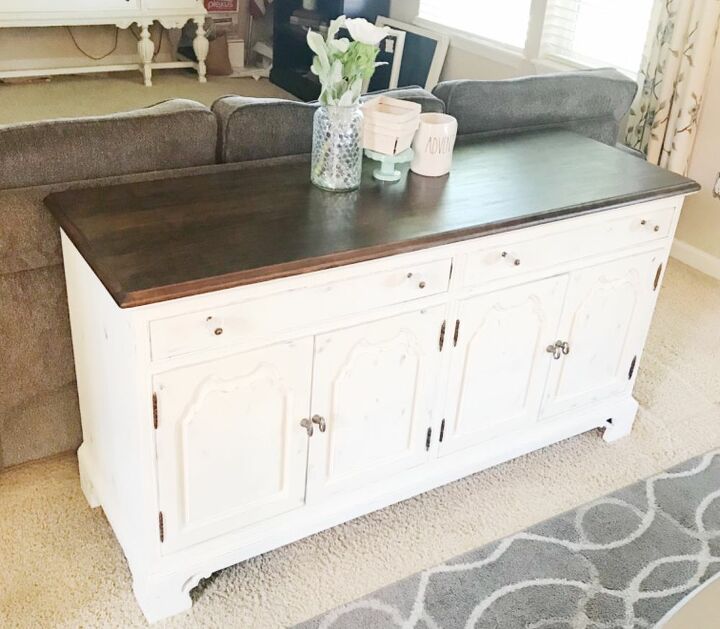
After the wax seal is dry (no longer tacky), reattach the hinges, hardware and knobs. (We bought new knobs for this piece.) Finally, place it in your space. Buffet’s can be used in living rooms, dining rooms, front entry ways, even guest bedrooms.
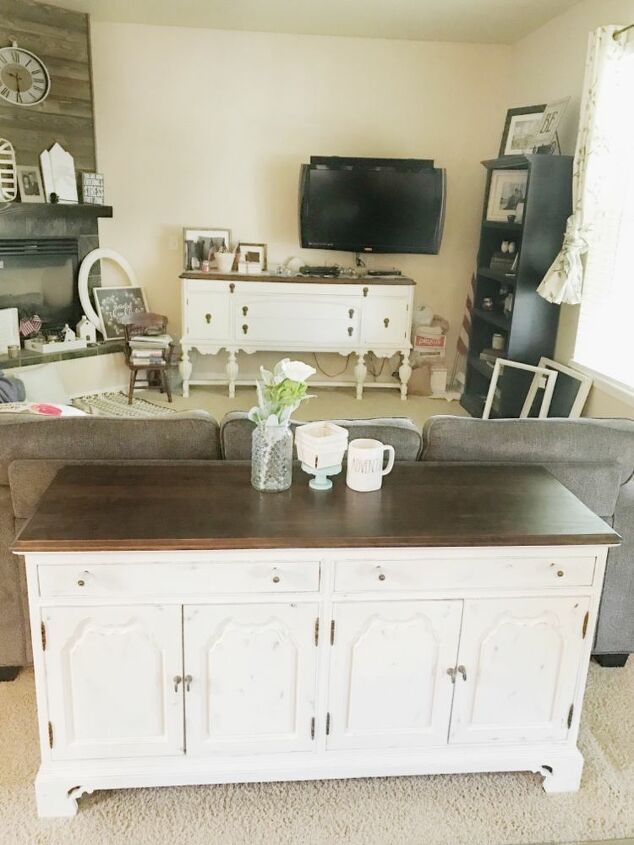
This one we ended up putting up for sale, when the original owners saw it, they bought it back from us.
This project ended up only costing us the price of the knobs and pulls (which we bought on sale 50% off) and the paint. I only used about half the can of paint. Because we refinish quite a bit of furniture we already had most of the supplies, stains and sealer on hand.
Because I like to let the paint dry completely through, this project took me about 4 days. It’s a project that you work then walk away from while it’s drying and work on something else.
For more photos of our furniture, decor and styling ideas head over to our Instagram page @beaus_and_belles (link below).
Resources for this project:
See all materials


Comments
Join the conversation
-
Thank you so much Cheryl!!
-
Is the top coat easy to wipe down? I wanted to use mine kind of like a kitchen island


Frequently asked questions
Have a question about this project?
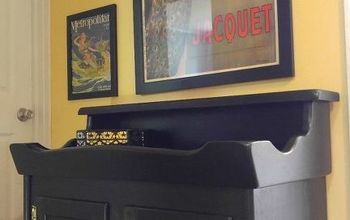
in the first pic it looks like a door is missing. how do you replace a door or missing drawers?