


HOW TO MAKE IRONING HAPPIER WITH A SIMPLE DIY IRONING BOARD COVER
2 Materials
$2
1 Hour
Easy
When we added the second floor to our house we put three bedrooms, a bathroom and moved the laundry room upstairs.
Best. Decision. Ever...
It cost us a bit extra for the plumbing, but the daily time it saves us has more than paid for it. No hauling clothes up and down stairs. No running to the basement to find clean underwear. I can be a bit lazy and leave the folded clothes on top of the machine and it doesn't totally inconvenience us. The only drawback, and it's a tiny one, is that this room is a little bit ugly. It needed a bit of colour and prettiness. Just to make me smile when I work in there...
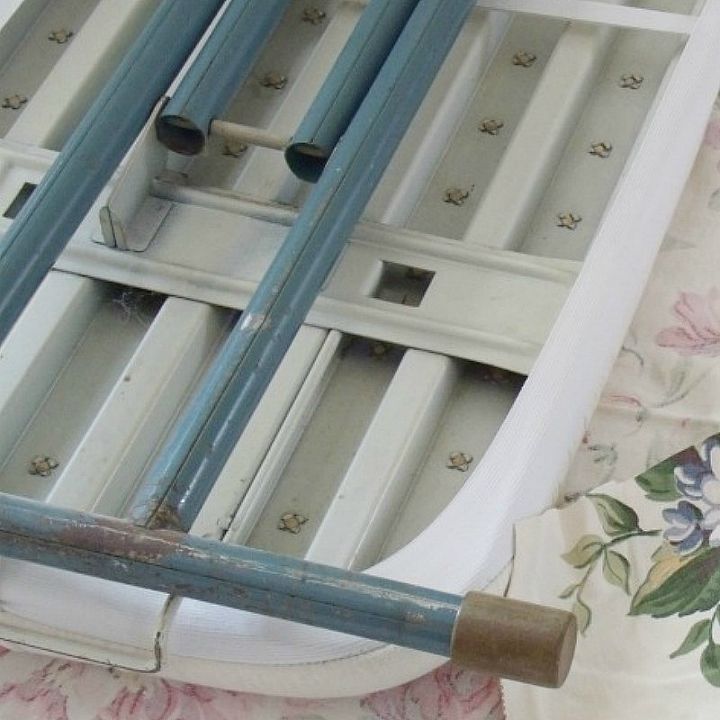
I've had four of these floral vintage curtain panels for more than 6 years. And for more than 6 years one of them has been draped over our ironing board in hopes that I will make it into a cover, and well, I finally got it done!
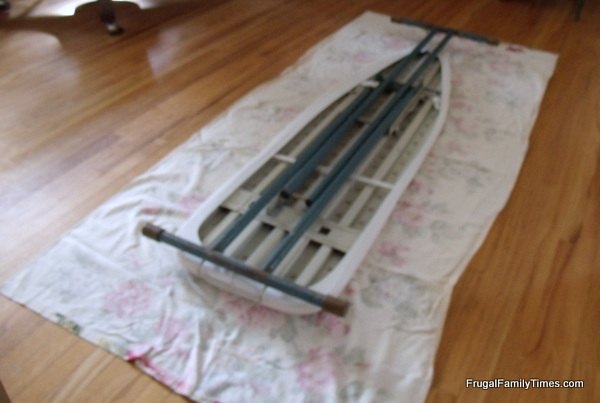
I just spread my drape face-down onto the floor, and then laid my old ugly ironing board on top...
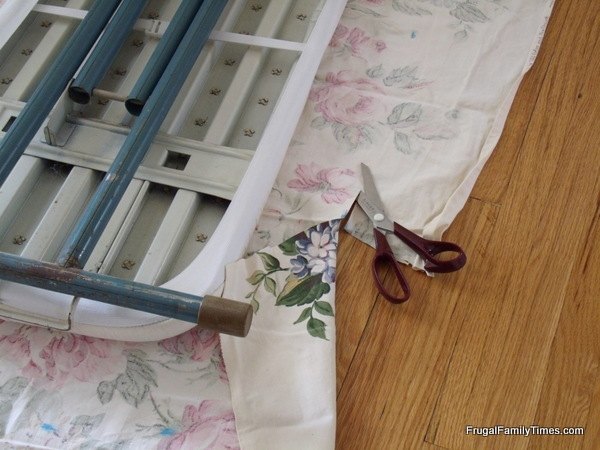
Measure and mark your fabric, about 3-5 inches from your ironing board, all of the way around. Then start cutting!
[If you love sewing and are looking for a really cute and simple gift idea, check this out!]
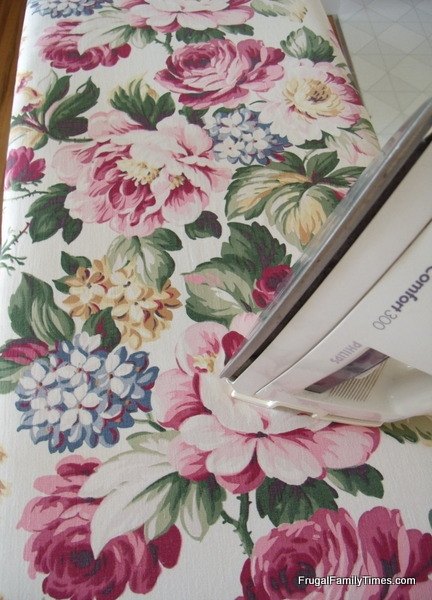
Next you are going to fold your edges and iron them...
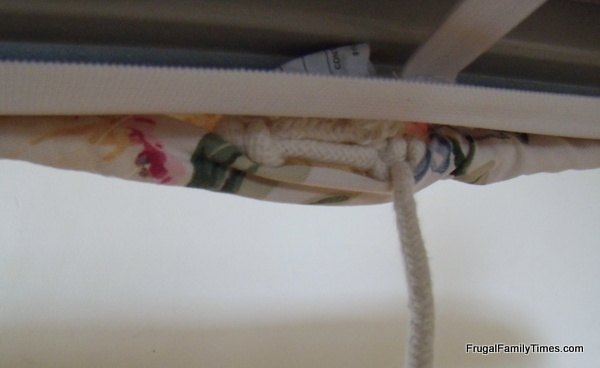
Then sew all the way your ironing board to make a channel to insert the cord that is going to fasten your cover to your board.
[Did you know that there's an easy way to sew a pillow?! Check it out, here!]
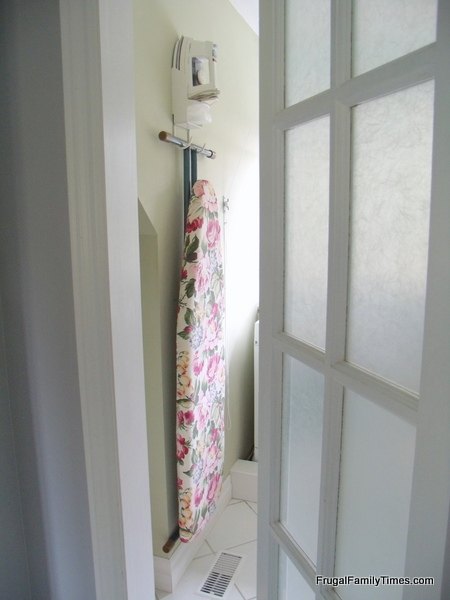
After your cord has been inserted into the channel, you can fasten your new beautiful cover to your old, ugly ironing board! Totally much easier on the eyes! ;D

Want more details about this and other DIY projects? Check out my blog post!


Frequently asked questions
Have a question about this project?