


How to Build a Fireplace Hearth
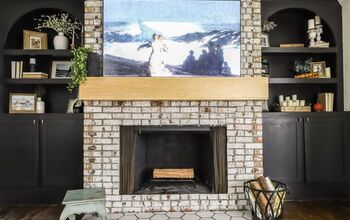
I'm giving my fireplace a full makeover! After all the demolition was finished (which you can read about here), it was time to rebuild the hearth!
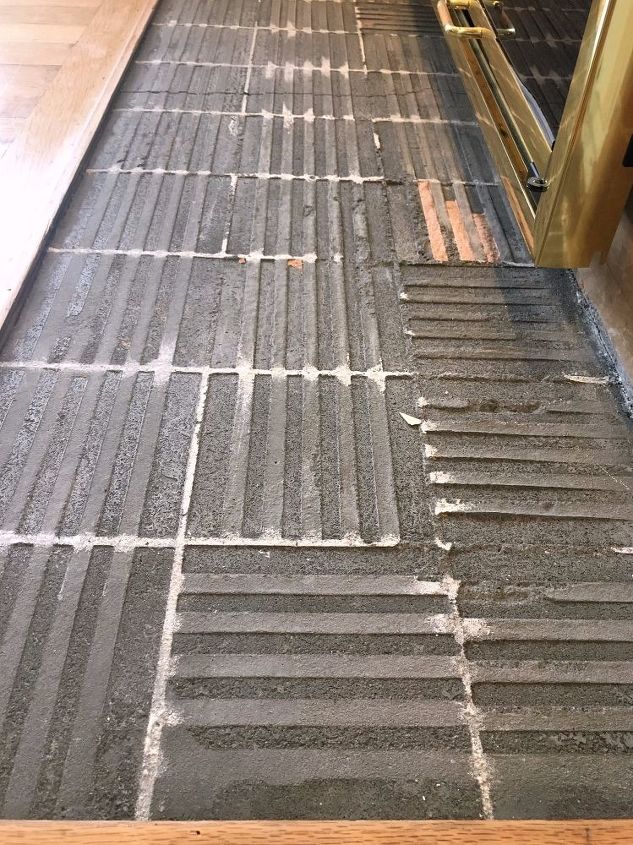
This is the fireplace hearth now that the ugly tile has been cleared away. The old thin-set was in great shape, so I decided to leave it in place.
This is the fireplace hearth now that the ugly tile has been cleared away. The old thin-set was in great shape, so I decided to leave it in place.
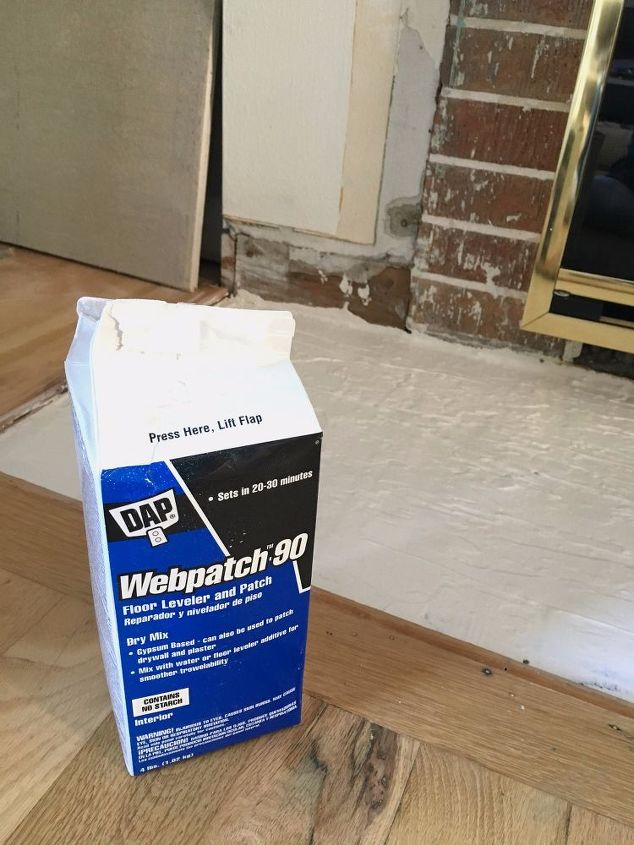
After removing any dust, I leveled out the lower end with self-leveling compound.
To raise the hearth to be even with the hardwood floor, I added cement backer board cut to the dimensions of the inset area. I used a backer board scoring tool and ran it along the edge of a clamped 2x4 on the line I wanted to cut.
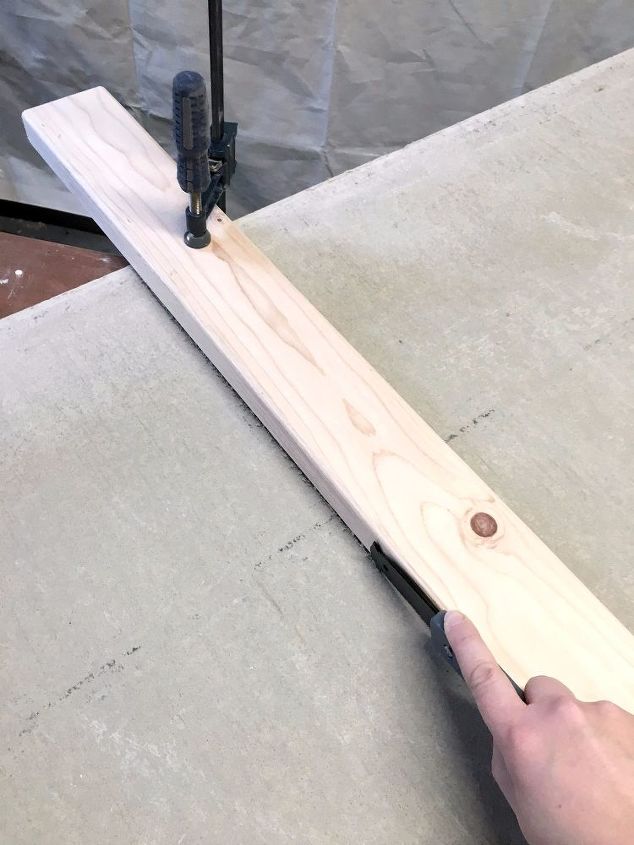
When I cut about halfway through, I moved the backer board to the edge of the worktable, clamped the ends, and bent it down.
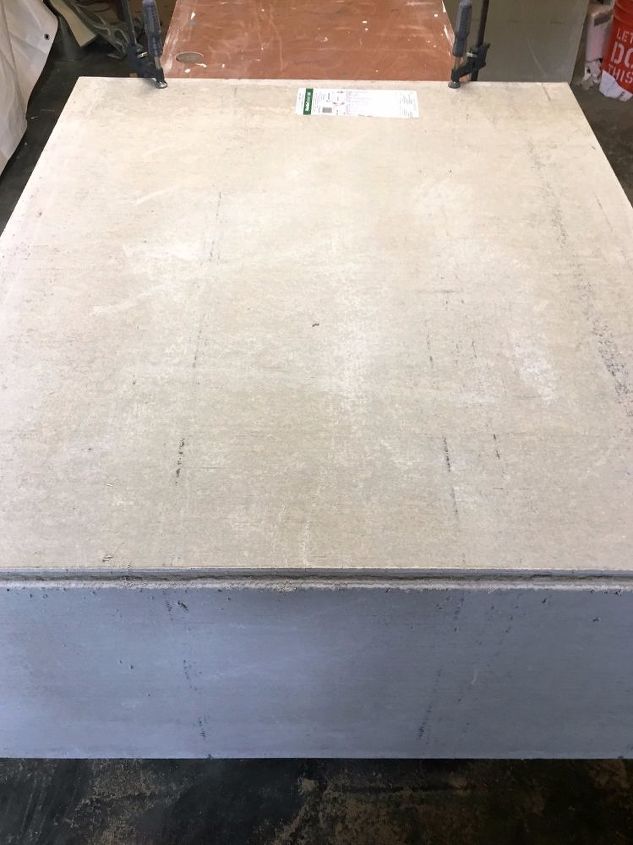
I used the factory cut corners on the outside edges of the hearth. Perfect fit!
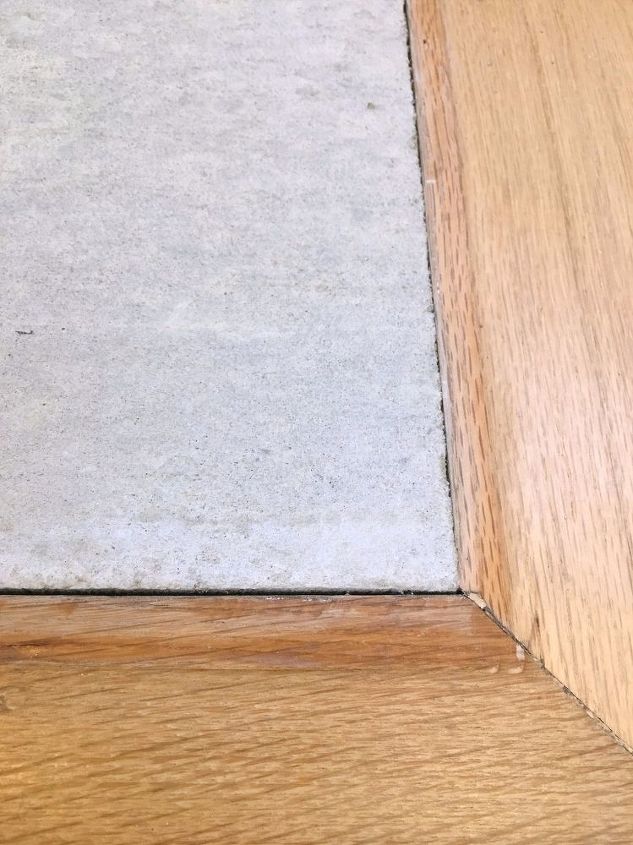
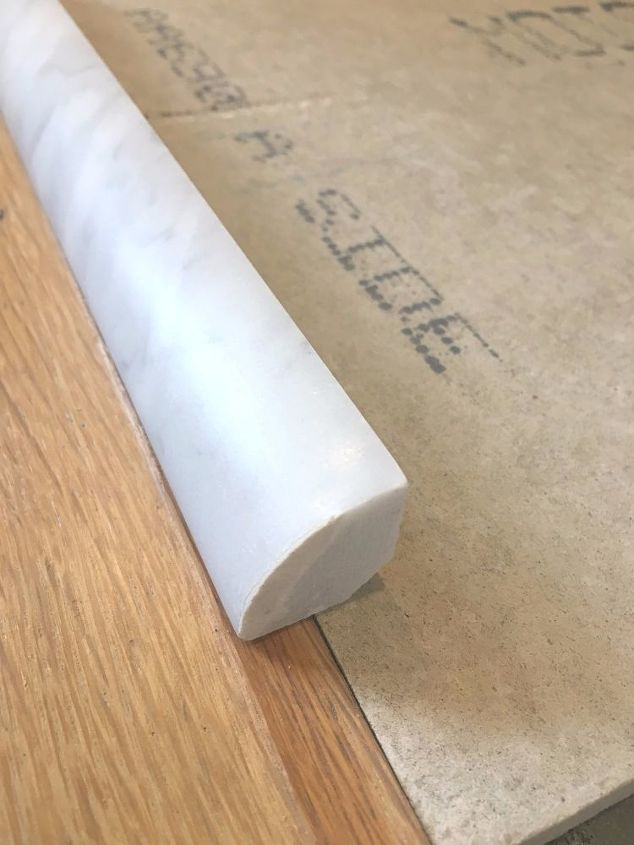
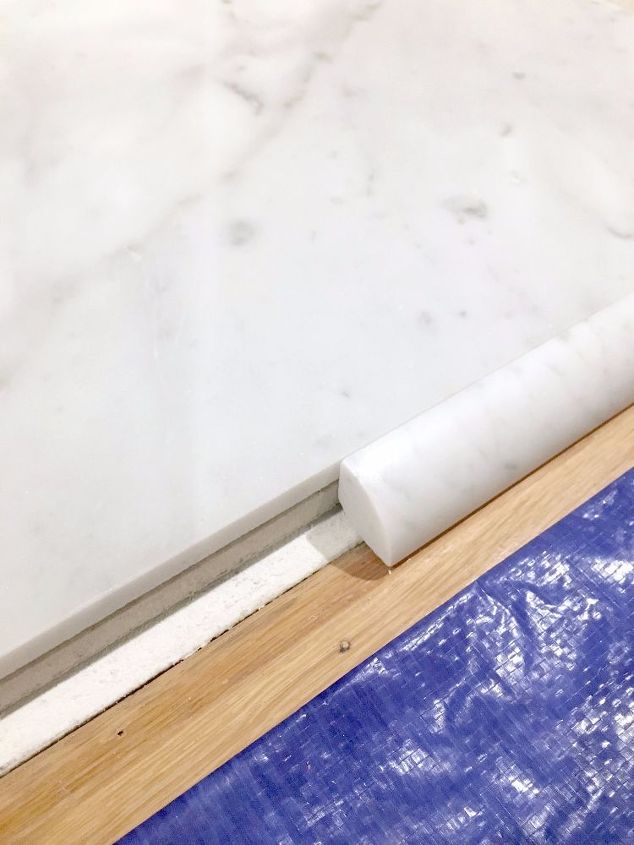
My plan is to use this marble quarter round trim to cover up the discolored edges of the hardwood floor. I was so excited to see that the cement backer board and hardwood were perfectly even!
I added a second layer of backer board, cut 1/2" smaller on three sides. Large marble tiles will be installed on top.
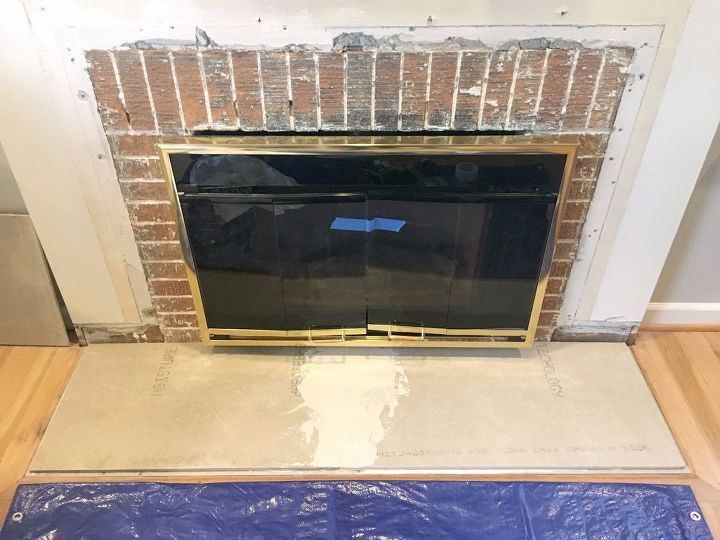
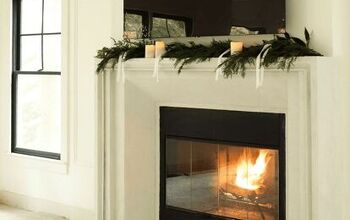
Here's a sneak peek of what the hearth will look like when it's complete!
Want to see more of my fireplace renovation? You can see the entire transformation, with complete tutorials, at The Handyman's Daughter.

Want more details about this and other DIY projects? Check out my blog post!
Comments
Join the conversation
1 comment
-
So modern looking and fresh, good job!


Frequently asked questions
Have a question about this project?