


How To Turn A Tree Into A Table

by
Robin Lewis
This project shows the story of how I turned a tree into a coffee table. I realise that not everyone has access to this kind wood, or tools, but I hope to highlight the fact that you can reuse things to make something amazing. This tree was destined for the chipper to be turned into mulch.
{
"id": "3870999",
"alt": "",
"title": "",
"video_link": "https://www.youtube.com/embed/JlyGAAGMSDw",
"youtube_video_id": "JlyGAAGMSDw"
}
{
"width": 634,
"height": 357,
"showRelated": true
}
You can watch the video here: https://youtu.be/JlyGAAGMSDw
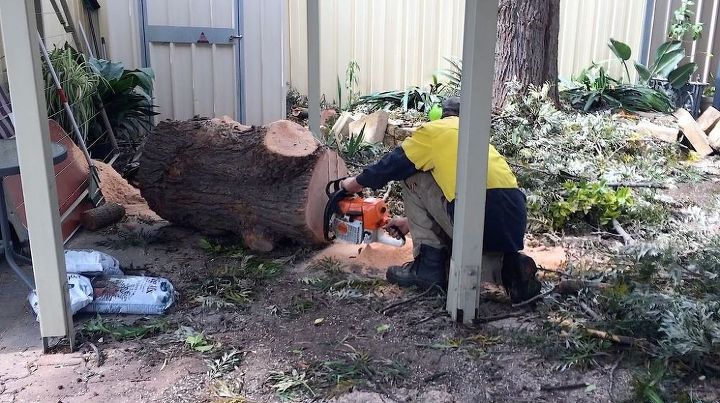
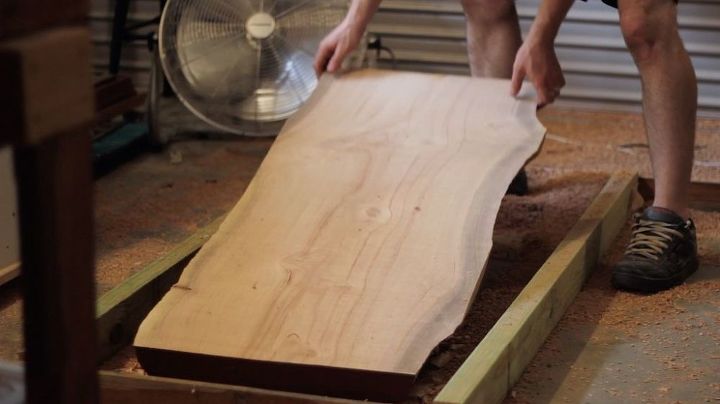
My neighbour's tree was being cut down. I asked one of the arborists if I could have part of the trunk to mill, although at that stage I had no idea how to do it. He was kind enough to say yes AND cut it into slices.
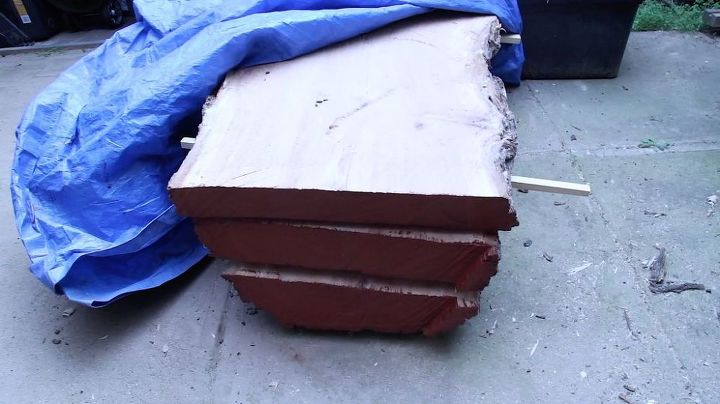
I painted the ends of the slabs and set them up on "stickers" (the pieces of wood separating them.
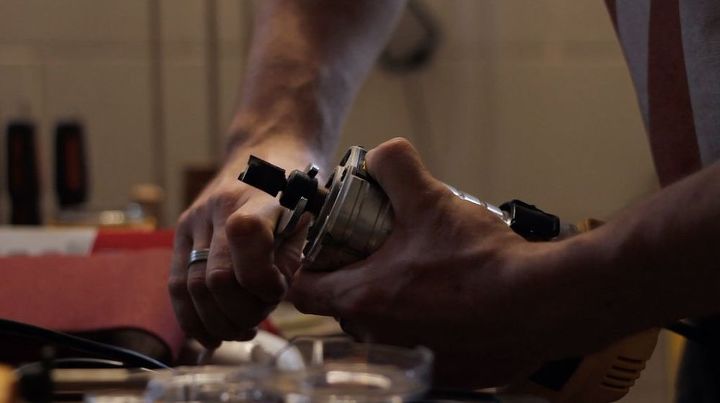
18 months went by before the wood was dry enough to use. After that I was able to start flattening them. I did it using a router sled so the first thing to do was pop in a flat cutting bit.
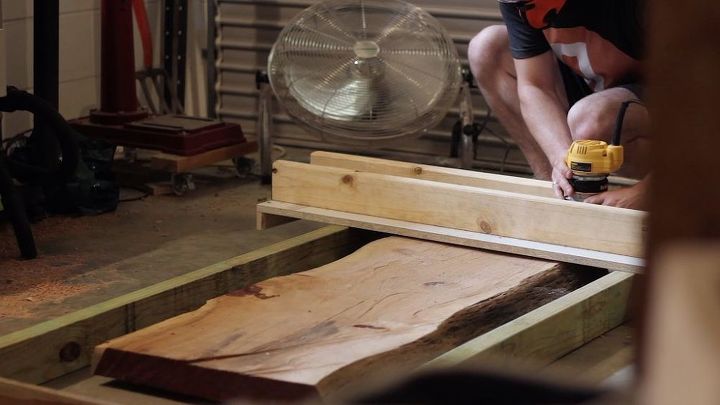
The jig is made up of two 2x4s on a level surface. On top of that is a sled that the router rides inside of.
The slab sits on the level ground and the router references off the the level rails. The router is moved back and forth across the slab. With each pass the router bit is lowered by a small amount, and the sled is moved forward, slowly making the wood parallel to the ground.
After a few passes you end up with a flat and level face. Then this is flipped over and the same process is done on the back.
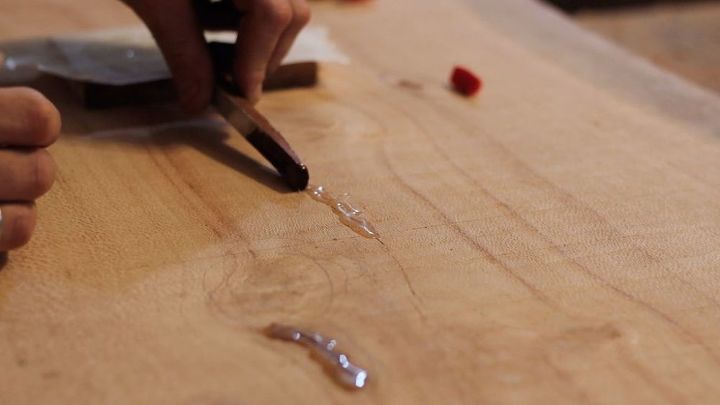
As the tree dries it normally cracks, unless you get very lucky. These cracks, and any remnants of knots, should be filled with epoxy or resin. This fills, but also stabilises, the holes.
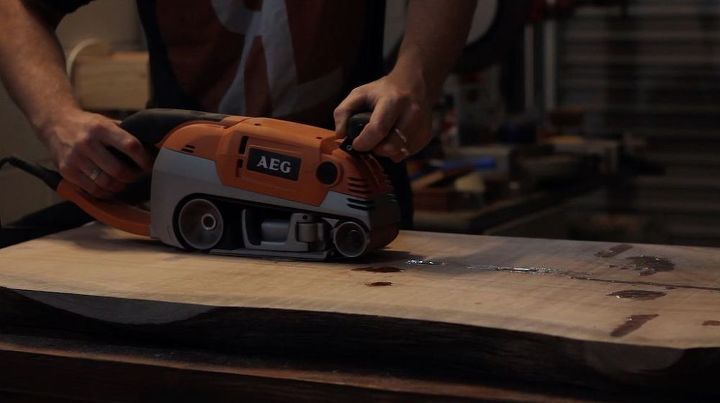
Once the epoxy was dry a belt sander was used to sand it level with the surface. The belt is also great for removing small nicks from the router.

The cracked ends were cut off to expose fresh wood. This was then belt sanded smooth.
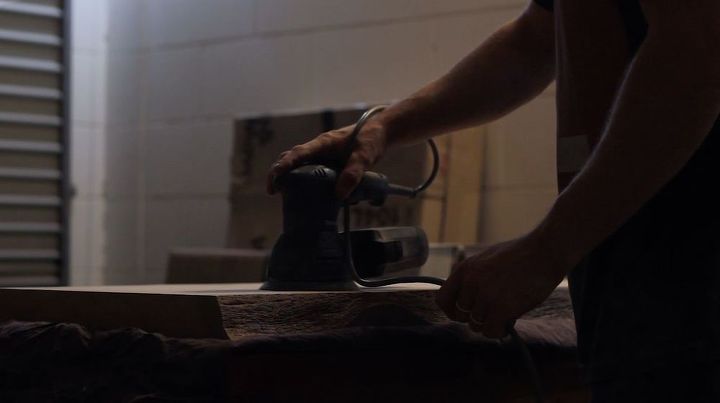
The random orbit sander brought the top and bottom up to 240grit. At the same time all the edges were rounded over with hand sanding.
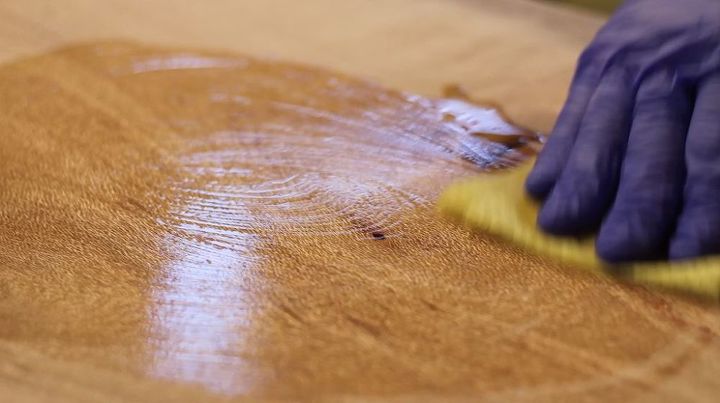
Probably the best part of the project, next I applied finish. I used a wipe-on, oil based polyurethane.
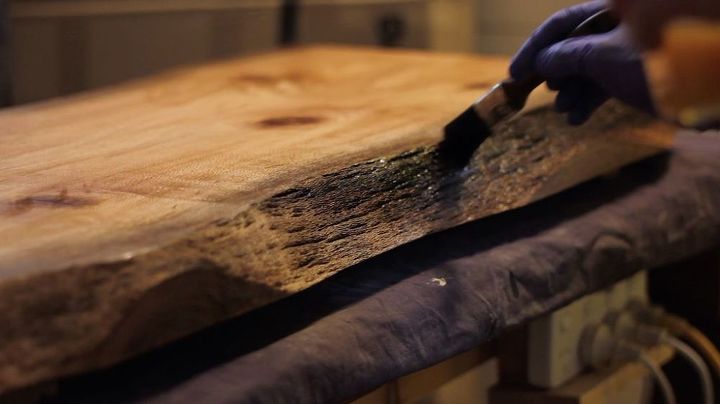
For the live edge I used a brush to get the finish into the grain.
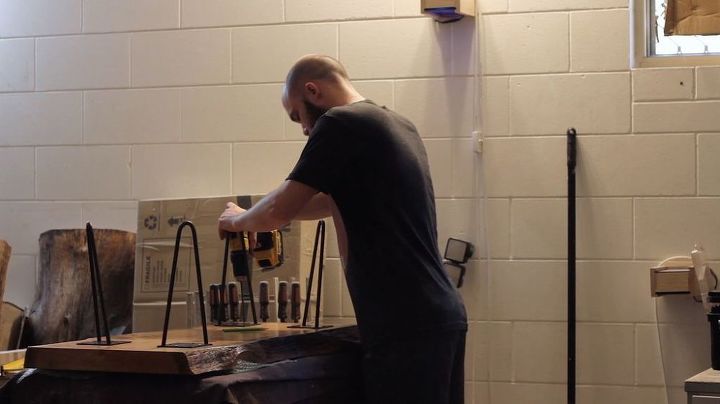
Once the finish had dried I screwed in hair pins legs. Hairpin legs get a bad name these days. They are very popular, and some may argue they too boring, but they server a purpose. I wanted something simple to display the tree. I could've worked on some fancy joinery for the legs but the idea was to remove anything that would detract from the silky oak slab.
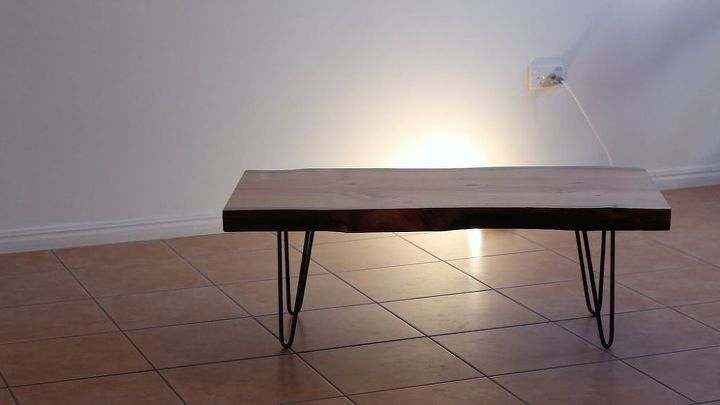
This is the new coffee table in my lounge. Every time I look at it I see my new favourite detail in the grain.
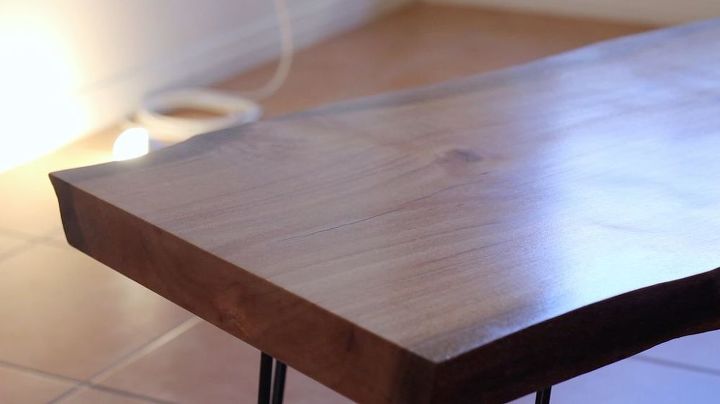
It was worth the 18 month wait.
Comments
Join the conversation
2 of 42 comments
-
Beautiful...a true heirloom piece...and something to be truly proud of.
-
Good


Frequently asked questions
Have a question about this project?
Did you soak the slab to prevent warping and shrinkage?
Your coffee table is absolutely beautiful! Well worth the 18 month wait...and I agree with everyone else, the hairpin legs were the perfect choice!
I'm interested in learning how you built the Router Sled. I'm new to wood working and your sled set-up is far less expensive than buying a big electric planer!
Thanks and enjoy your new table!!
Cheers, Robin. The table is beautiful and the instruction helpful. How would you go about making an end table out of the stump part of a tree, i.e., keeping a 24-inch portion of the tree round so it would sit vertically on the floor. Any ideas on how to get the top and bottom cuts level?