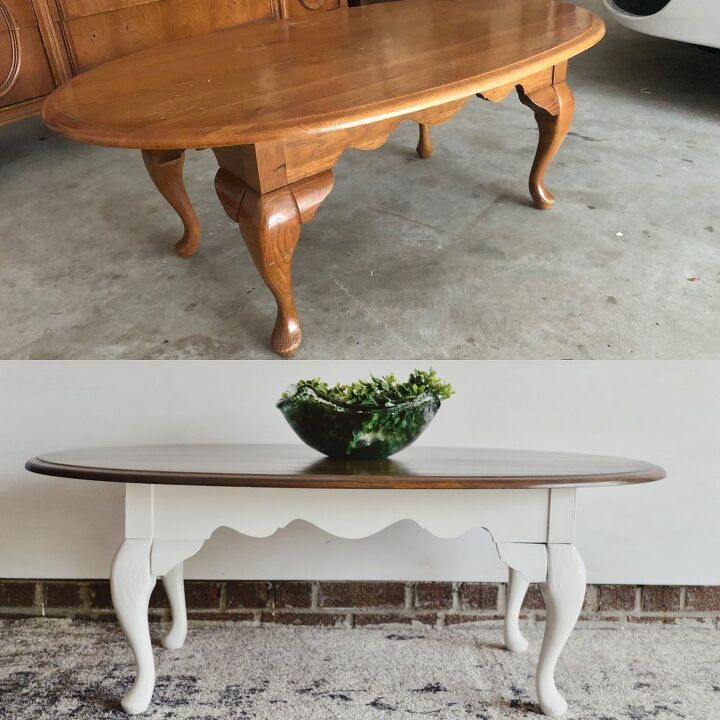
Out-dated Coffee Table Turned Farmhouse Chic

- Have an old piece of out-dated furniture you're thinking about getting rid of and replacing? Give it an easy makeover with some paint and stain and save yourself some money! -
Step one - Prep your furniture
clean off any grime and dust with a clean rag or cleaning wipe and remove all hardware.
Step Two - Sand
When sanding start off with a medium to fine medium grit sandpaper (100 - 150). You never know exactly what material you’re sanding down to, it’s always better to start off safe with a higher grit than with a coarse grit like 60 and sand down too far.
If painting the furniture piece you don’t have to sand down completely to the wood. You just want to sand down enough so the paint will stick. If sanding down to stain (piece must be wood), you’ll need to completely sand down to the original wood removing all paint or stain previously on the piece.
Once you do your initial sanding with whatever grit you use, you’ll want to finish it with a finer grit such as 220. This is extremely important when staining.
Step Three - Dust
Once done sanding all the dust needs to be removed. I use a little handheld duster and a rag, but you can also use an air hose, damp cloth or “oil free” tack cloth.
Step Four - Paint and/or Stain
Use your color of choice and paint away. Most pieces usually take 3 coats, 2 if you’re lucky. Make sure you’re painting with an even coat throughout the whole piece. Allow drying time between each coat (this is why it can take a couple days to complete).
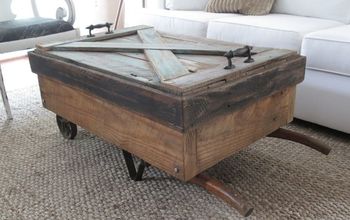
For this piece I stained the whole top, and painted the bottom. Since they were so separate I did my painting and staining all at once. This saves time too! Make sure to wear a glove, stain can be a pain in the butt to get off your hands and finger nails.
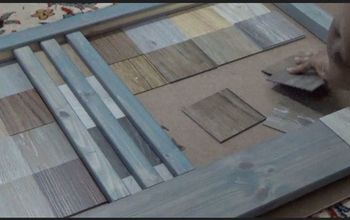
For the top of this piece I stained with two coats of Brairsmoke and then did a very thin coat of Antique White to give it a bit of a different look. I love experimenting with pieces and combining two stain colors is a fun way to do that!
- Paint - Bistro White by Valspar
- Stain - Brairsmoke by Rustoleum & Antique White by Rustoleum
Step Five - Seal
Depending on what kind of paint you use you’ll seal with poly or a wax. For this piece I used an eggshell finish paint so I used polycrylic to seal it. If you were using a chalk paint I recommend using a wax to seal.
To apply the polycrylic I use a clean paint brush (one I only use for poly to ensure no paint is not mixing with it) and brush it on evenly. I usually do two coats, but for this piece I did three. If it’s something that’s going to be touched or used a lot such as a coffee table, I suggest doing a third just to ensure it’s going to last a long time. It makes it easier to wipe down too!
To seal the stain I always use Polycrylic Matte finish. I usually do two coats of this and sand with 220 grit in between coats, making sure I remove all dust particles with a cloth.
Step Six - Find your finished piece and home and enjoy!
Now that you have a beautiful new piece of furniture, the fun part starts - finding it’s new home in your house and decorating!











Frequently asked questions
Have a question about this project?
Had you opted to fill in the gaps where pieces join so that the joints were flush and smooth, what would you have used?
I noticed you stained the top of table, the sealer you used for the top was it for oil base stain? I thought if you used oil base stain you had to use a sealer just for oil base but maybe I misunderstood on the type of stain you used???? I want to try this.