


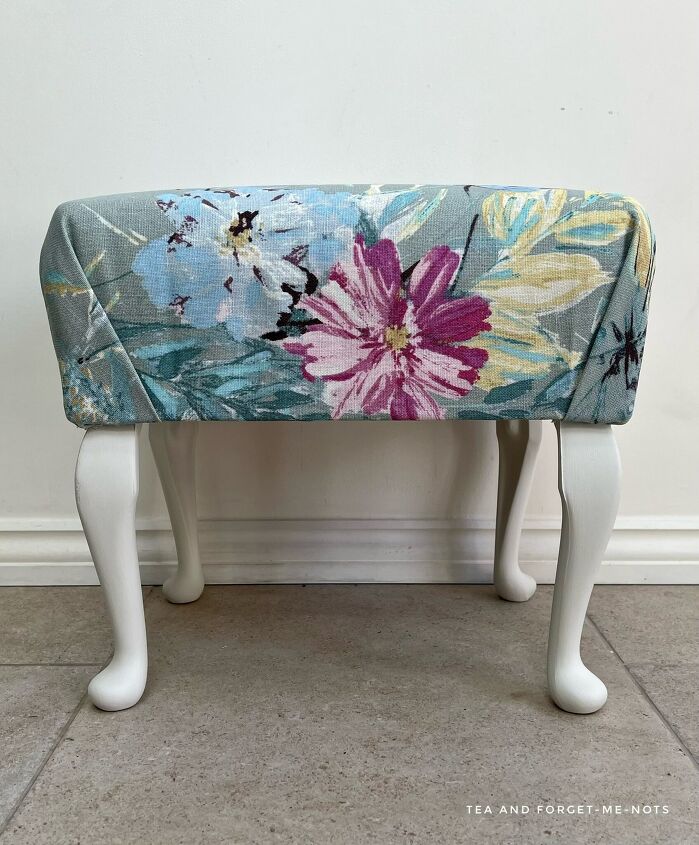
Reupholster an Old Footstool in 7 Easy Steps

Want to reupholster an old footstool? Here’s how to bring it up to date or to fit with new decor in 7 easy steps.
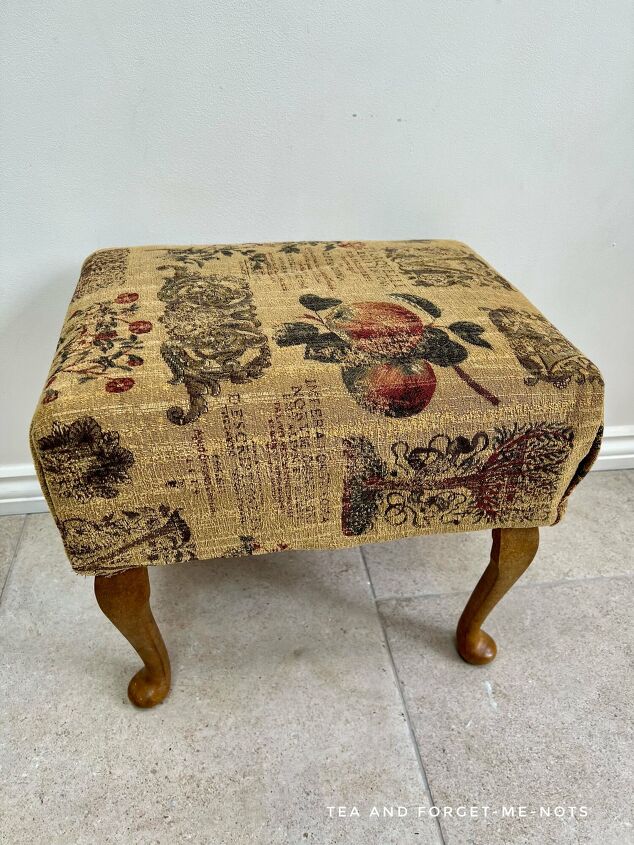
I got this footstool for £4 from a charity shop. It’s a nice size, in good condition, just a little sad and shabby.
I’ve had some fabric in my stash for a year or two and have waited for the right project to use it on. It’s the perfect style to reupholster an old footstool with a fresh, springtime look.
Step 1 – remove the fabric
Once you remove the fabric, you know what you’re working with. Fortunately, this fabric was only held on with several nails on each side. I easily removed them with a hammer and pliers.
However, I have reupholstered pieces before, like this one, where the staples took at least an hour to remove. This step can really add to the time unexpectedly.
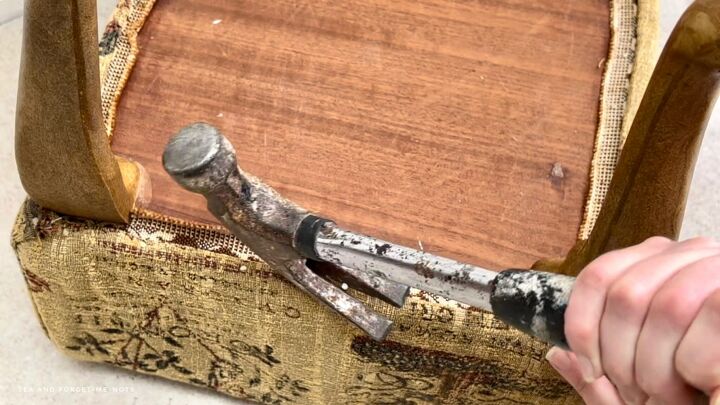
I paid particular attention to removing the nails from the fabric after it was detached. As I don’t want any unsuspecting people finding the fabric in the future with nails left in it.
Step 2 – clean
A quick clean is so important to freshen up the piece. Whether that’s to remove dust and dirt before painting or just so you start with a clean canvas.
I cleaned the legs with White Lightning and then rinsed them with plain water.
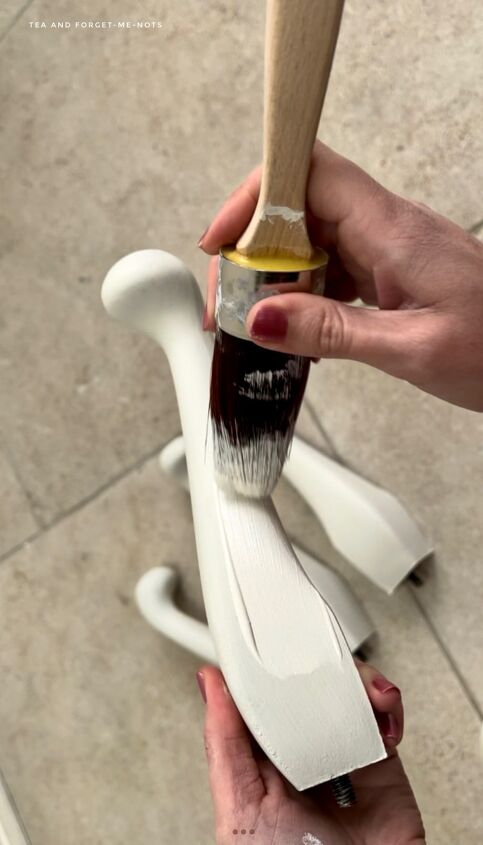
Step 3 – paint the legs
Painting the legs is optional. It depends on what you start with. I could tell that these legs were fake wood. There was a ridge on the feet where they were stuck together.
So, I didn’t feel the need to keep the brown, wood-effect plastic. If you have wood, you might want to stain them instead of paint them. Or, of course, leave them as they are.
I chose a lovely white called Raw Silk from Fusion Mineral Paint.
It’s the colour of my prettiest makeover ever!
I needed three coats to get the perfect coverage. And I didn’t seal it because Fusion has a built-in top coat.
Step 4 – cut the fabric
Next, use the template of the existing fabric to cut out your new fabric. Place the new fabric underneath it and use it as a guide.
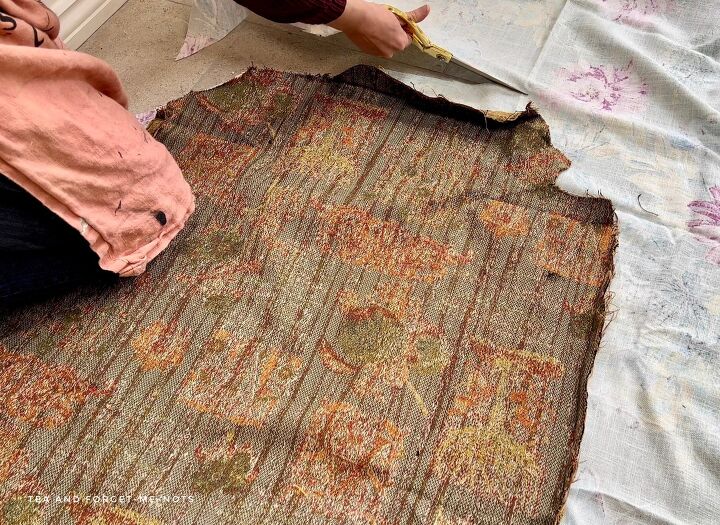
You should cut slightly larger than the existing fabric because remember the template is the finished size. That shape is when the corners have already been trimmed down and is as small as it can be.
You can add new fabric on top of the existing fabric. Although it might make getting neat corners harder depending on how bulky it is. The most important thing is to not add light coloured fabric on top of dark fabric, as it may show through.
I also removed my fabric because I didn’t know the background of the footstool and how clean it was. Better to be safe than sorry.
Step 5 – press the fabric
Next, iron the fabric on a medium heat. I recommend ironing it pattern side down. And you can do this with a cloth on top of the fabric to protect it.
Keep an eye on it to make sure that the setting you have it on is high enough to get the creases out. Also, keep the iron moving so that it doesn’t risk burning the fabric by staying in one place for too long.
Step 6 – attach the fabric
Firstly, confirm that you cut the fabric to the right size. Do this by checking that each side covers the side and that there is also enough fabric to fold it under itself for a neat edge.
If there isn’t enough fabric on one side, reposition the piece. This might be all you need to do to get it to fit all around.
Start by choosing one of the longer sides to attach. Pull the fabric up firmly, fold it over to create a neat edge, and use a staple gun to secure it in place.

I finished the first side and then stapled the opposite side. Make sure to pull the fabric tight so it isn’t too loose and likely to crinkle.
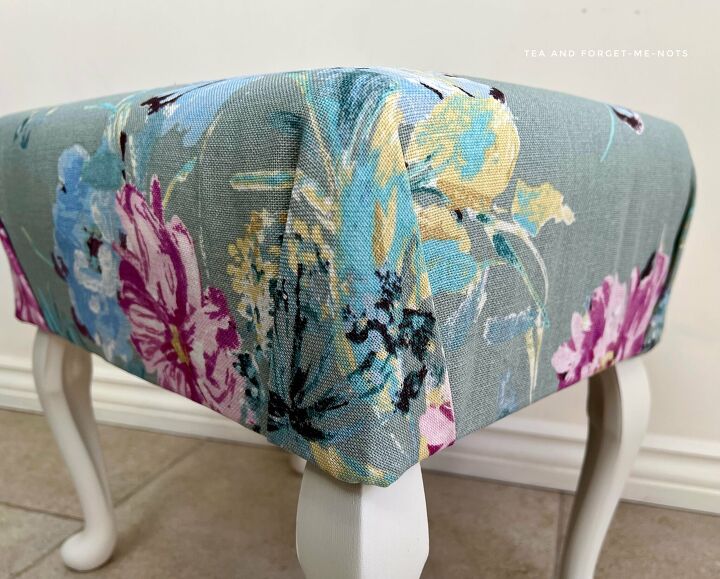
Then repeat with the other two sides. By the end, all four sides will be stapled and the corners ready to tidy up.
There are different ways you can staple the corners. Either pleat them or create neat folds. Depending on whether you want to create more of a feature of them or not.
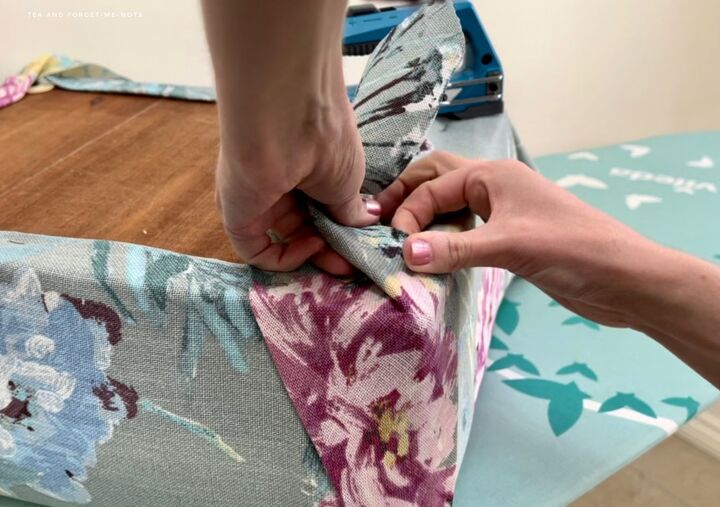
For this piece, I chose to make them stand out more. I folded them into a triangle and then stapled the tops to keep the shape in place.
Step 7 – cut the excess fabric
There will be fabric left that needs to be neatly trimmed. You can use a dust cover as an extra layer of material to hide imperfect stapling. I didn’t here as it was a neat enough finish for me.
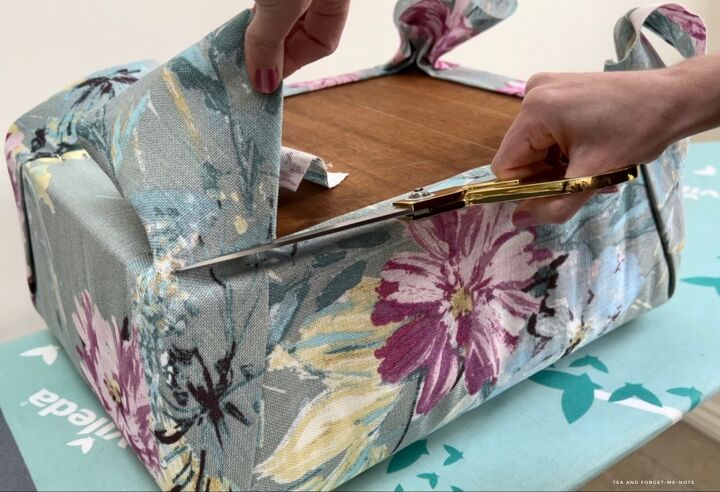
I recommend trimming the fabric and then stapling it again until you get it as neat as possible. It’s the underneath so no one will see it but it’s still nice to keep it looking as tidy as possible.
So, it is worth it to reupholster? Fabric can be expensive but if the piece was free then that’s the only cost you’re adding. Also, if it’s your own piece that you want to update then it’s cheaper than replacing it with something new.
It can also make a piece original. You could have a Harry Potter-themed footstool or your favourite band. It gives you options beyond what you can buy at a shop.
And if you change your mind down the line, all you need is some more fabric to reinvent it. The possibilities are endless.
As with all upcycling, it doesn’t have to be perfect if it makes it something special to you.
Want to know the 5 tools under £15/$20 that will make your life easier?
Resources for this project:
See all materials


Comments
Join the conversation
-
Just awesome
-
Very pretty!


Frequently asked questions
Have a question about this project?