


Cabinet Door Message Board and Organizer
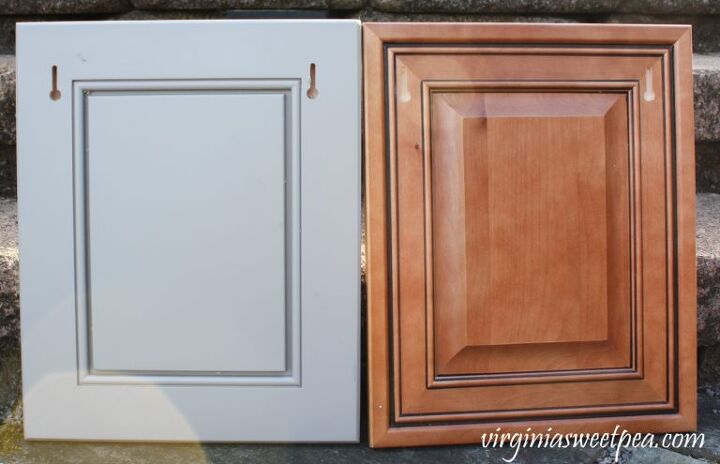
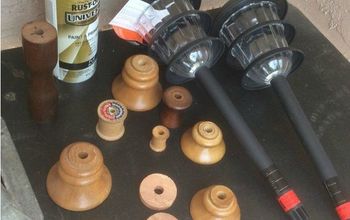
My mom’s friend passed along a stack of cabinet door samples to me a few years ago knowing that I would enjoy using them for an upcycle project.
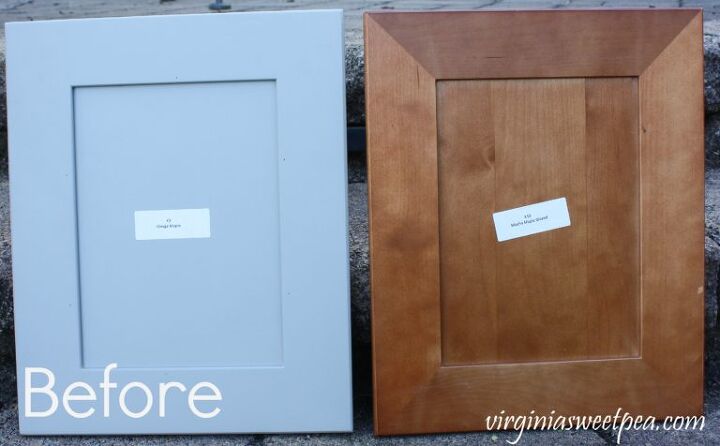
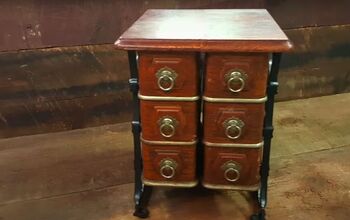
I used two of the doors to make a message board and organizer.
I kept one and gave the other to a friend as a gift. This was a simple DIY that is so useful.
My cabinet doors are a small size since they are samples but I think this project would be even better using a full-sized cabinet door. Cabinet doors can be found inexpensively at your local Habitat Restore.
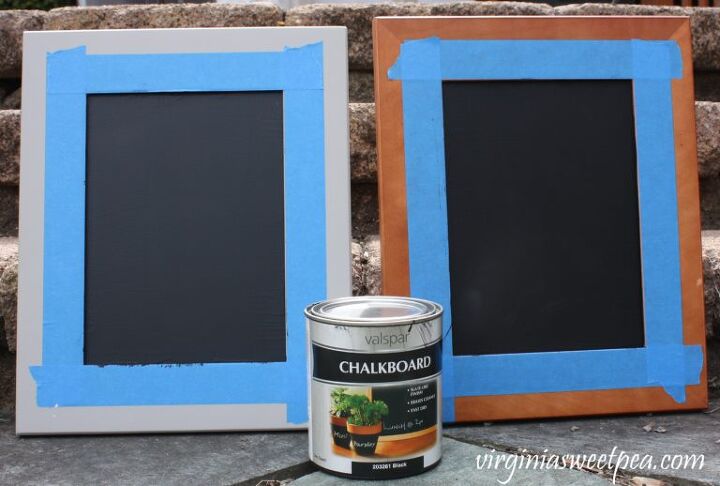
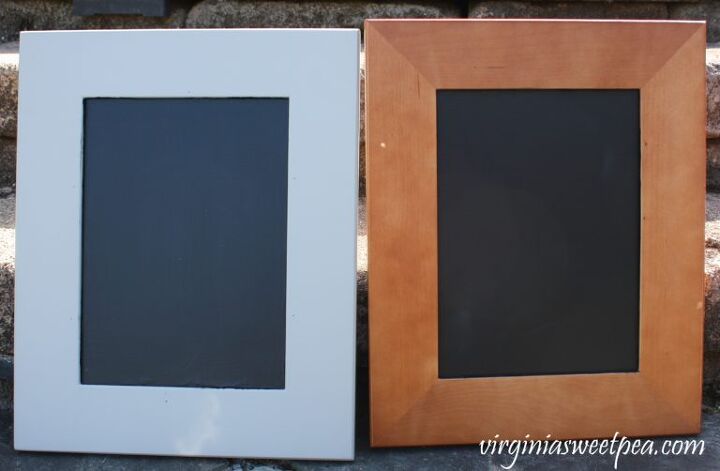
Tape off the cabinet door and paint with chalkboard paint.
I used four coats for good coverage.
When I painted the doors, I alternated the direction of brush strokes with each coat. I did this to make sure that the door was thoroughly covered with paint.
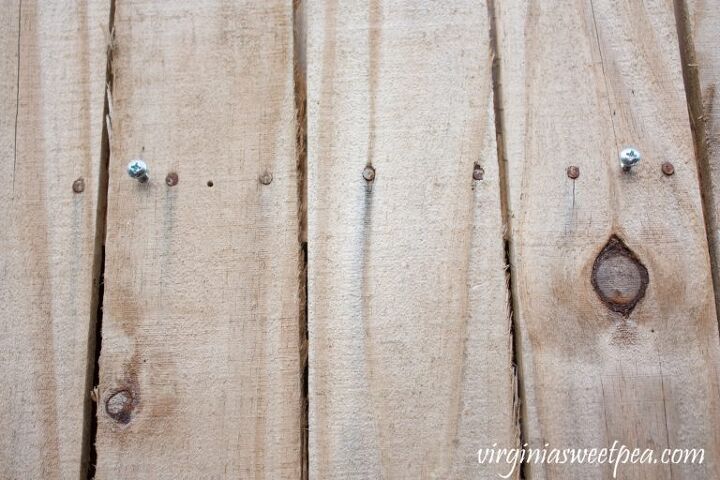
Use a router with a keyhole bit to make keyholes on the back of the doors for hanging.
Using keyholes to attach the message board to the wall keeps it firmly in place.
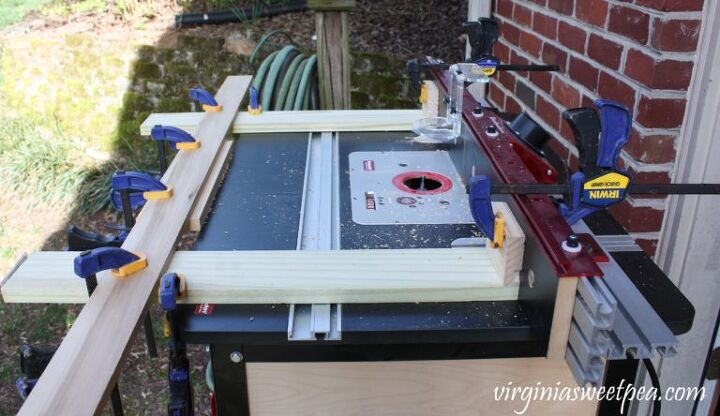
My husband set up a jig on his router table to get the keyholes in the same spot on both doors.
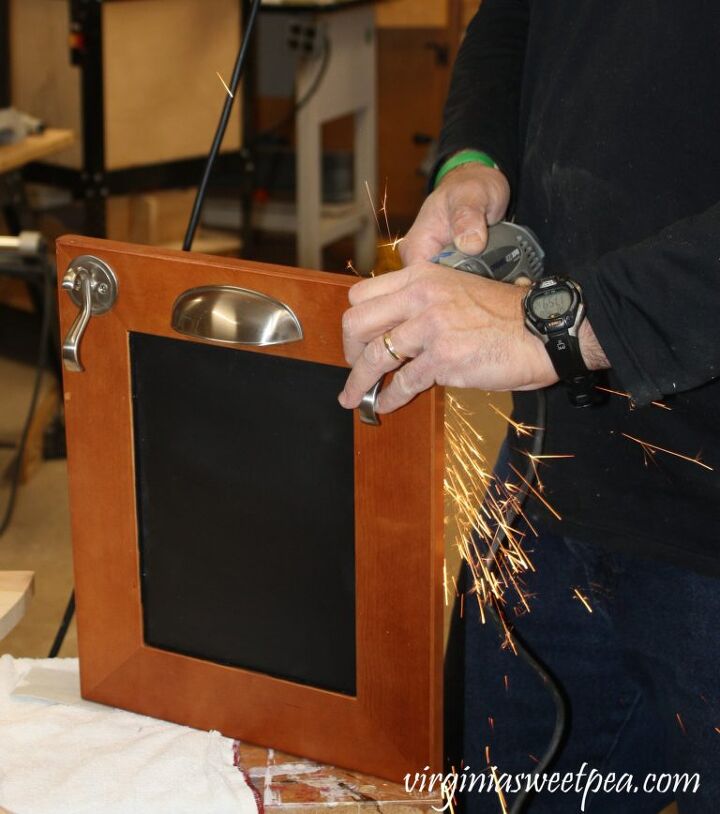
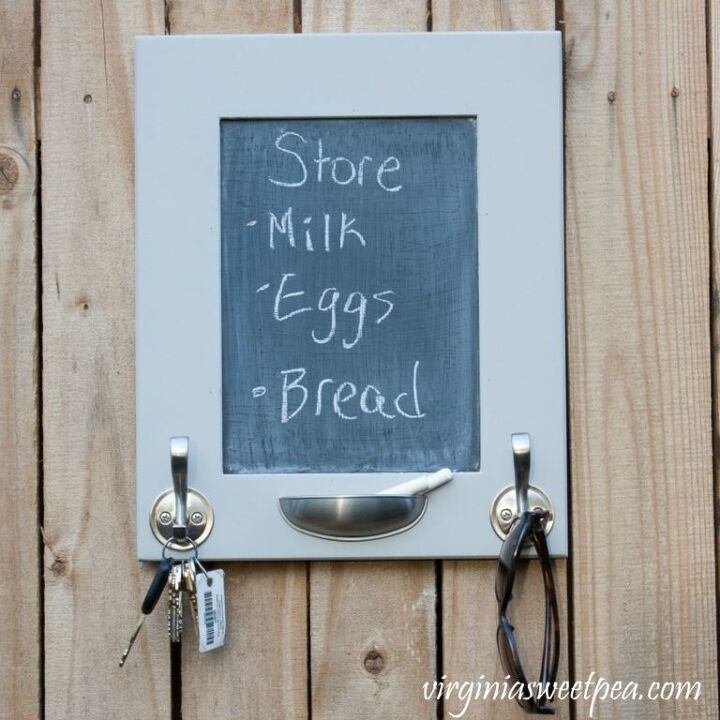
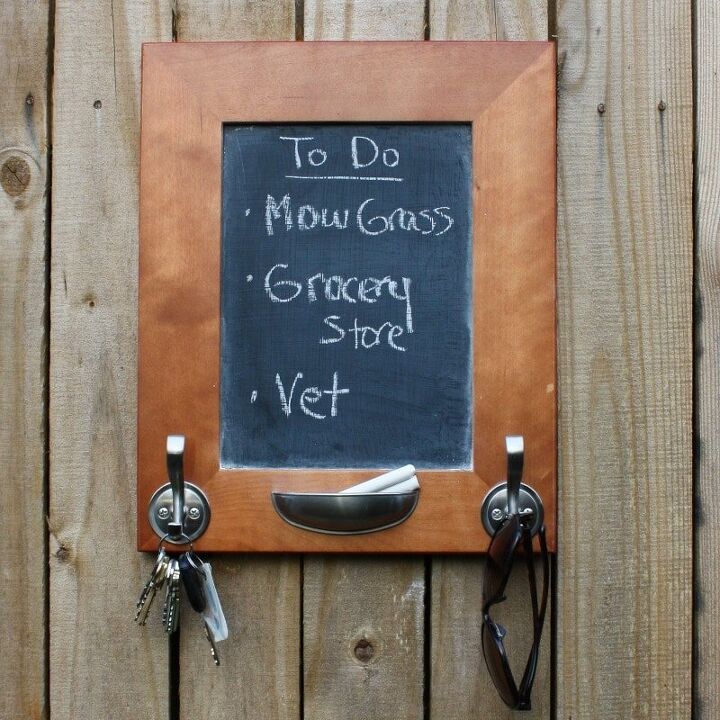
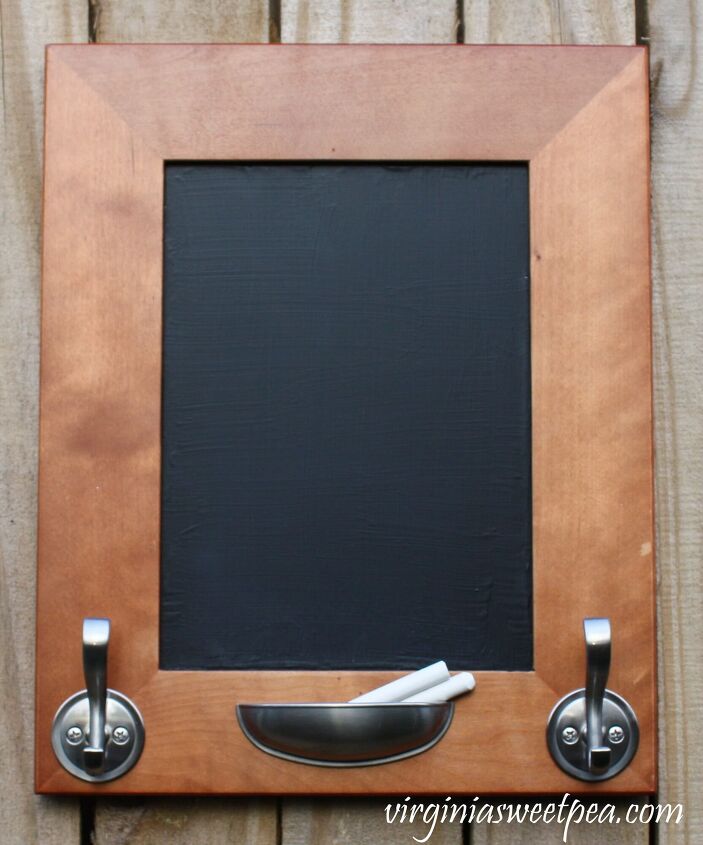
Add the cup pull to the cabinet door followed by the hooks. The hook screws were too long, so my husband ground them down with a Dremel tool.
To attach the message board to the wall, measure the distance between the two keyholes on the back of the message board and then screw two screws into the wall where you want the message board to hang.
For demonstration purposes, these screws were inserted into the folding wall that I made to use for selling at vintage markets.
Fresh chalkboard paint looks so pretty but the paint must be “seasoned” before you write on the board. If you don’t “season” the paint before you write on the board, the chalk will permanently etch the paint.
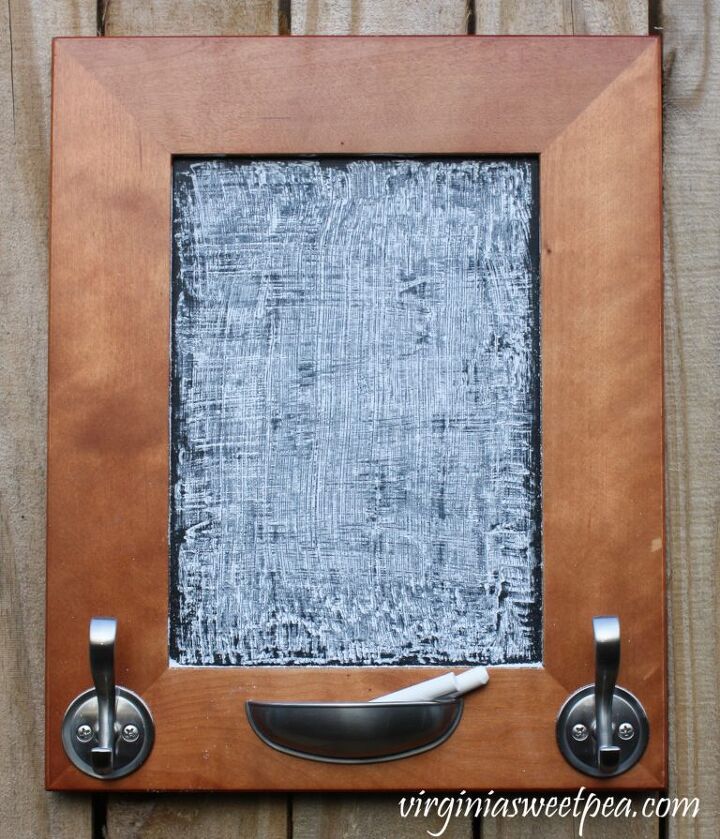
To “season” the paint, rub chalk all over the board in all directions.
Then wipe off the excess chalk with a cloth or chalkboard eraser and your chalkboard is ready to be used.

The cup pull makes a perfect spot to keep chalk.
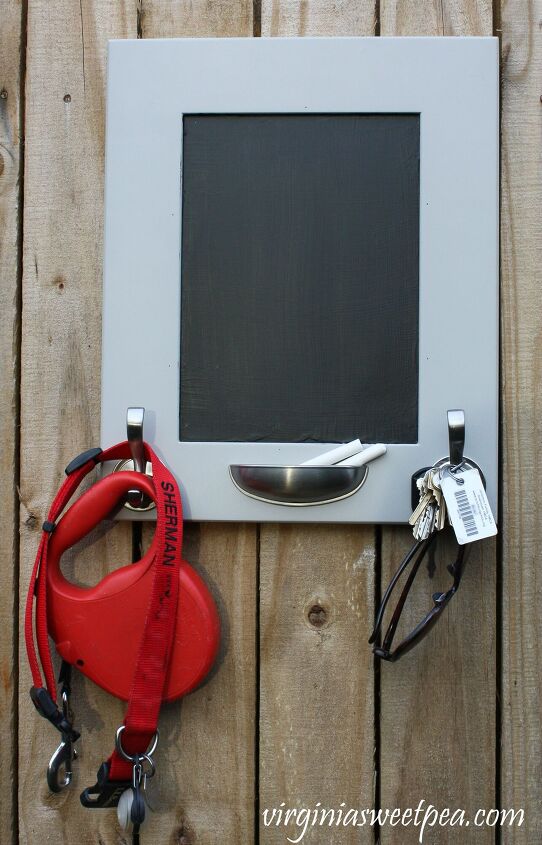
Thanks to hanging the message board with keyholes, the board can be written on without moving around.
It also is strong and the hooks can handle holding a good bit of weight.
Resources for this project:
See all materials


Comments
Join the conversation
-
Very useful. Really like the pieces. Thank you for sharing.
-
Great idea! Don't forget to take a picture of your grocery list on your phone, that way you'll have it just in case you forget to write it down. We all have our phones everywhere we go right.


Frequently asked questions
Have a question about this project?