


Fun DIY Colour Coordinated Magnets

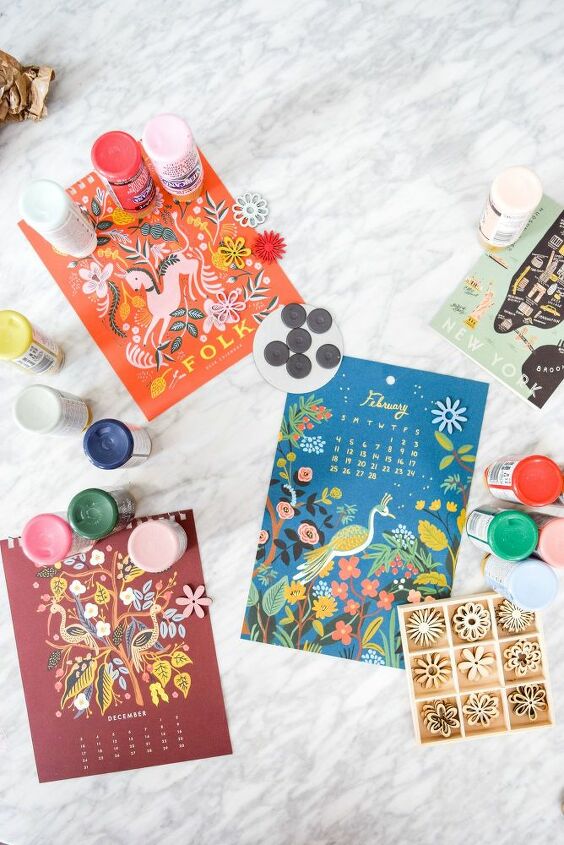
Fridge magnets are something we needed in the studio, but I didn’t just want them to be off the shelf at the dollar store. Like all things I do, they had to be colourful, coordinated and tie-in with the vibe of the studio. One afternoon I was wandering the aisles of the craft store and found a set of laser cut flowers for 2$, and couldn’t pass up a chance to use them. I drew inspiration from the pages of my Rifle Paper Co. calendar and made these fun DIY colour coordinated magnets.
Materials required from Colour Coordinated Magnets
- Laser cut wood shape flowers
- Circular magnets
- Hot glue gun
- Americana Acrylic Paints
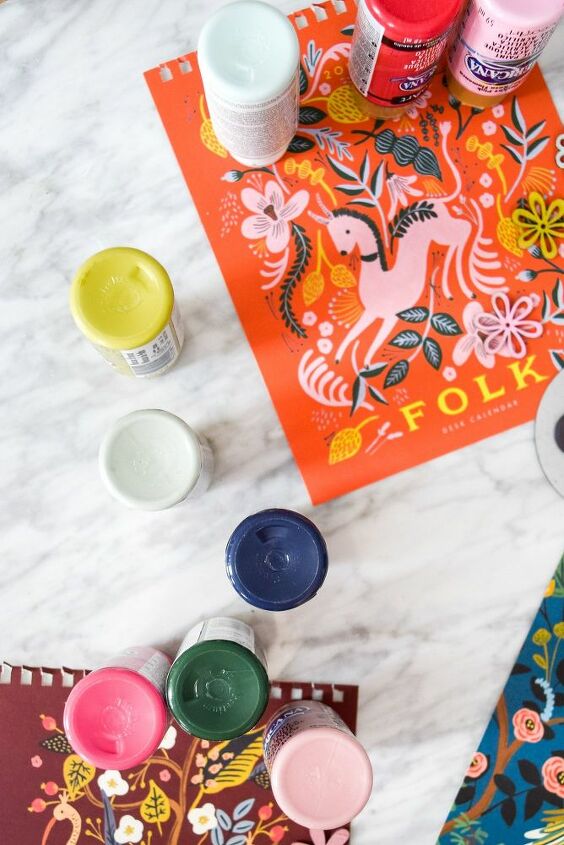
If you’re colour coordinating to particular pieces, grab them and pick 4-5 colours that really pop, to use for paint. I have quite the collection of acrylic paints, so it’s easy enough for me to pick from my collection.

Once you’ve got your colour palette, start painting! I used a fine tip brush to get al the nooks and crannies. Super easy, only takes a few minutes.
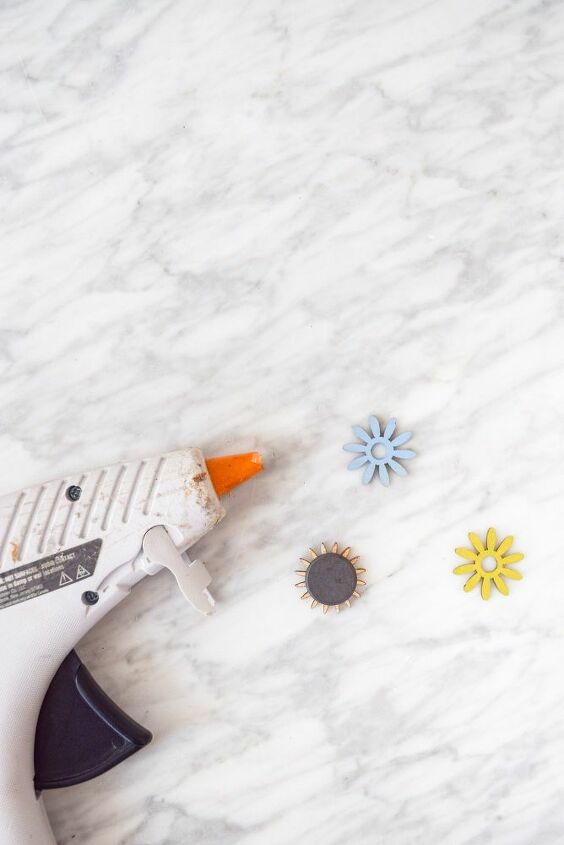
Once they’re dry, glue them to the magnets! This is – no joke – the easiest craft I’ve ever done.
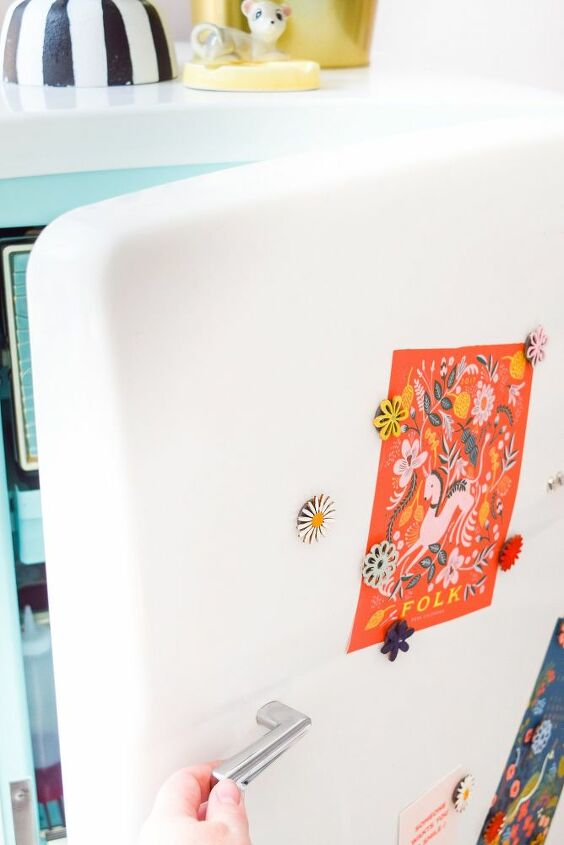
That’s it! You’re done. Hang ’em on the fridge with your pieces, and you’re good to go. If you’ve got 15 minutes to spare and need some colour coordinated magnets, this is he project for you.
Resources for this project:


Frequently asked questions
Have a question about this project?