


DIY Lazy Susan Organizer - With Video Showing How to Install
5 Materials
$15
4 Hours
Easy
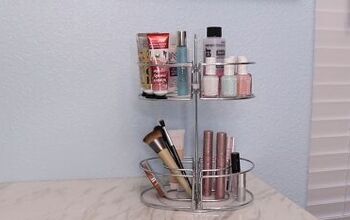
Lazy Susan’s can be a great way to organize your home. But it can be hard to find the right size for every spot. So, let’s build it!
I have 2 DIY’s for you today. And they’re both easy. Yea!!
First, the quick and easy steps to build a custom beadboard box. Get perfectly sized and pretty storage for any space.
Second, a how-to video that’ll quickly show you how to use Lazy Susan Hardware. Then you can turn that beadboard box into a DIY Lazy Susan Organizer. Double yea!!
Lazy Susan hardware is easy to buy, but it looks kind of complicated. After watching my video, you’ll want to build a DIY Lazy Susan Organizer for every crowded cabinet in your home. And you can turn most wood rounds, squares, trays or boxes into a Lazy Susan.
{
"id": "4571580",
"alt": "",
"title": "",
"video_link": "https://www.youtube.com/embed/zN-2IHUZ6gE",
"youtube_video_id": "zN-2IHUZ6gE"
}
{
"width": 634,
"height": 357,
"showRelated": true
}
Watch this video to see how easy it is to install Lazy Susan Hardware.
Note: For this lightweight box, I actually skipped the screws and used Super Glue.
To Build the Beadboard Box:
- Pick the best size for your space. If you will be adding Lazy Susan Hardware to the bottom, make sure to leave enough space around the box to allow for spinning.
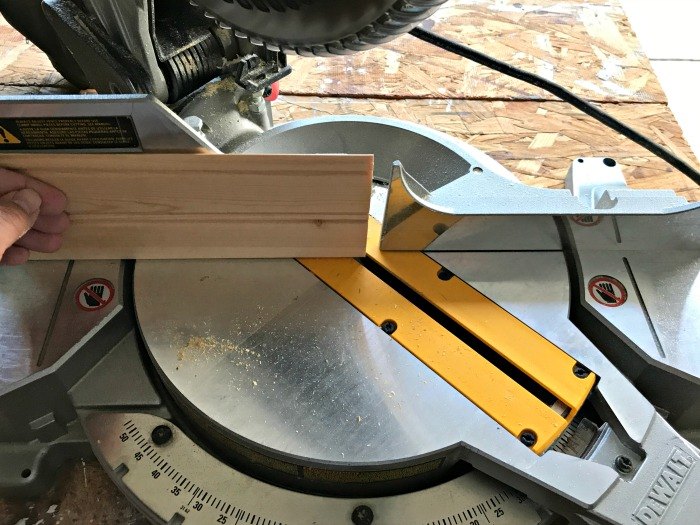
- I used my Miter Saw to cut 45 degree angles on the sides. This beadboard is from a pack of beaded wall/ceiling planks. You can find them at stores like Lowes.
- You can also use 1/2" or 3/4" wood, MDF, or plywood to make this basic open-top box design.
- I used 3/4" wood as the base of the box.
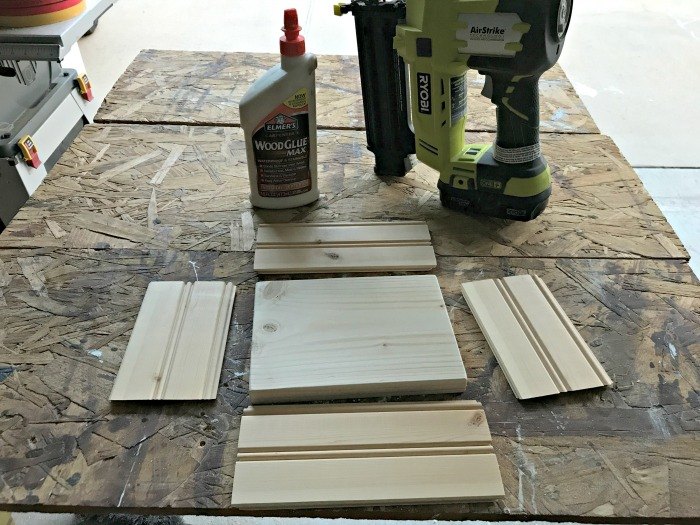
- Apply wood glue to one side of the base, carefully line up the side on that base and use a couple brad nails on that side. I used a brad nailer, but you can use a hammer.
- Finish the other 3 sides, carefully lining everything up.
- Once all 4 sides are on, apply a bead of glue along the inside of all 4 corners. Wipe away excess with a damp cloth.
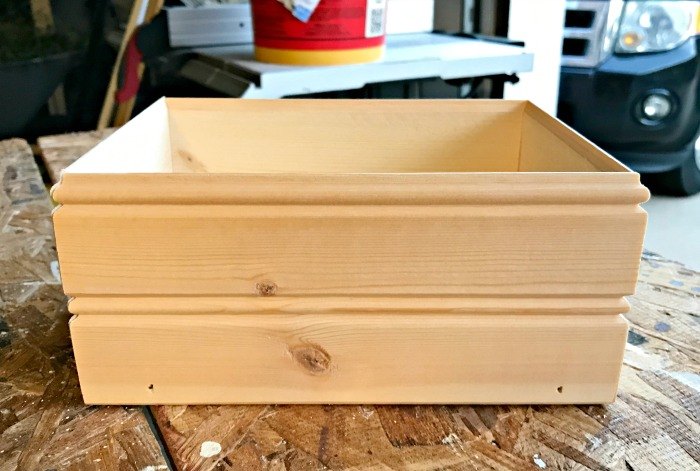
- Let the glue dry. Apply wood filler to the outside of the corners.
- Allow filler to dry.
- Lightly sand corners and the rest of the box with 120-grit sandpaper.
- Wipe off all dust.
- Apply stain and/or paint of choice. Finish off with poly.

You can get the full details on the stain and paint I'm using on my site.
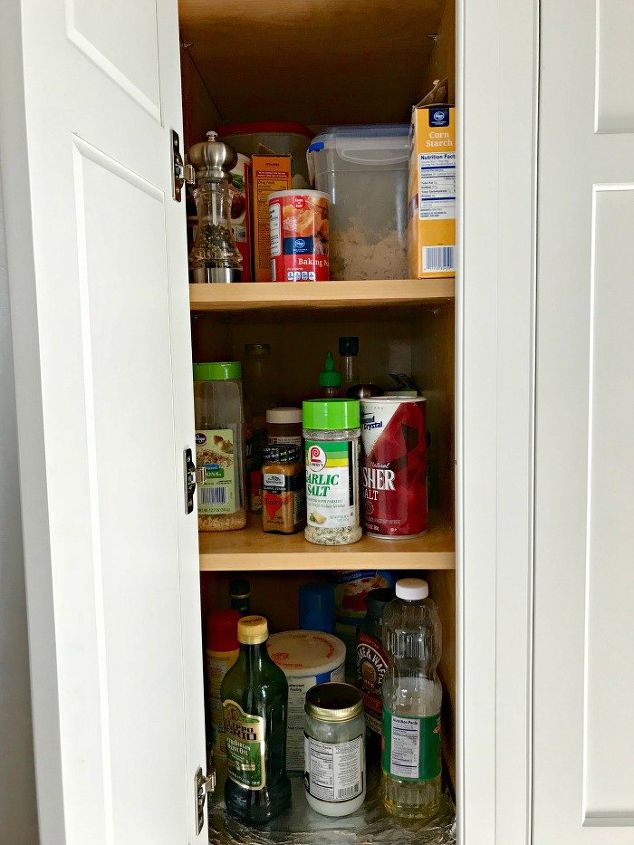
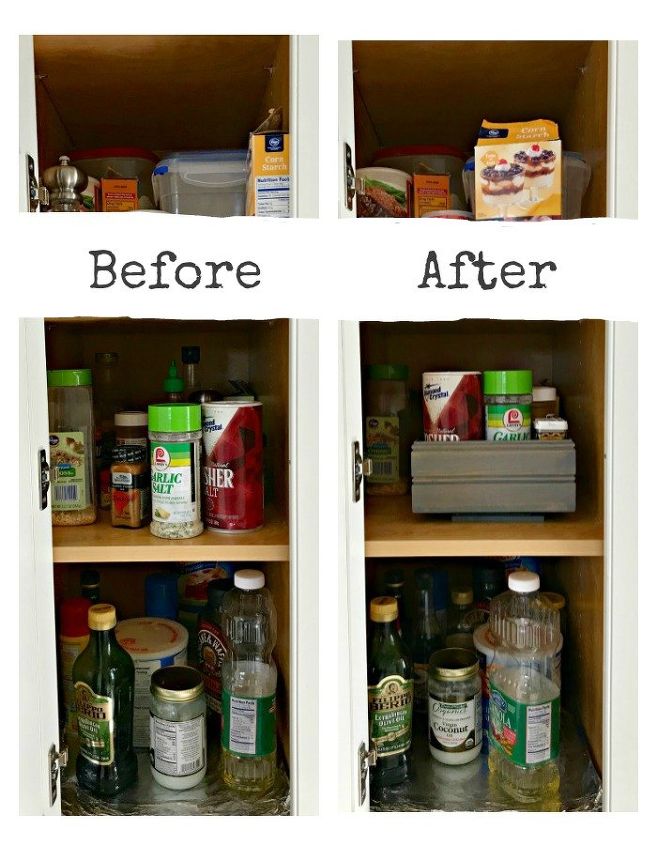
I turned this box into a Lazy Susan to organize my spice shelf (in the middle). It's a tight cabinet. I usually have to move things out of the way or take them out completely to find the right spice. Now, I have all of the spice in this box. I can just spin till I find the right one. And it doesn't look like a mess in that cabinet anymore. In fact, I cleared up a bunch of space behind the boxes. So, I could store more things in there.
In the next few months, I plan to turn that bottom shelf into a pull out drawer.
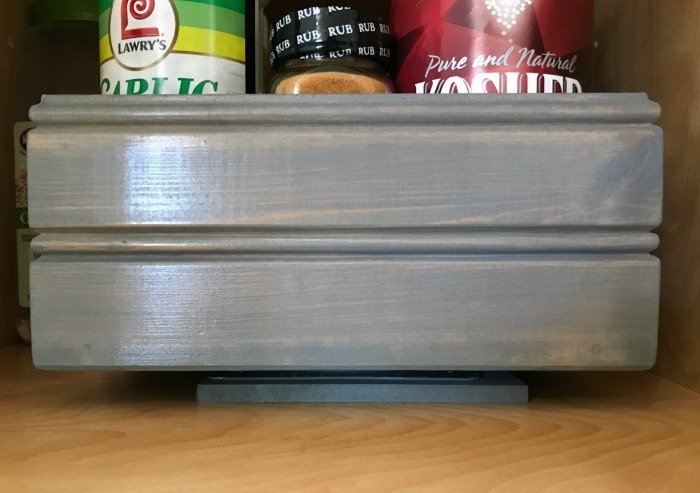
A close up of the box with the Lazy Susan Hardware underneath. I used MDF as the base under the hardware.
Resources for this project:
See all materials


Any price and availability information displayed on [relevant Amazon Site(s), as applicable] at the time of purchase will apply to the purchase of this product.
Hometalk may collect a small share of sales from the links on this page.More info

Want more details about this and other DIY projects? Check out my blog post!


Frequently asked questions
Have a question about this project?