


DIY Cornhole Boards

Summer is a great time to get outside and have a little fun. With this project, you can make your own cornhole game to play with friends!
Materials:
-plywood sheet (preferably 1/2”+, 4x4 or 4x8)
-(4) 1x3s
-4 carriage bolts, lock nuts, and washers (3/8”, 2” long)
-paint, stain, or sealer
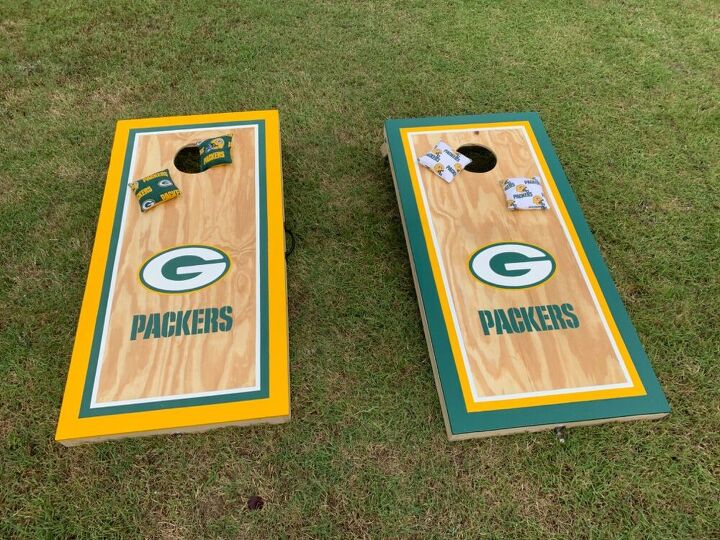
-8 bean bags (2 colors, 4 of each color)
-screws and/or nails (I used 1 1/4” pocket hole screws and 1” galvanized nails)
-wood glue
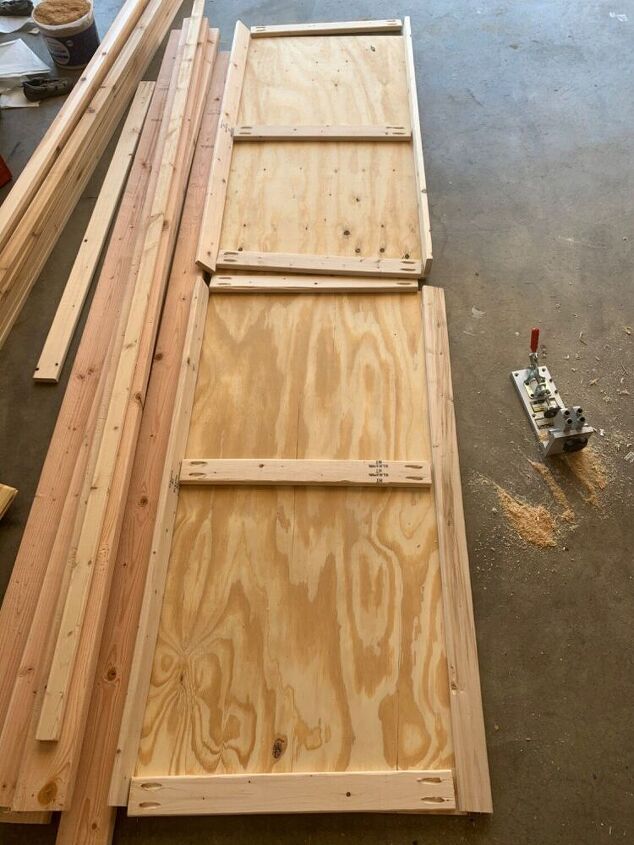
Setting up the structure for a corn hole boards is pretty simple. Each board consists of a sheet of plywood, a basic box frame with center support, and angled legs at one end. I made these at official size, but you can also make a smaller version for tailgating.
To make the boards, cut a sheet of plywood to size (plywood should be at least 1/2” thick if you want to follow official rules, but can be slightly less if you aren’t being that picky). Mine are each 2 feet by 4 feet. If you buy a whole 4’x8’ sheet of plywood, you have enough to make 4 full-sized boards, or two game sets.
To keep it lightweight and easier to move around, I used 1x3s for the frame. Cut 4 pieces at 48” for the sides, and 6 pieces at 24” minus the width of each side. My boards were approximately 3/4” thick, so I cut mine to 22 1/2”.
To assemble, I used a pocket hole jig. If you don’t have one, you can screw the frame together from the outside. Make sure you use wood glue and a carpenters square while assembling.
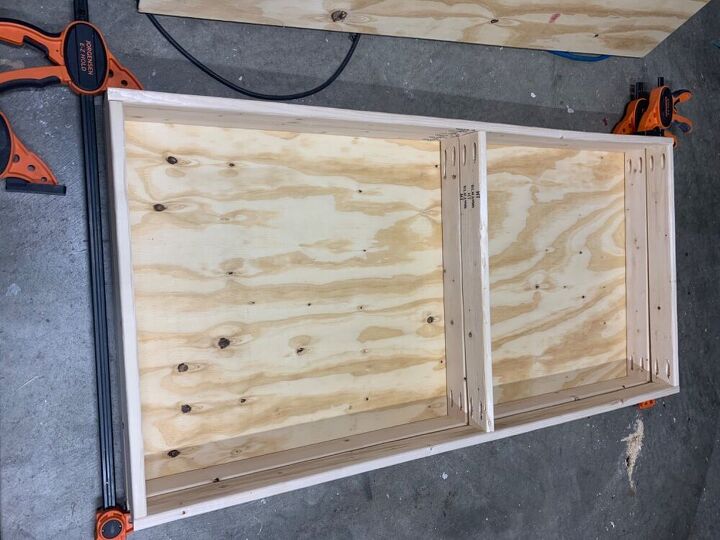
To be able to latch the two boards together, it helps to assemble them while together so they fit. If you used thick plywood, you can also use pocket holes to attach the frame and plywood together. Ours wasn’t thick enough, so I used glue and galvanized nails from the plywood into the frame. If you go this route, you will have to make sure everything is flush when you are finished so the plywood is completely flat on top.
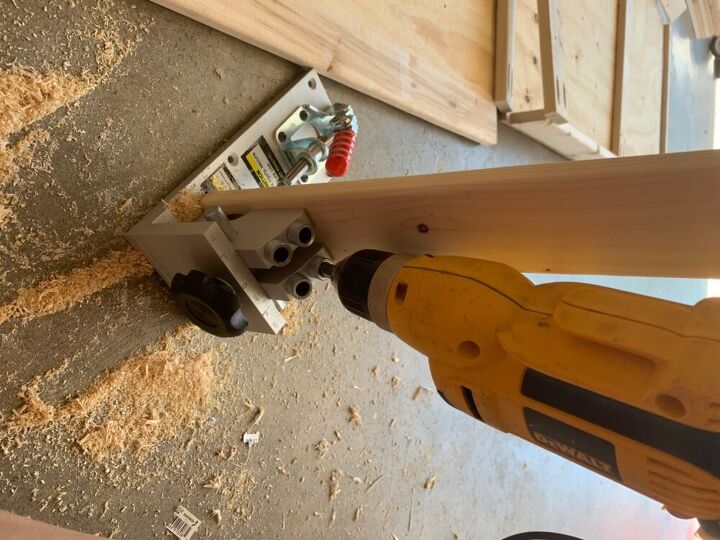
For the legs, cut 4 pieces of 1x3 to 13” and carefully round one end. Drill a hole, centered in the board and the same distance from the rounded end as it is from the sides. Use a small board as a spacer between the rounded end and the inside corner of the frame (on one end of each long side), and drill through the outside frame.
(A 1x3 scrap is a little too thick to use as a spacer, which I figured out after assembling the legs. Doesn’t ruin the project, just makes the boards sit a little too low. If you can, use something around 1/2” or less.)
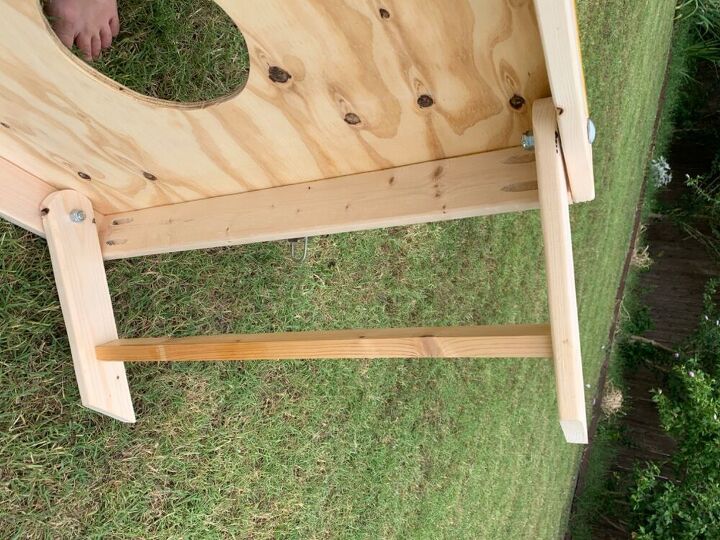
Insert 2” carriage bolts (I used 3/8”) from the outside of the frame through the leg pieces with a washer in between. Remove the spacer and flip each leg down. Determine the angle needed at the base of the feet to sit flat, slide them off the bolts and trim them. Add a board between the legs to connect and stabilize them. Finish with a locknut on each side, but do not over tighten. You want the legs to move easily.
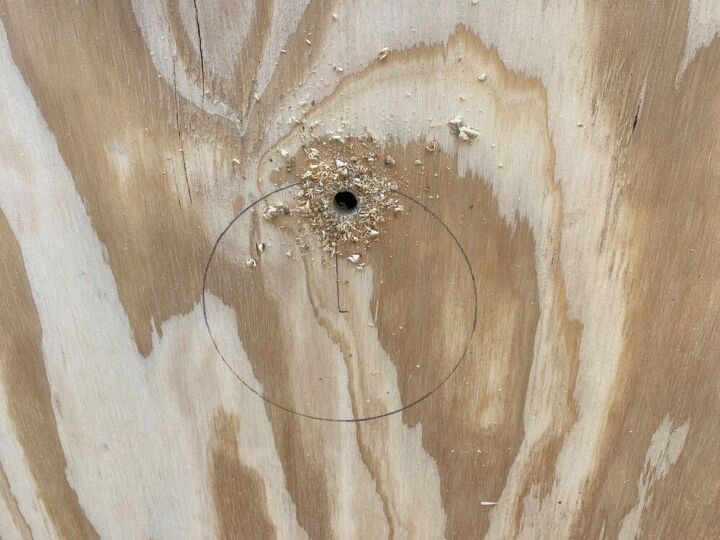
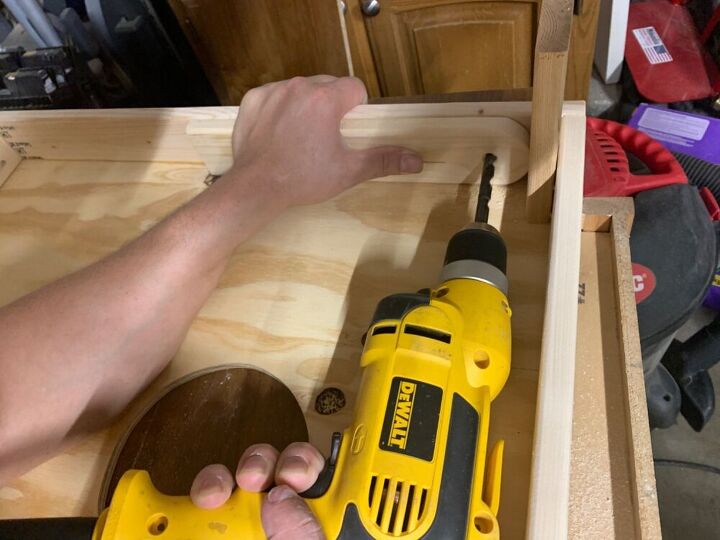
To cut the hole for the bags to slide through, mark a 6” circle centered 12” from the sides, and 9” from the end with the legs. If you have a 6” hole saw, use it. If not, you can cut it out with a jig saw.
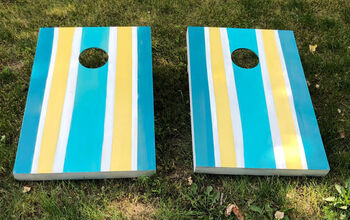
Sand everything well, paint and seal the boards as desired. The surface should be smooth enough that the bags will slide without snagging, but not so polished that they slip right off.
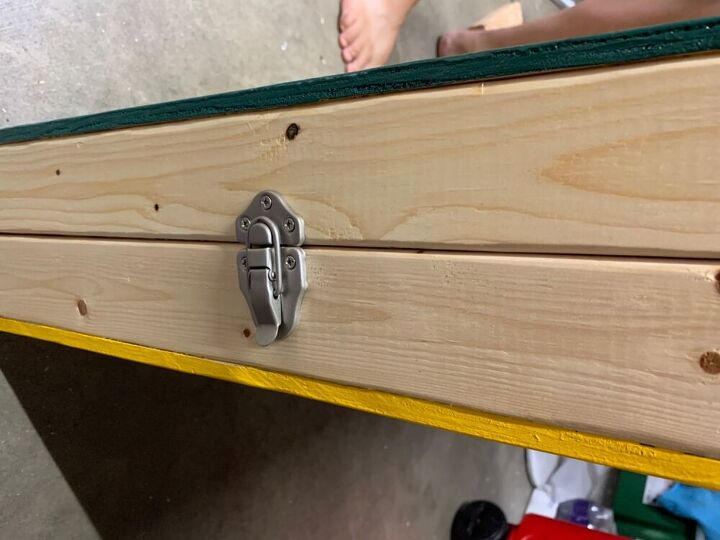
To attach the boards together, line them up and install a chest latch on each of the short ends. (We originally planned to also add dowels on one of the long sides, but these latches were strong enough to keep things together without the dowels.)
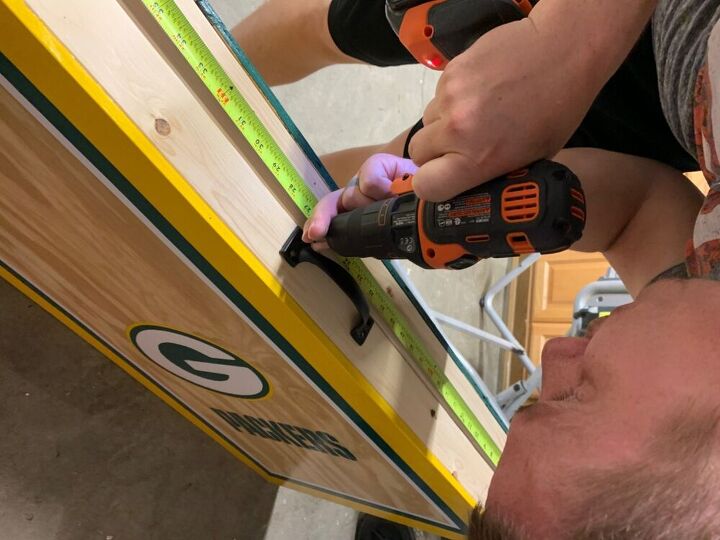
Install a handle on the long side of one board for carrying.
If you want to make your own bags, cut 7” squares out of heavy duty material, sew with a 1/2” seam allowance on all sides, and fill with 14 to 16 oz of dried corn or beans. You need 4 bags of both colors.
The bags can be stored between the boards when not playing.
Set them up and enjoy!
To play, boards should be set up 27 feet apart. Each team has two players and 4 bean bags. You stand next to one board and try to throw your bean bags into the hole on the opposite side.
Painting these took way longer than assembling. If you buy pre-sanded plywood and aren’t painting them, these could be put together in an hour or less!
I’d love to see pictures of your boards!
Resources for this project:
See all materials


Comments
Join the conversation
-
these look so good!
-
Omgoodness, your corn-hole boards, are some of the best I’ve ever seen. They look professionally made, I must add. Thanks for the share!


Frequently asked questions
Have a question about this project?