


How to Add Antiquing to Concrete Urns

Hey friends!
I’m so glad that you are here. Boy, are we going to have some fun together as I show you how to add antiquing to concrete urns. I just did a porch remodel and a patio remodel at the sametime. Yikes! I don’t really recommend that, as everything is torn up at the same time. See the porch remodel post here.
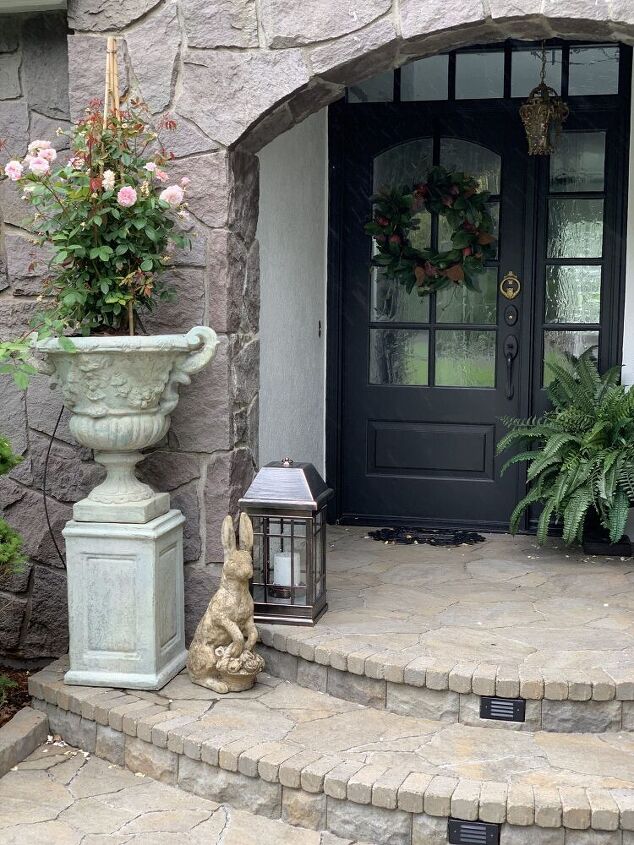
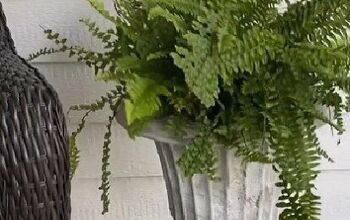
I knew that I wanted some beautiful urns on both the porch and the patio.
(Affiliate links are used for your convenience at no additional cost.. Read my full disclosure here.)
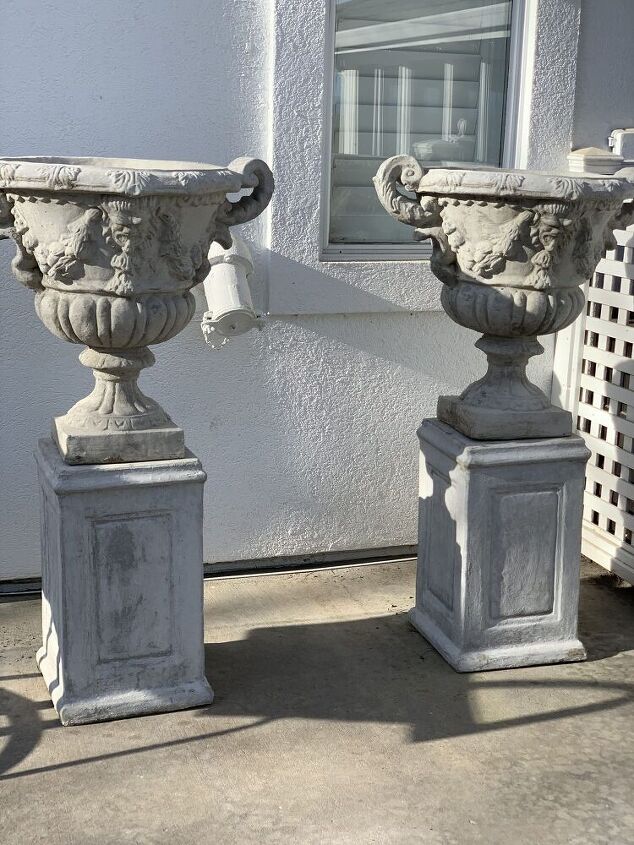
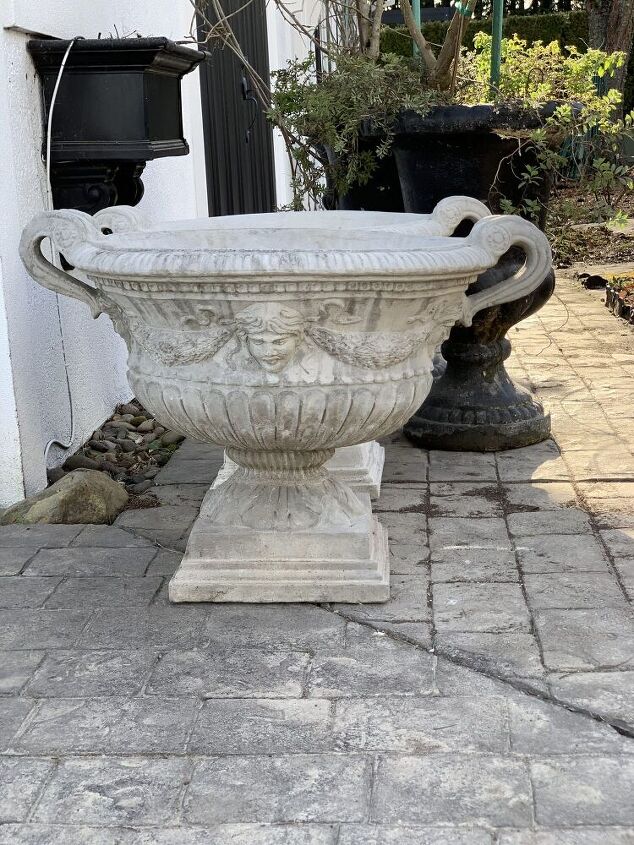
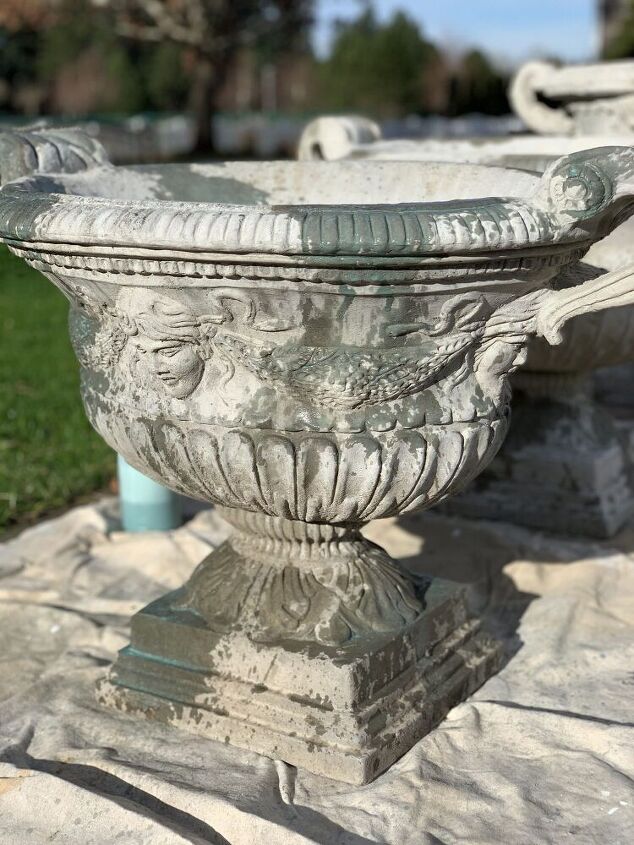
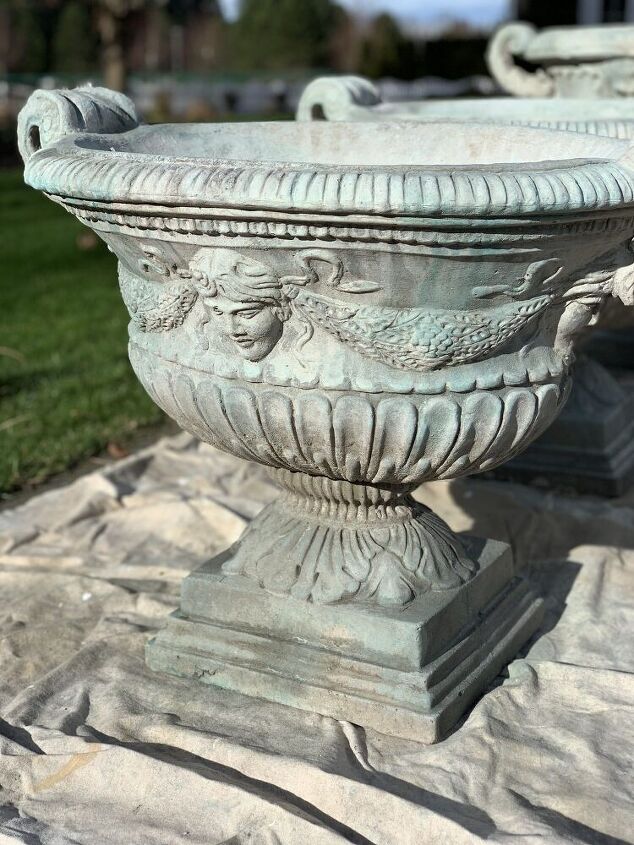
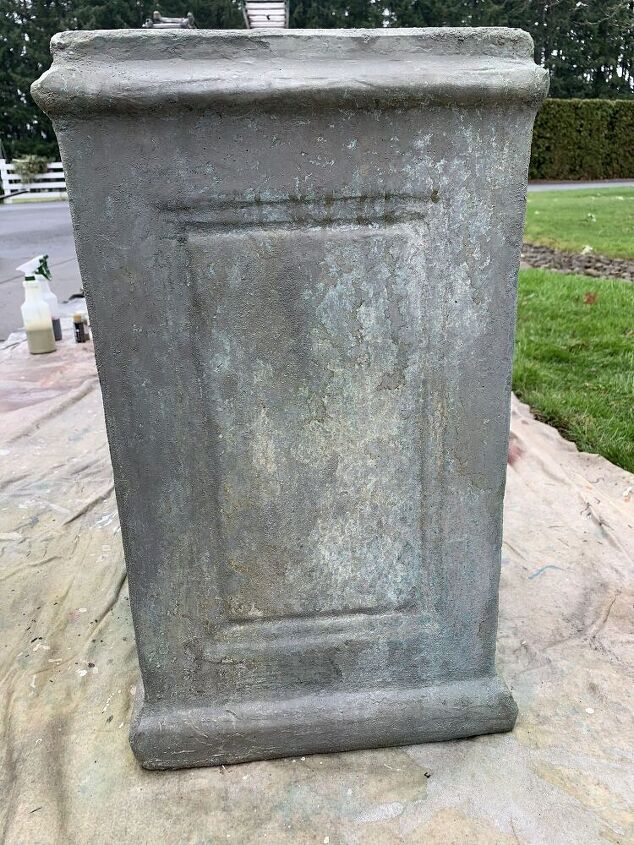
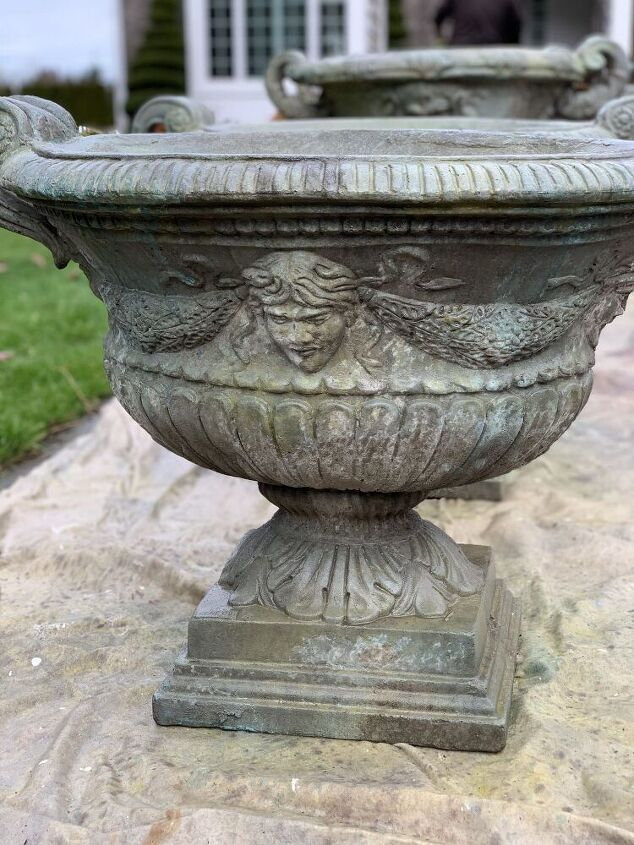
I bought these lovely urns, but they were new raw concrete and I wanted them to look vintage.
So I got out the craft paints and the spray bottles and got to work.
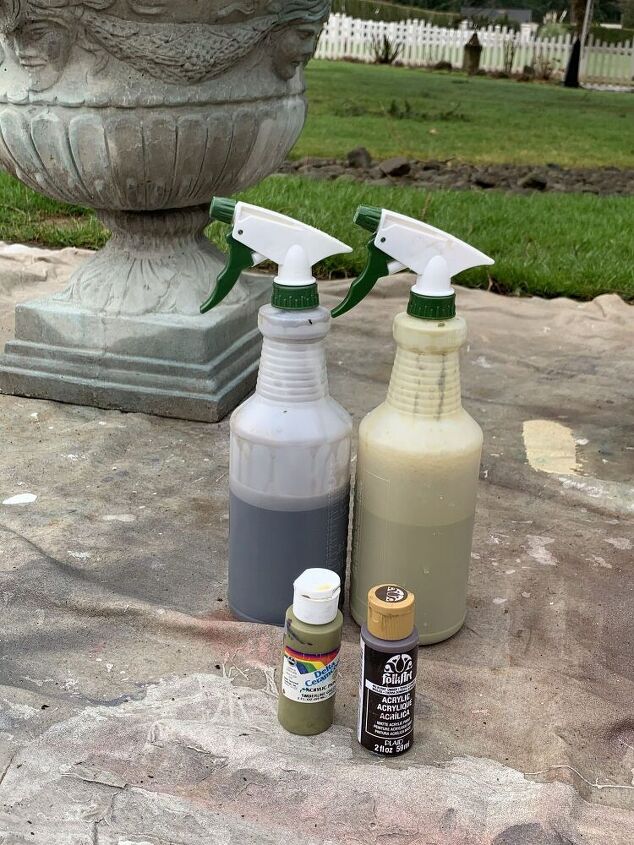
I layed down a canvas drop cloth to protect my driveway. I started with a sage green color and a burnt umber color. I wanted the darker colors to be the base. I mixed one part paint to 3 parts water in a spray bottle and mixed it well.
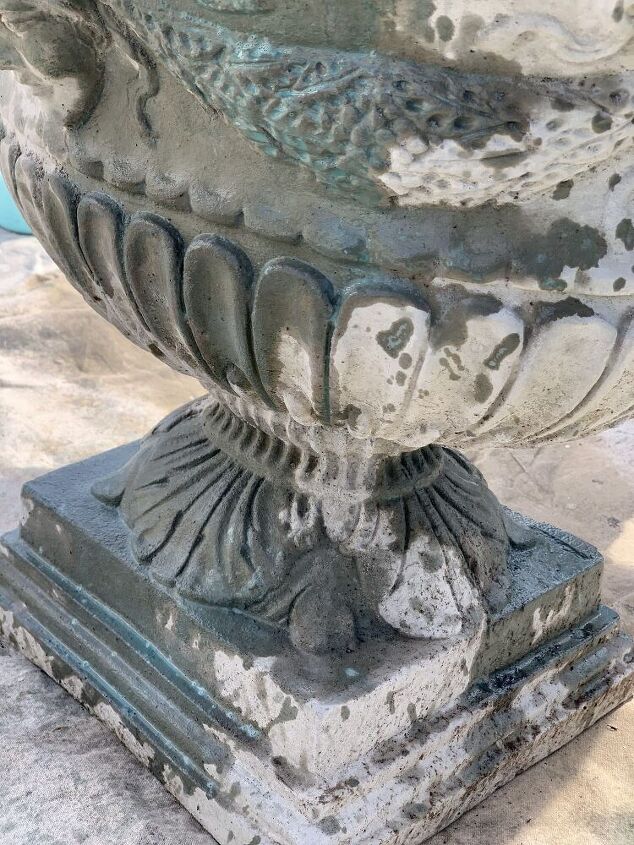
I sprayed the burnt umber in a random patern all over the urn, then I sparyed the sage on in a random pattern all over the urn.
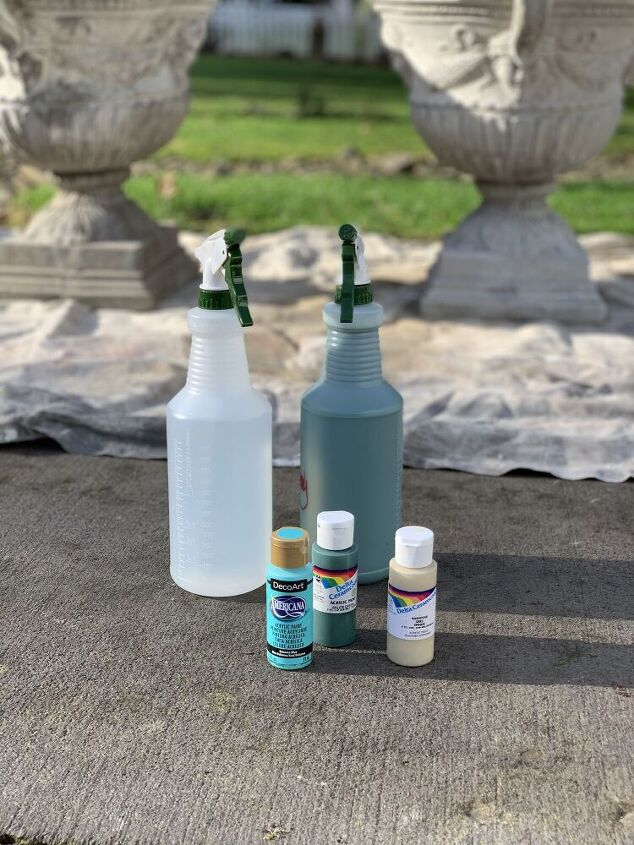
Then I mixed a tan color with water and spayed in a random pattern. Then I mixed another green color with water and sprayed in a random pattern. And finally I mixed a teal color of paint with water and sprayed it in a random pattern on the urn.
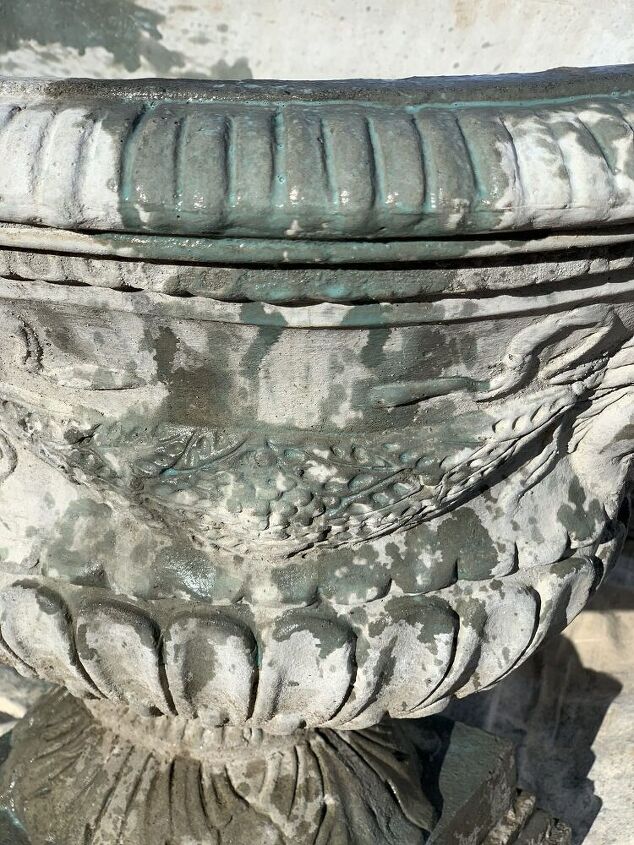
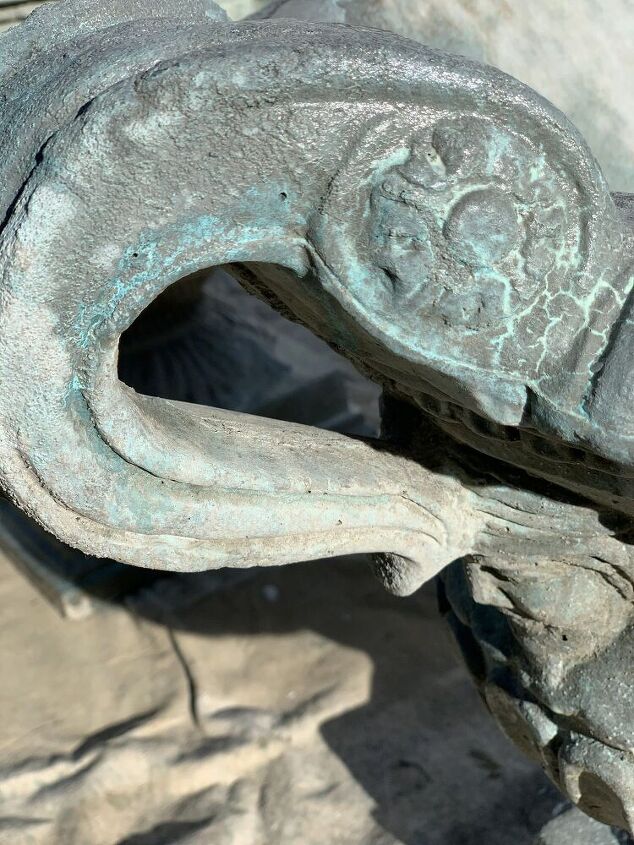
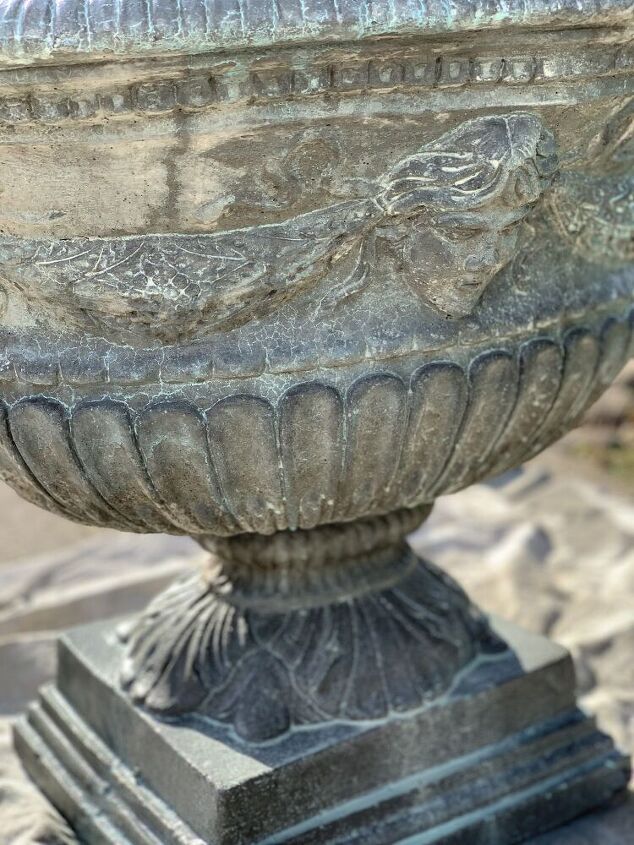
Now, start from the beginning and do all of the paint layers again. This will add even more depth to the antiquing.
I am so happy with how these urns turned out. It is really is so easy to do and you can’t mess it up. The craft paints are about a dollar each and the spray bottles are about $2.50 each. This project took me about and hour and cost less than $20. for the supplies. I really hope that you will give this a try. If you do, please share it with me.
I sure enjoyed our time together.
Hugs and blessings to you.
Renae


Comments
Join the conversation
-
Im going to have to try this. ♥️
-
Thanks for all the tips. Really nice!


Frequently asked questions
Have a question about this project?
Wouldn't you need to put something over the paint to protect and seal it?
Exactly how many colors of psi t did you use. Did you use a spray bottle for each color?