


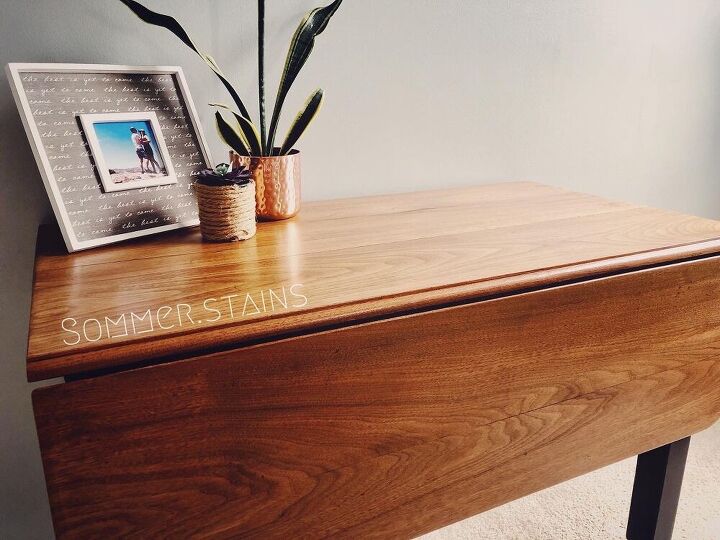
Drop Leaf Table ReDo!

Watermarks + old stain turned beautiful, shiny finish!
This project didn't cost me a thing! Can you believe that?! I used everything I already had on hand. If you know you're going to be redoing a handful of pieces I suggest investing in good materials - paint, stain, paint brushes, sanders, etc. that you absolutely love so you can reuse and cut down on total cost for your project!
Be sure to follow me on Instagram @sommer.stains for more furniture redo pictures! :)
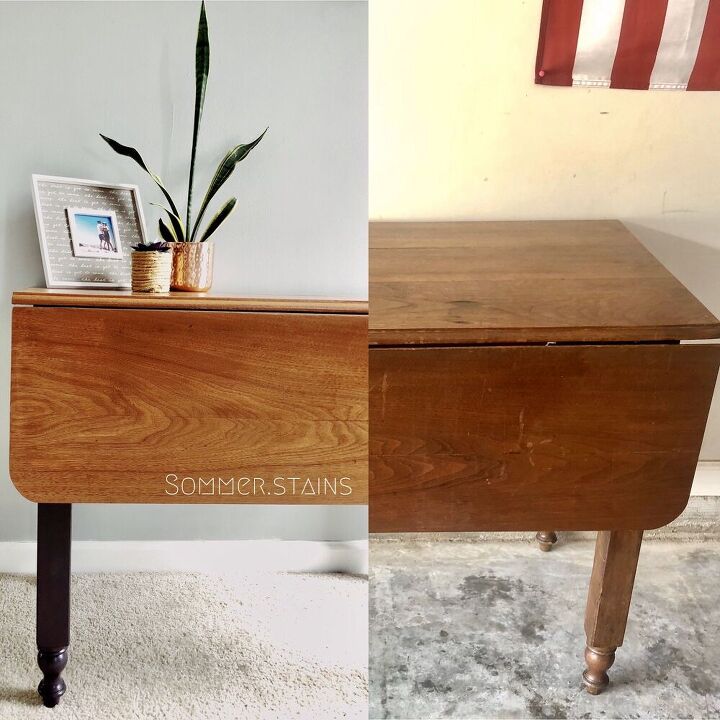
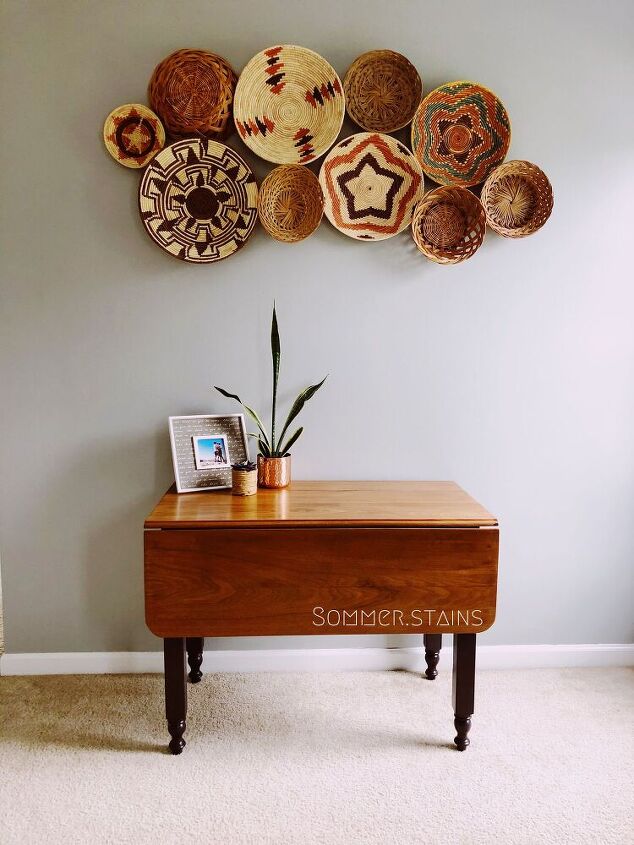
After + Before
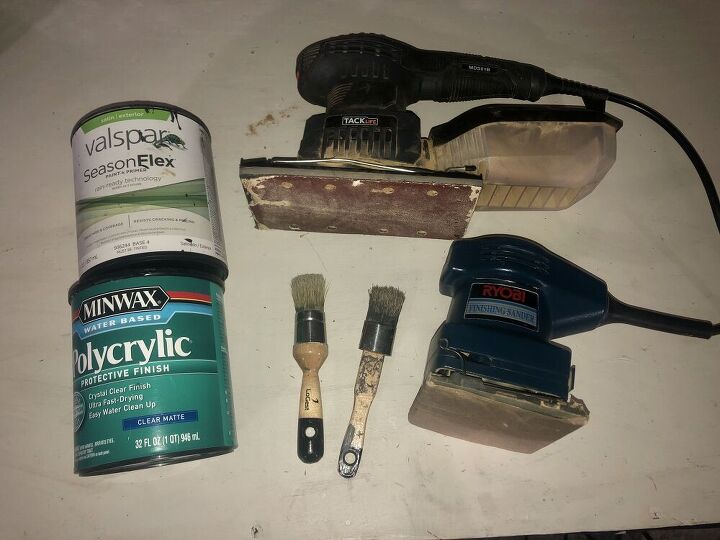
Materials needed.
Paint is from Lowe's. Color is Bohemian Black. I used what I had on hand in the color, it just so happened to be an outdoor paint. If I didn't have this on hand, I would have purchased the color in the tintable chalk paint and then sealed it with wax or a glaze.
Here's the links to everything I get from Amazon!
Link to sanders -
https://www.amazon.com/BLACK-DECKER-BDERO100-Random-Sander/dp/B00MLSS1SW/ref=sr_1_59?pf_rd_i=328182011&pf_rd_m=ATVPDKIKX0DER&pf_rd_p=aebdcf2a-c487-557d-8d80-d62a0ddc594d&pf_rd_r=P9Y6J57AW03QNCJYNWM5&pf_rd_s=merchandised-search-10&pf_rd_t=101&qid=1557660956&refinements=p_72%3A1248909011&s=power-hand-tools&sr=1-59
https://www.amazon.com/TACKLIFE-Multifunction-Sandpapers-Efficient-Collection/dp/B07X148FRH/ref=sr_1_3_sspa?dchild=1&keywords=electric+sander&qid=1585832868&sr=8-3-spons&psc=1&spLa=ZW5jcnlwdGVkUXVhbGlmaWVyPUEyVkQ3U0gzVkI4WTYzJmVuY3J5cHRlZElkPUEwNzc0NjYzMkVYVEUyU1kzVkRBViZlbmNyeXB0ZWRBZElkPUEwMzI5ODQ1OTNKS0c3UTg1UjlMJndpZGdldE5hbWU9c3BfYXRmJmFjdGlvbj1jbGlja1JlZGlyZWN0JmRvTm90TG9nQ2xpY2s9dHJ1ZQ==
Link to my paint brushes I always use to paint with -
https://www.amazon.com/dp/B07DT5YJQ2/ref=cm_sw_r_cp_api_i_vNXWDb3CWGHJW
Link to sealer -
https://www.amazon.com/dp/B000PRNXNY/ref=twister_B07JLY244F?_encoding=UTF8&psc=1
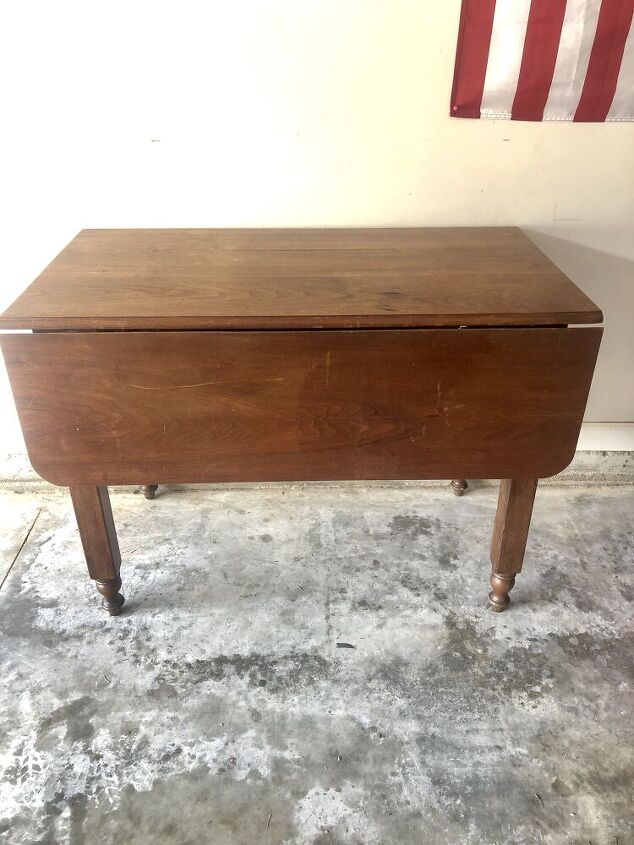
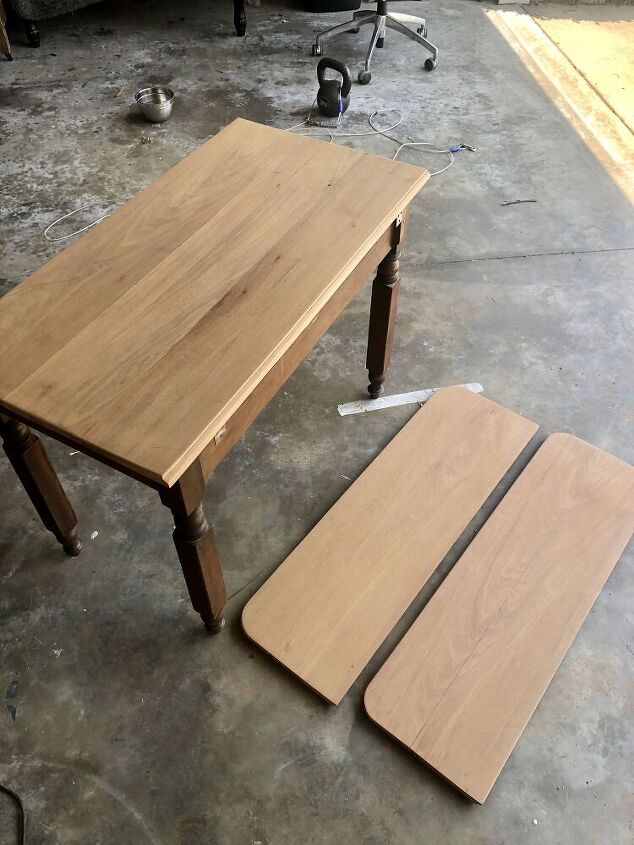
This is the before - watermarks + scratches. The overall condition of this table wasn't terrible but it definitely needed an upgrade!
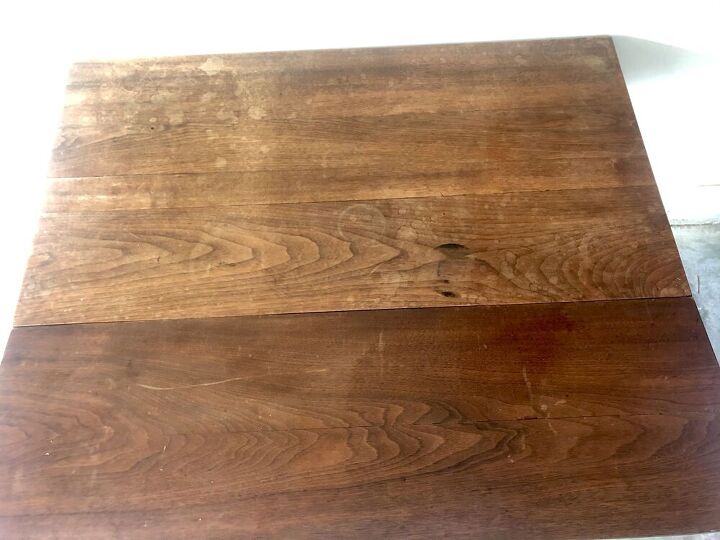
I used my sander + 80 grit sandpaper to start. I knew I wanted to re-stain the top so I needed to sand down all the way to the natural wood. The old stain came off pretty easy with the 80 grit. After sanding it down with 80 I used 120 to finish it off before staining.
Link to sanders -
https://www.amazon.com/BLACK-DECKER-BDERO100-Random-Sander/dp/B00MLSS1SW/ref=sr_1_59?pf_rd_i=328182011&pf_rd_m=ATVPDKIKX0DER&pf_rd_p=aebdcf2a-c487-557d-8d80-d62a0ddc594d&pf_rd_r=P9Y6J57AW03QNCJYNWM5&pf_rd_s=merchandised-search-10&pf_rd_t=101&qid=1557660956&refinements=p_72%3A1248909011&s=power-hand-tools&sr=1-59
https://www.amazon.com/TACKLIFE-Multifunction-Sandpapers-Efficient-Collection/dp/B07X148FRH/ref=sr_1_3_sspa?dchild=1&keywords=electric+sander&qid=1585832868&sr=8-3-spons&psc=1&spLa=ZW5jcnlwdGVkUXVhbGlmaWVyPUEyVkQ3U0gzVkI4WTYzJmVuY3J5cHRlZElkPUEwNzc0NjYzMkVYVEUyU1kzVkRBViZlbmNyeXB0ZWRBZElkPUEwMzI5ODQ1OTNKS0c3UTg1UjlMJndpZGdldE5hbWU9c3BfYXRmJmFjdGlvbj1jbGlja1JlZGlyZWN0JmRvTm90TG9nQ2xpY2s9dHJ1ZQ==
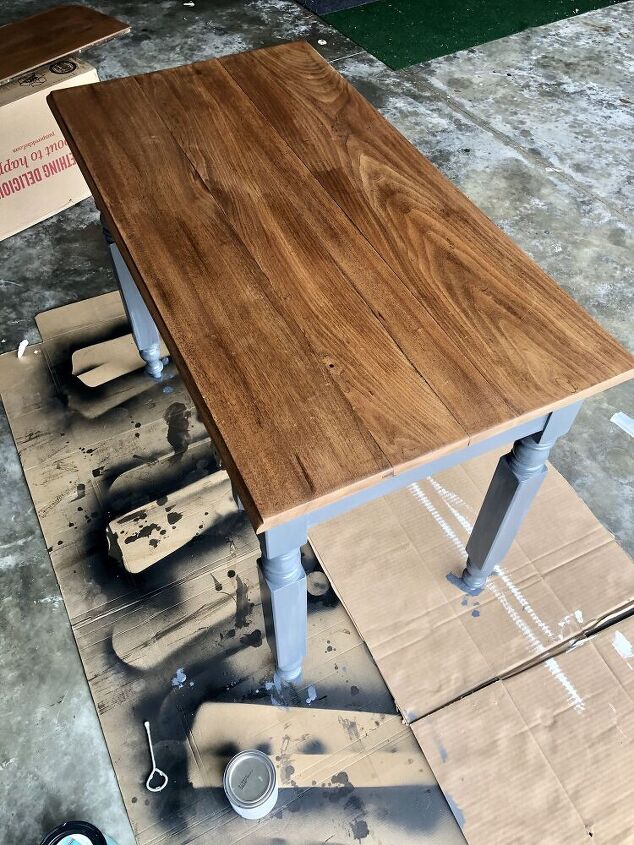
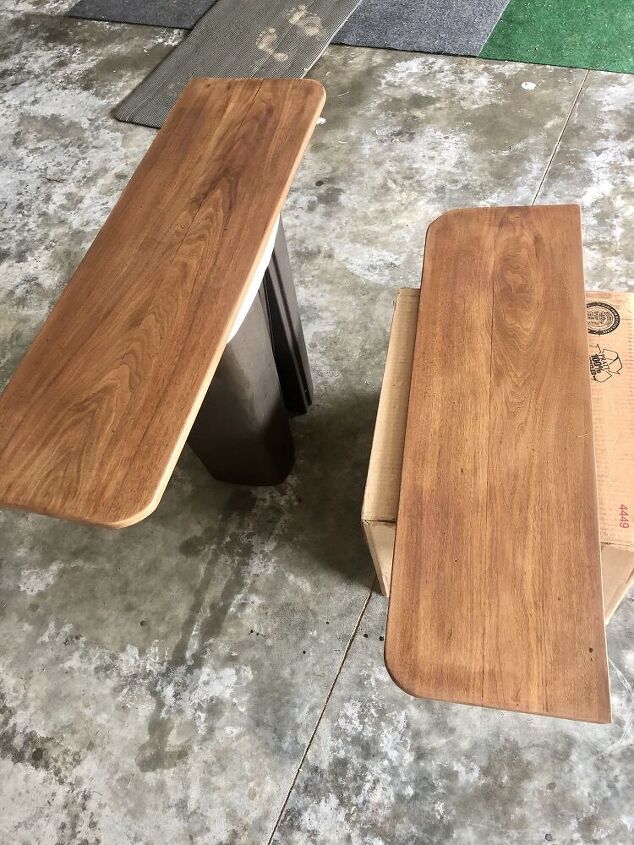
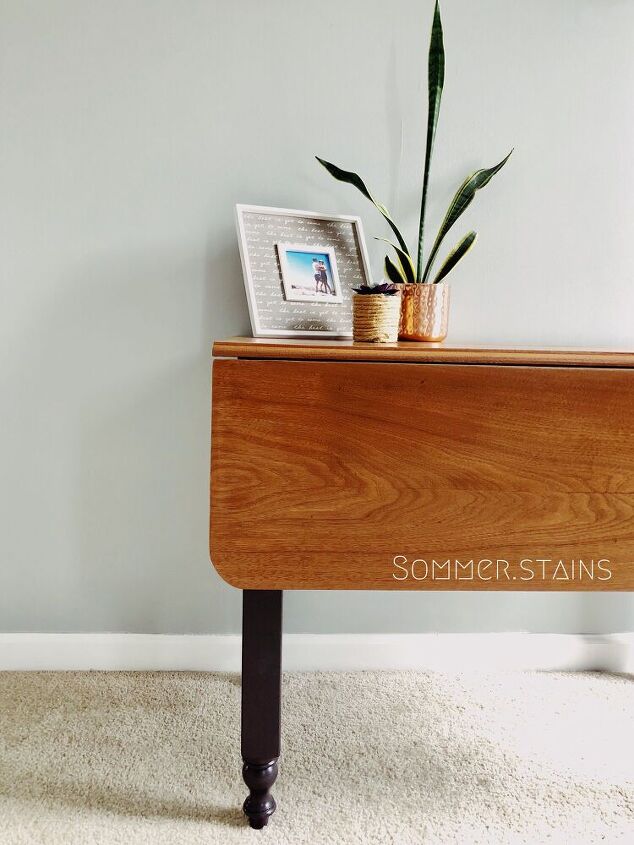
Typically this is when you would stain. For this piece I loved the way the natural wood color look so I just decided to seal it. I used my holy grail sealer from Minwax (linked below). Usually when sealing a top of something that is going to be used a lot, I'll do 2-3 coats of sealer. For this specific piece I did 4-5 coats because I didn't stain. Just wanted to give it a couple extra coats to protect the wood.
Link to sealer -
https://www.amazon.com/dp/B000PRNXNY/ref=twister_B07JLY244F?_encoding=UTF8&psc=1
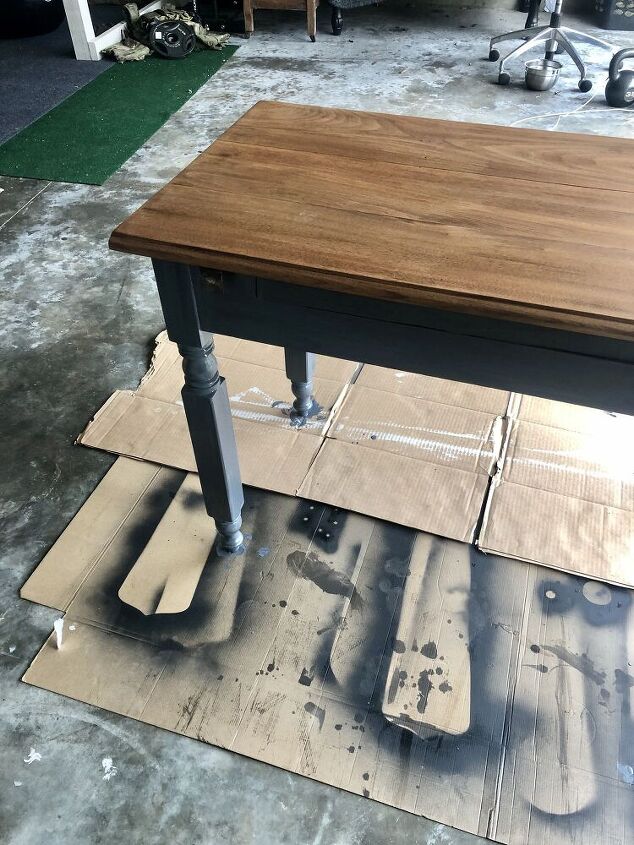
I decided to paint the bottom legs of this table to give it a nice contrast. I used the color Bohemian Black by Valspar in the sheen satin.
Link to my paint brushes I always use to paint with -
https://www.amazon.com/dp/B07DT5YJQ2/ref=cm_sw_r_cp_api_i_vNXWDb3CWGHJW
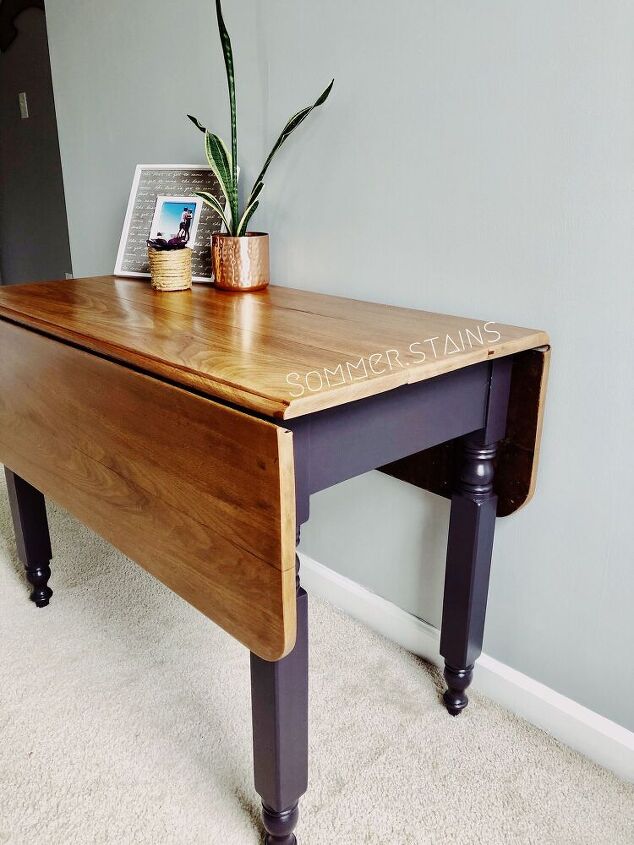
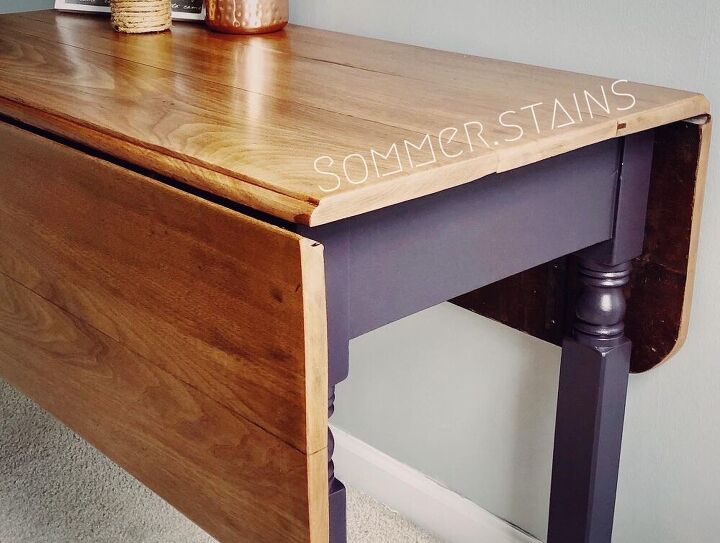
I love the way this table turned out. The contrast of the wood grain against the dark bottom is stunning.


Comments
Join the conversation
-
It turned out So Beautiful!!!! Wish it were mine!!!!!!!!!!!👍️🤩
-
What a great job, it turned out beautiful!


Frequently asked questions
Have a question about this project?
Can you explain why you switch to 120 grit and sand again? I’m trying things and want to do them correctly. Thanks.
Did you sand the bottom before painting?
did you also sand the legs or painted over top existing stain??
love the way it all turned out!!