


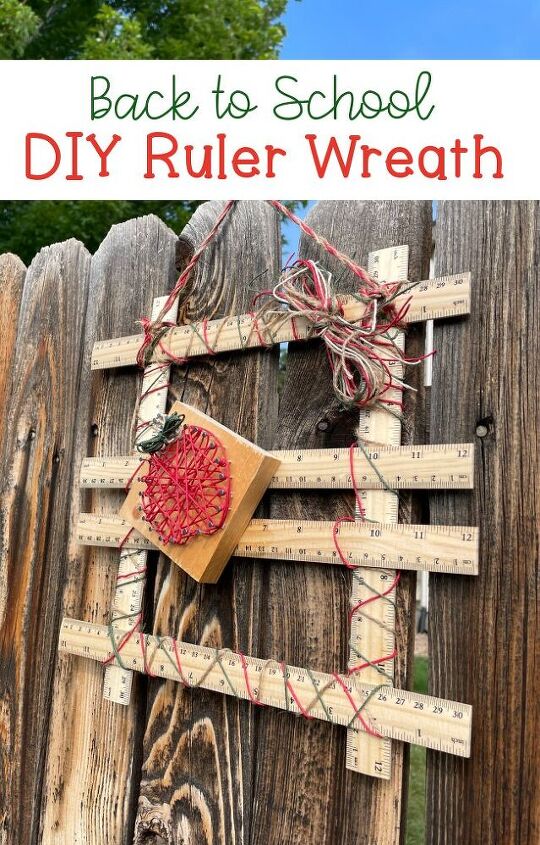
Recycled Rulers Into a Back to School Wreath
Let’s make a back to school ruler wreath with a string art apple to get ready for the exciting time when the kids move up to the next grade. This wreath is perfect to use for decorating at home and in the classroom too. I think it would be a really fun project to do with friends over cocktails to prep for the new school year.
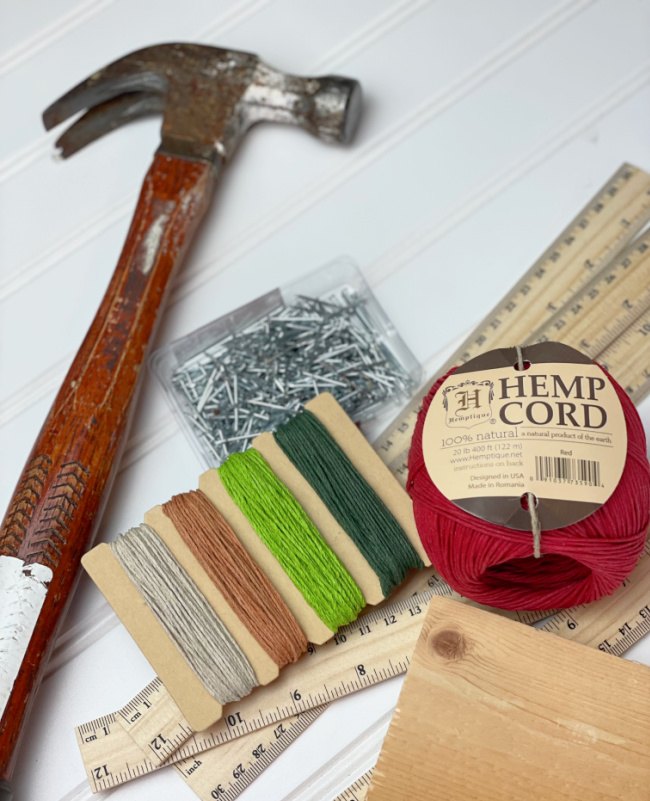
Supplies Needed for Back to School Ruler Wreath
- 6 Rulers
- Clear Gel Tacky Glue
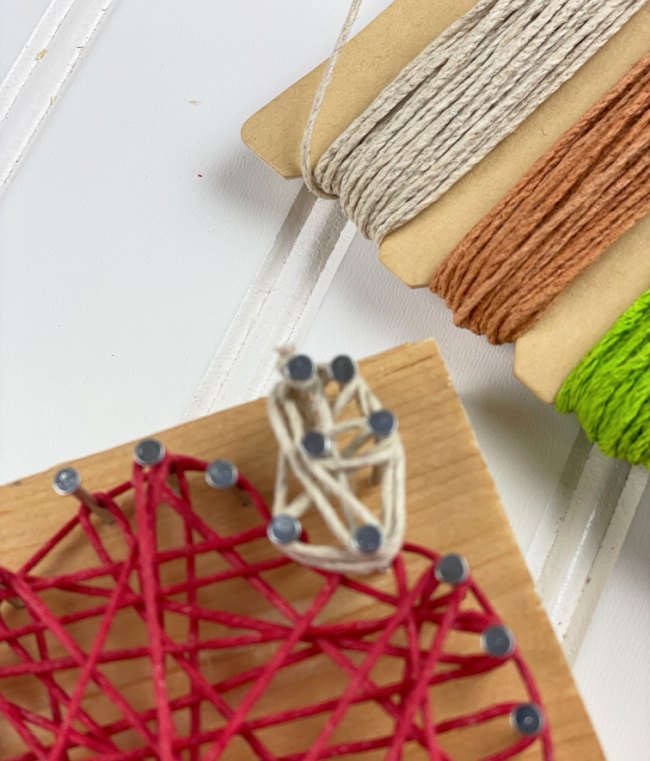
- Hemptique Hemp Cord (Red, Brown, Green)
- Wood Square
- Nails
- Scissors
- Parchment Paper
- Pencil
Directions for Back to School Ruler Wreath
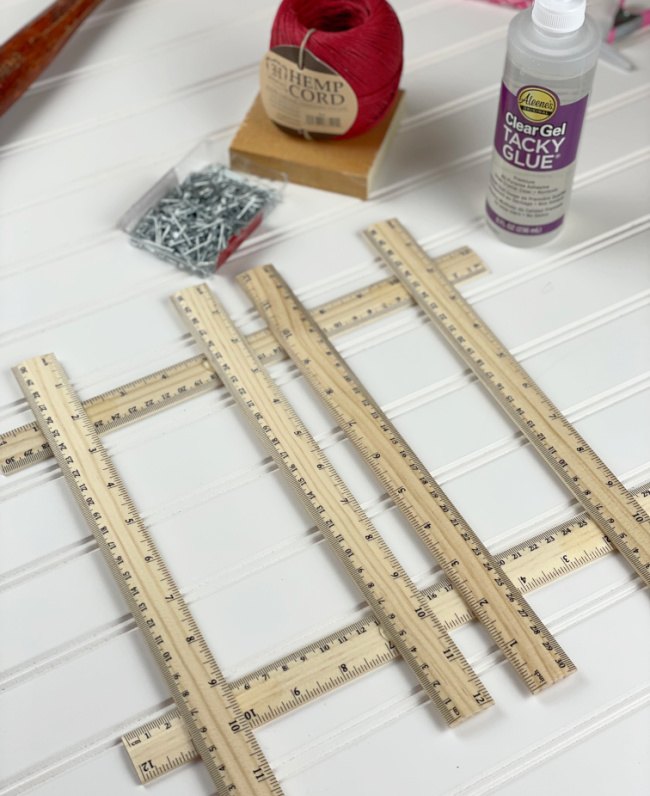
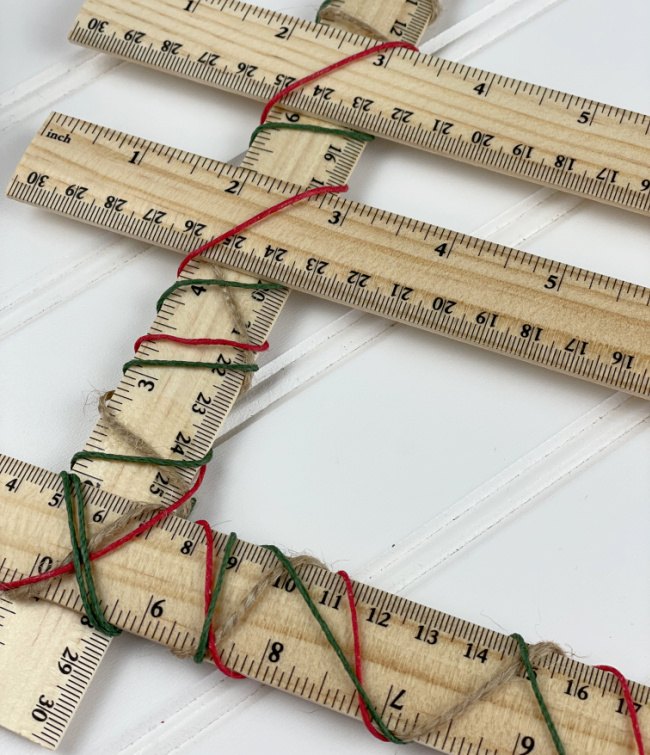
Start by gluing your rulers together using Clear Gel Tacky Glue and let it dry.
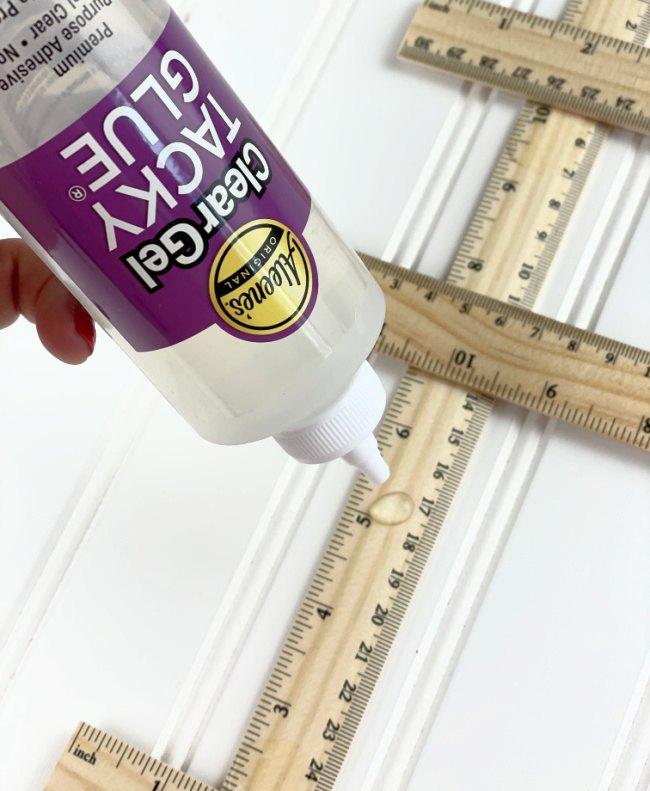
You can lay them out in whatever way works best for you. This is how I did it.
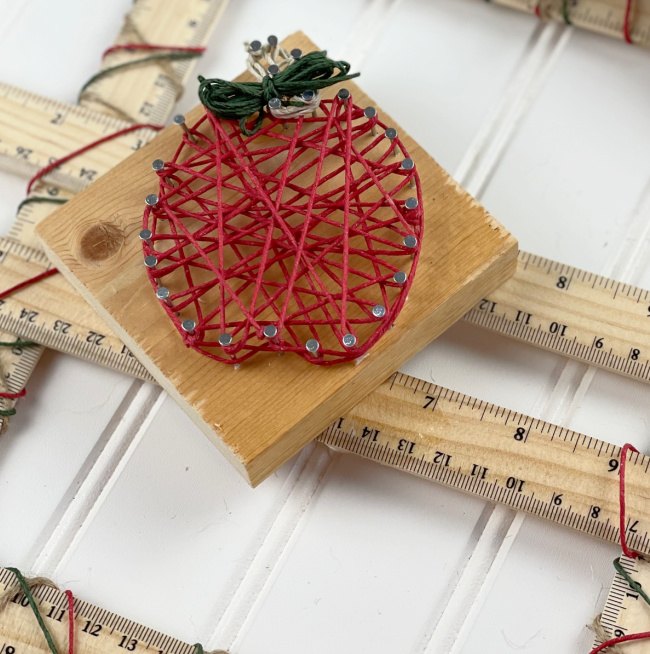
While the rulers are drying, it is a time to create a string art apple. I used a 3 x 3 inch piece of scrap wood but any size would work.
STEPS TO MAKE STRING ART
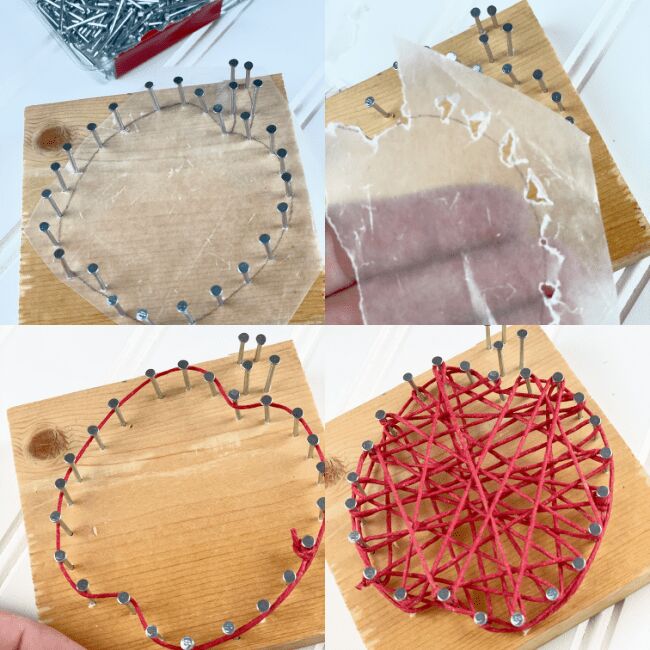
- Start by creating a pattern. Trace your wood surface onto parchment paper to get an idea of exactly how much space you have to work with. If you are wanting to create a specific logo or design, print it first then cut it out. If you can trace it to the parchment paper, it will make it much easier to remove once all of your nails have been hammered into the wood because it tears so easily. Inside that space, draw a simple pattern and cut it out. Adhere it to the surface if desired. Washi tape works great for this step.
- Next, nail the pattern to the wooden surface, spreading the nails apart between 1/2 inch to an inch. The final designs will look very different depending on how far apart the nails are placed.
- Remove the pattern.
- Before you start stringing, Unwrap your string and find the end. Determine your starting point and tie a knot around that nail. If desired, dab a bit of clear-drying glue or clear nail polish on the knot and let it dry to create extra stability. This is a good step when working with kids.
- Wrap the string around the nails, creating as you go. This can be done any way. It is sometimes good to go around the outside edge but not required. It is a totally different look depending on whether or not it is done.
- Once you are complete, tie off the cord. Again you can seal with clear nail polish if desired.
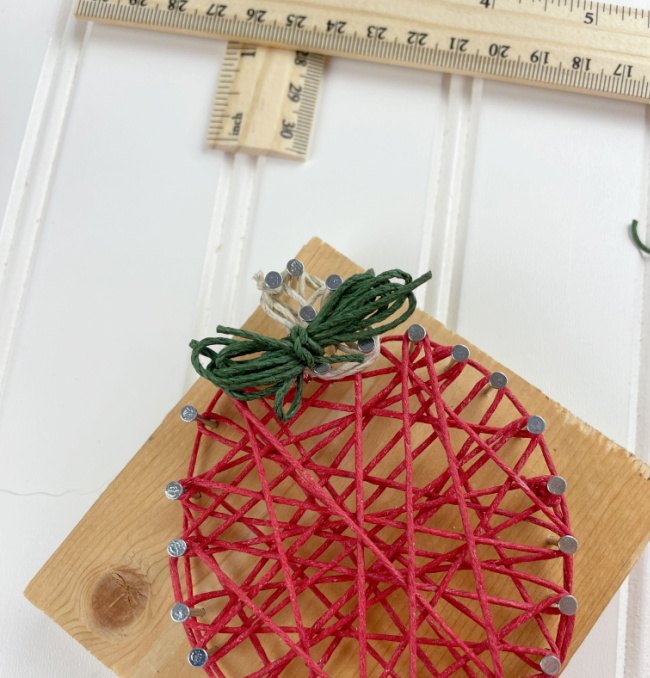
Add brown hemp cord for the stem.
Tie a green bow with hemp cord and glue it to the apple. Let it dry.
Finish the Back to School Ruler Wreath
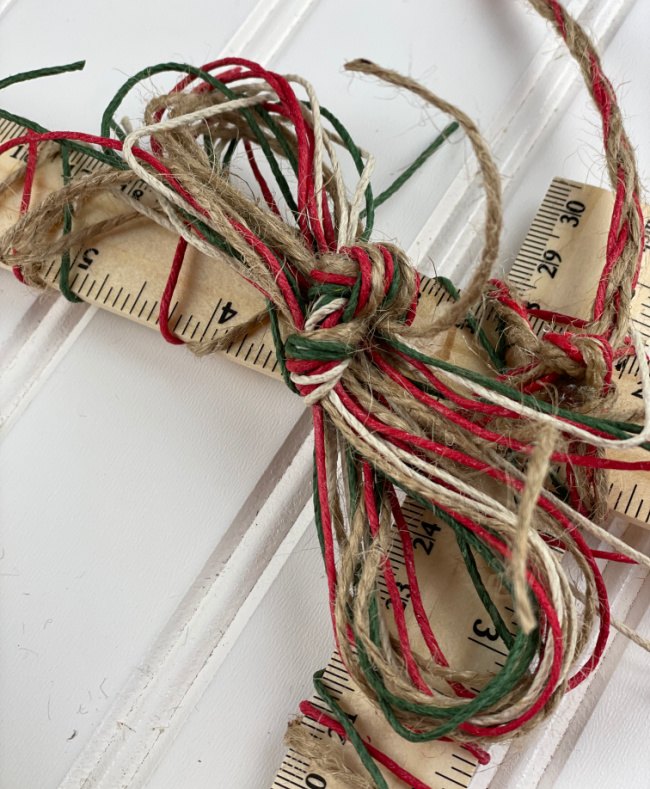
Wrap hemp cord around the rulers in the colors that you like best to match your string art. Tie them off tightly.
Glue your string art block to the rulers.
Braid a long (about 18 inches) piece of hemp cord and tie it to the top corners to create a hanger. Then, make a big hemp cord bow and glue it on.
It is so simple, fun and festive!

Comments
Join the conversation
-
This is such a cute idea! We homeschool and I think this would look great in our homeschool room.
-
I agree. It would be fun to make together.


Frequently asked questions
Have a question about this project?