


Creating Outdoor Wall Art

I found this beautiful frame...you guessed it at the dump in my hometown. It was just lying there calling my name to rescue it from an untimely death and rescue it I did! Didn't really have a plan for it but I brought it home anyway.
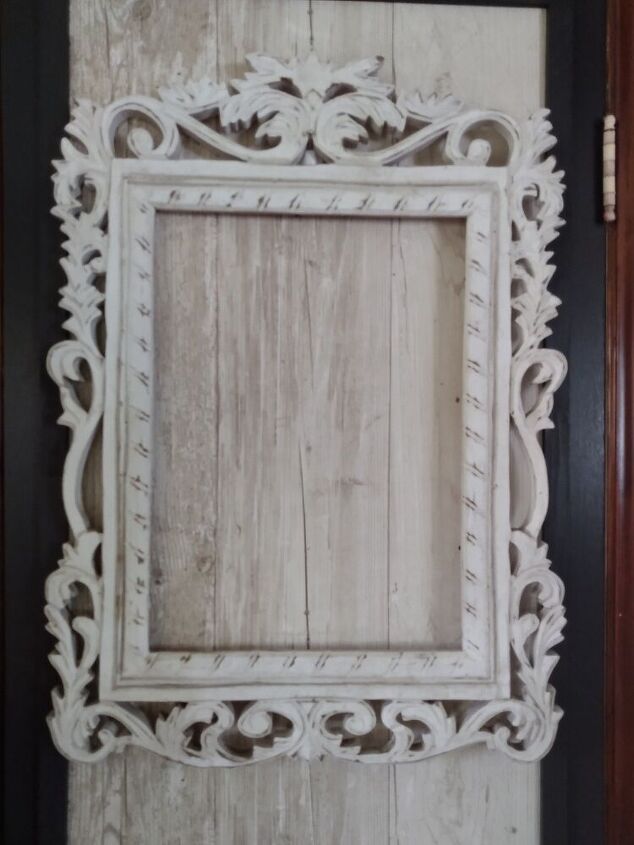
So here is the frame. Isn't it gorgeous? It's made out of wood and I love all the detail. All it needed was the dirt cleaned off so I gave it a light wash.
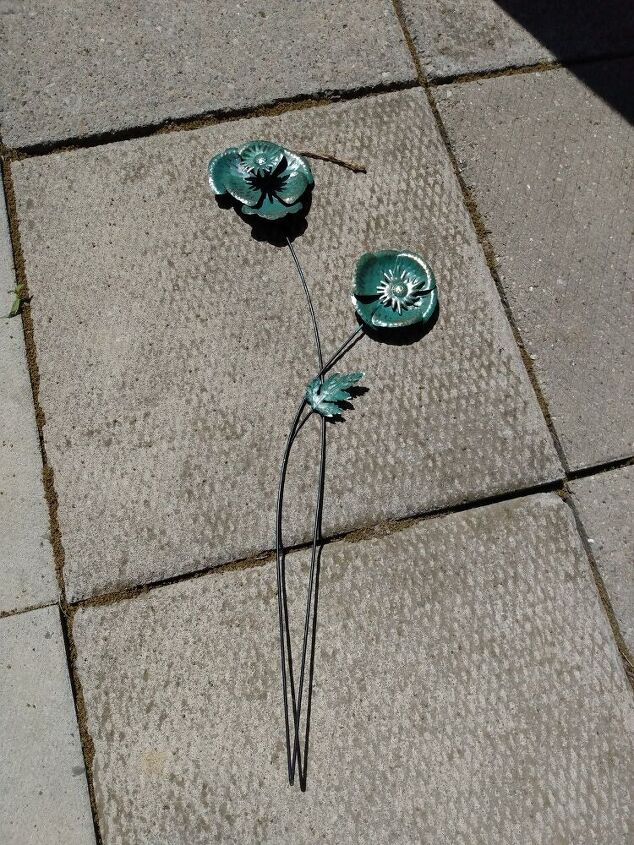
I decided to create a wall art frame. So off to the Dollar store I went. They have a great assortment of lawn decorations. I chose this one.
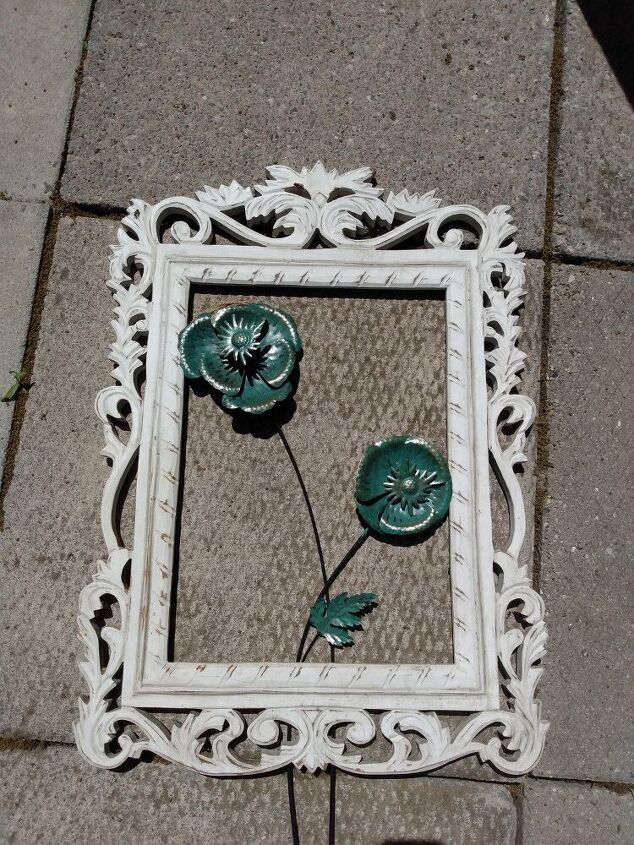
I took my frame and placed it over my metal decoration to get an idea of how much I would have to cut off.
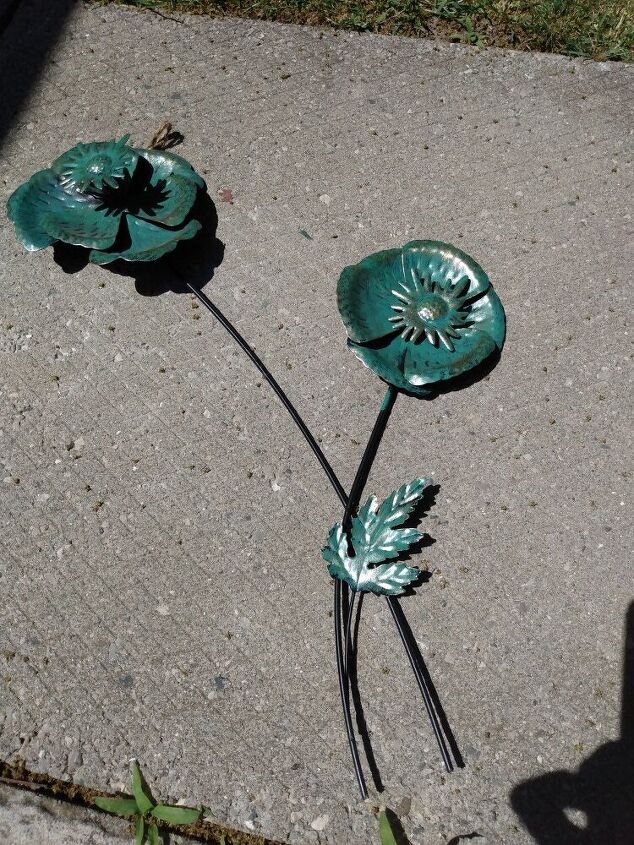
Using wire cutters I cut off to the desired length. Here is what I was left with.
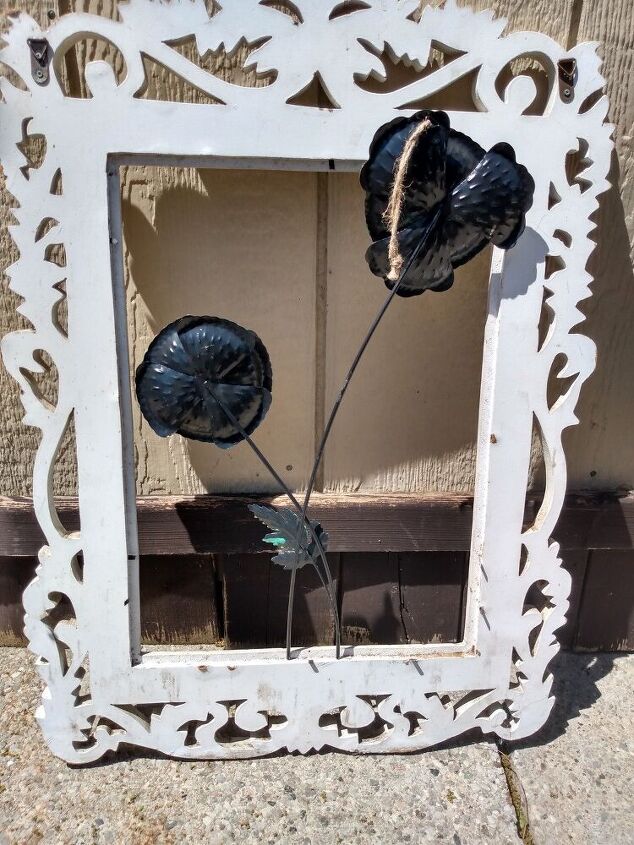
Next I took the frame and turned it backwards and took my metal flowers and marked with a pencil where I will drill my holes.
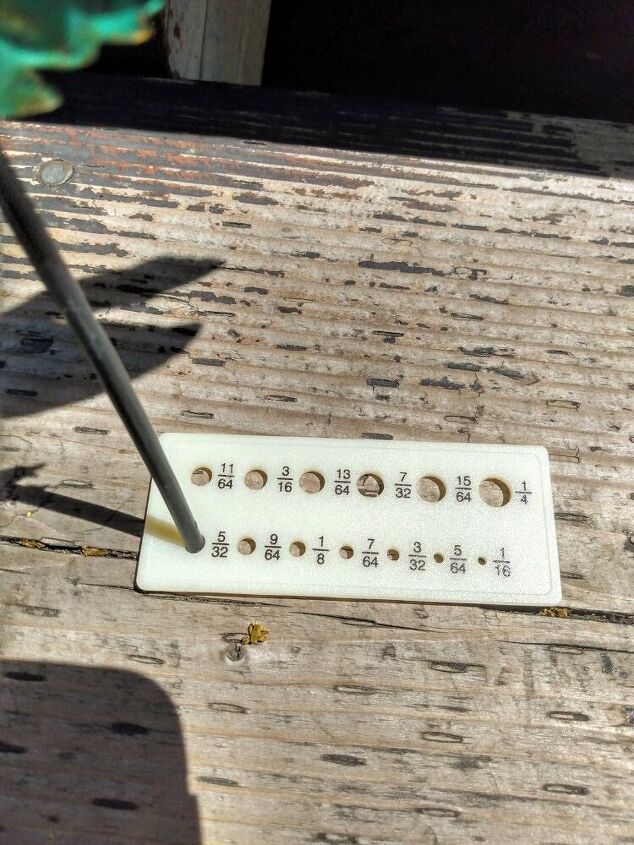
Using my metal decoration and the hole plate from my drill bit kit I determined the size I would need to drill my holes.
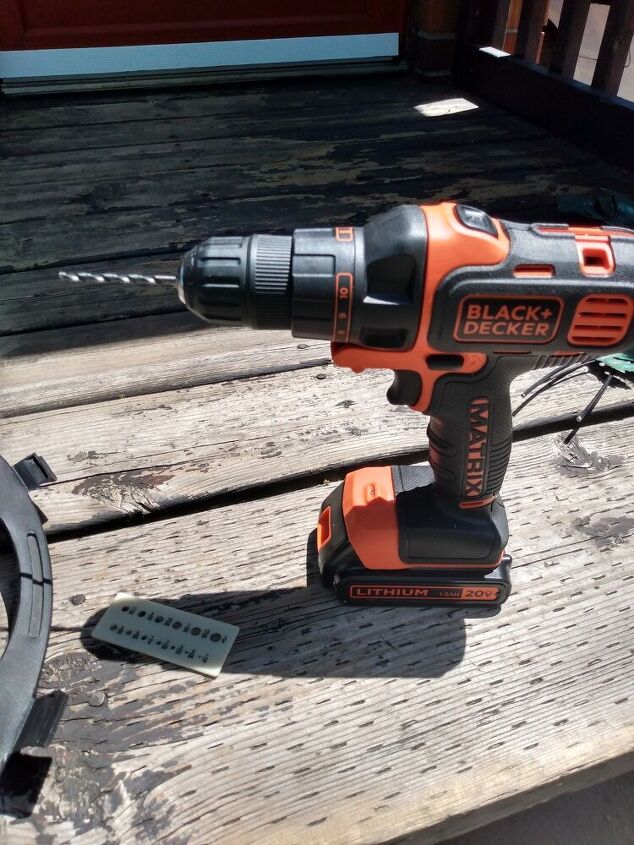
Using my cordless drill I drilled the marked holes. This frame was about an inch wide.
Here are my drilled holes. I then took my metal flowers and pushed them down into the holes.
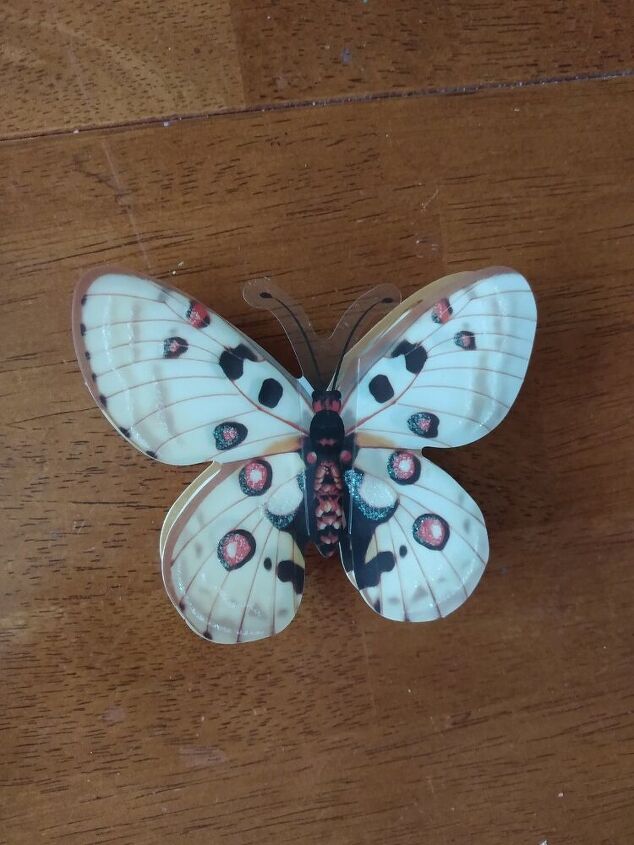
I bought this butterfly, it came in a set of 4, again from the Dollar store. I chose this one to use.
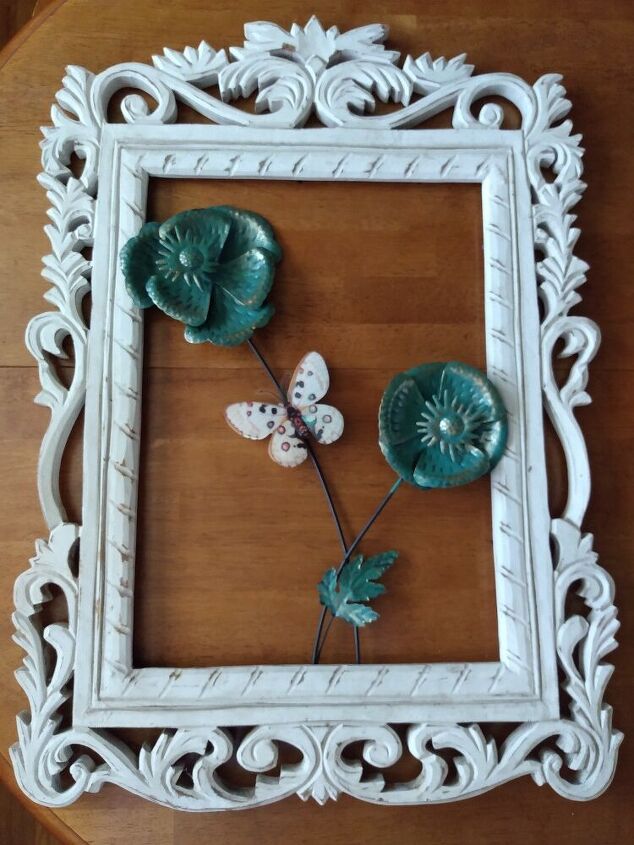
I attached it to my metal flowers using two sided tape.

I have this old fence at the side of my driveway and this is where my frame is going.
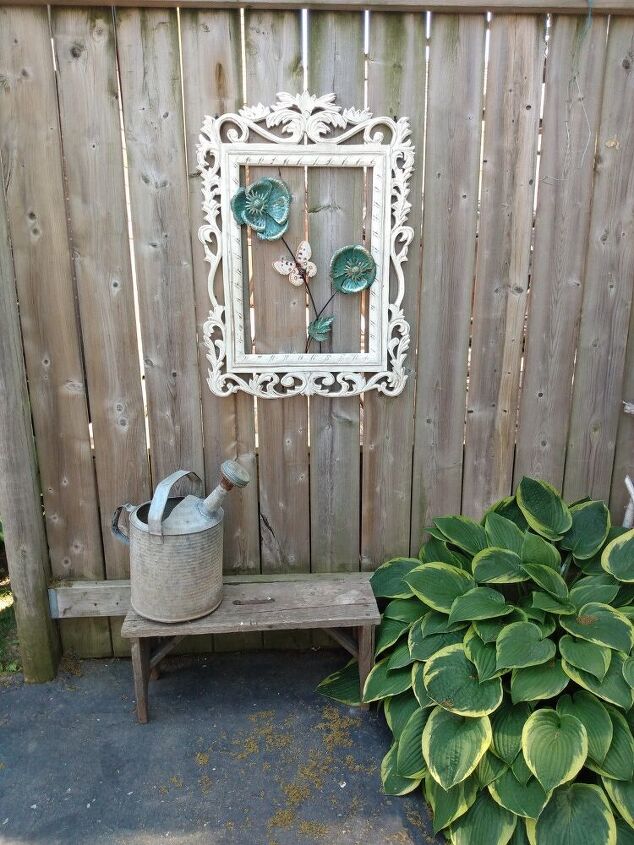
I love this frame and glad I brought it home. I think it looks great on my fence! This project only cost me $ 6.00 and I can change out the metal decoration according to the season!


Frequently asked questions
Have a question about this project?