


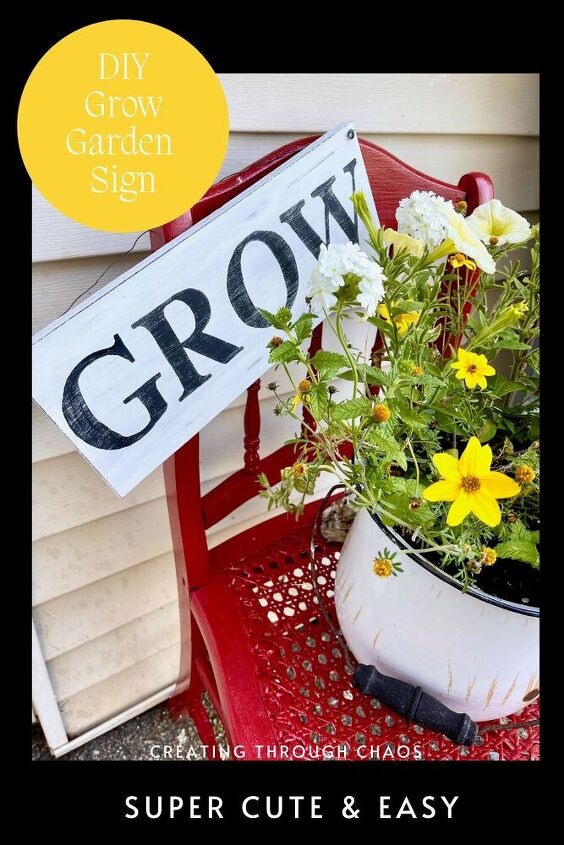
DIY Grow Garden Sign
It is that time of the year, we are able to get out and plant flowers and play in our yards. I have been doing some outdoor decorating and really wanted a little sign to hang off my old chair I plant in. So I decided I needed to make one! Follow along and make your own DIY grow garden sign!
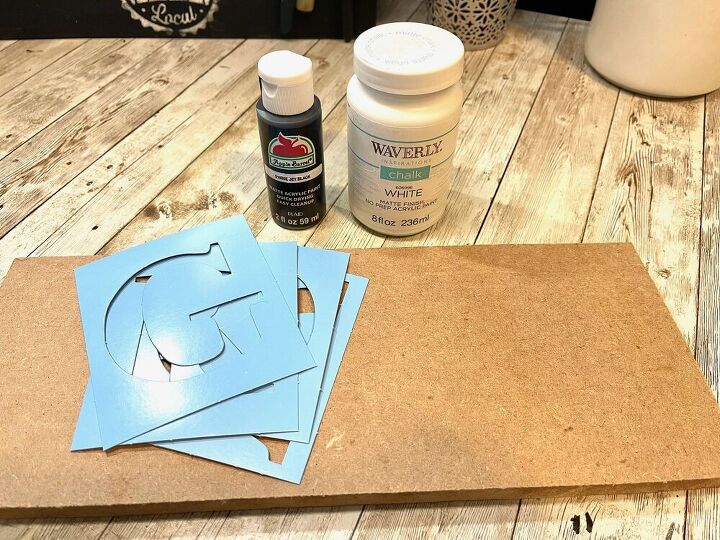
Supplies:
Piece of scrap wood- I had this on hand
Letter Stencils- Mine came from Walmart
Acrylic Paint- Black
Chalk Paint- White
Wire- for hanger
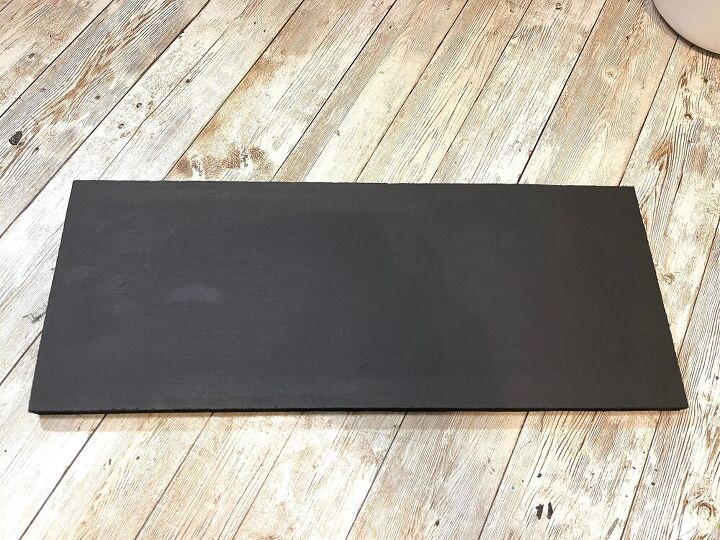
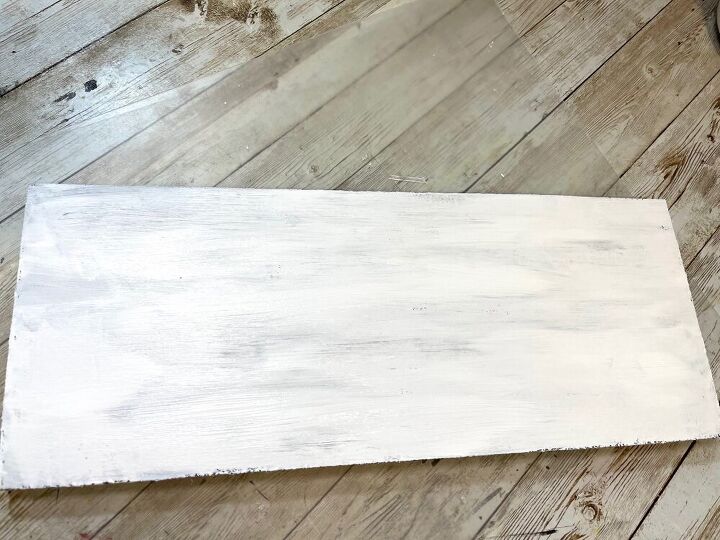
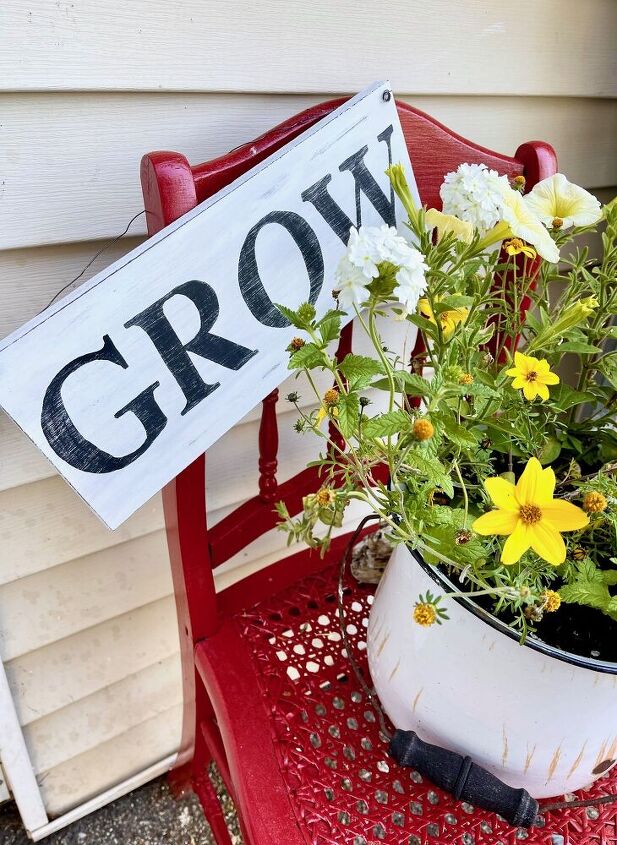
First Step; paint your board in the black acrylic paint or black chalk whichever you prefer. Once the black is dry, paint it with the white chalk paint, but don’t fully cover the black. Let dry.
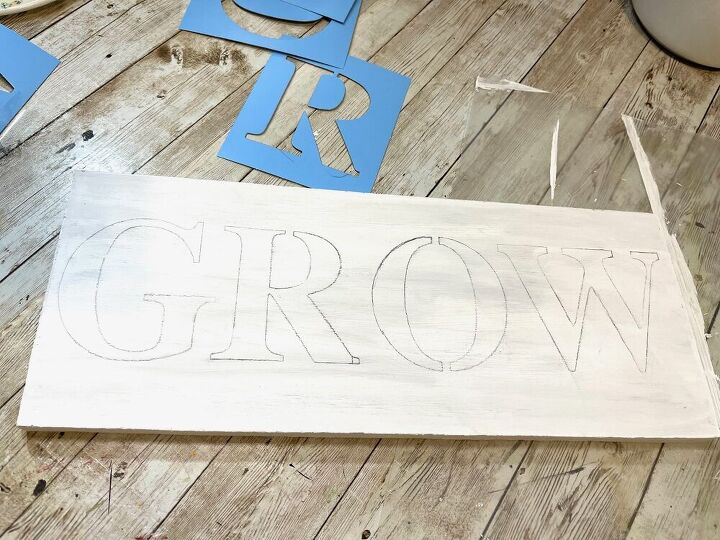
Second; use your stencils and line them up and trace them out with a pencil.
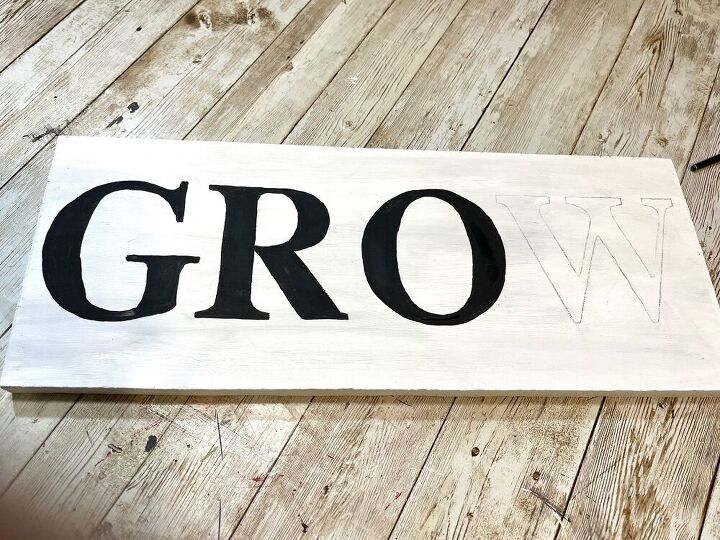
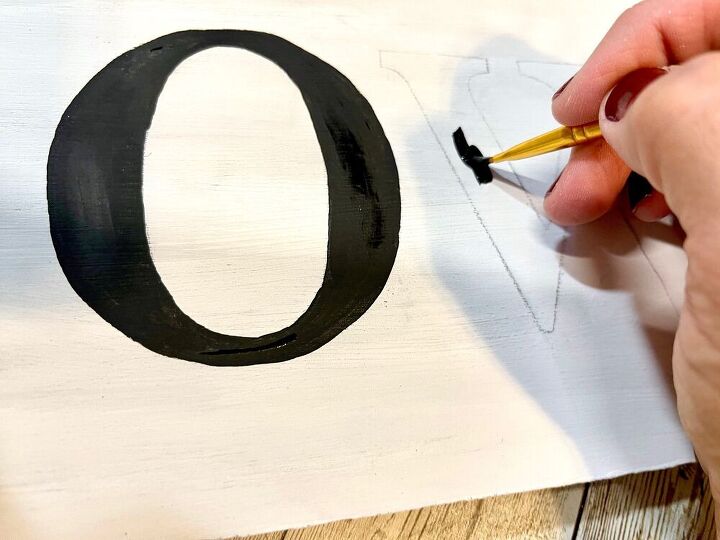
Third Step; I took a small paint brush and filled in my letters with the black acrylic paint. You could also use a black paint pen for this part. When stenciling, make sure you fill in the whole letter, don’t leave the stencil lines. This process take a bit, but it is so worth it. I have seen others use a sharpie to do this, which would take less time.
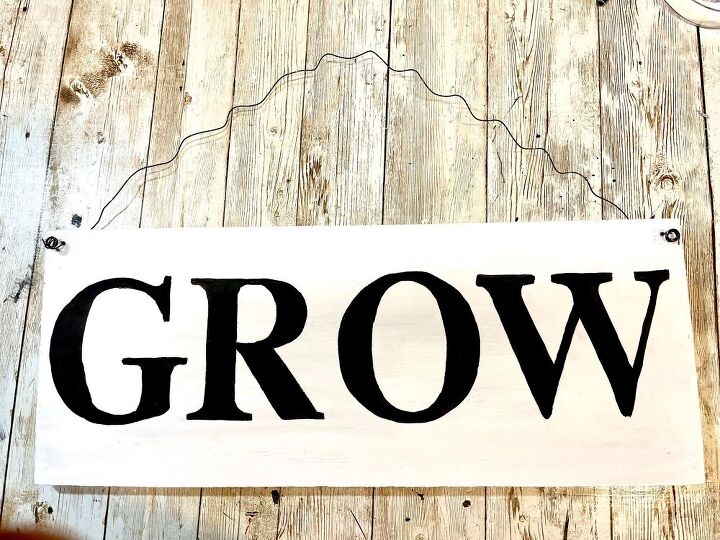
Finally, I drilled a couple holes in the top and added some wire, I wrapped the wire around a pencil to make it curl. I took it outside and added a nice clear coat to it to protect it from the elements. I am also totally ok if it gets a little weathered because I like that look.
This was a super easy and cute project! I love a quick DIY!
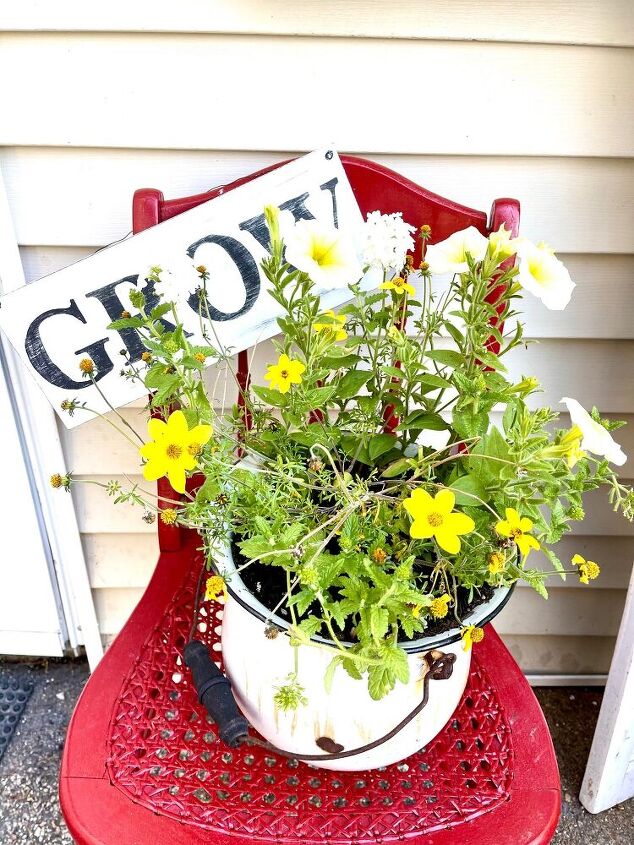
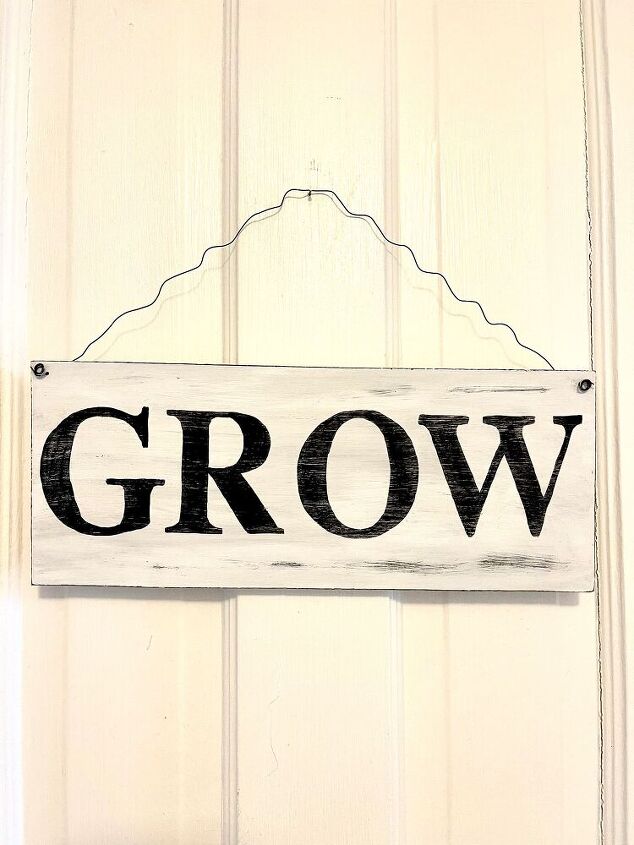
I LOVE how this turned out and how CUTE it looks on my chair!!
Will you make a DIY Grow Garden Sign?
I hope you enjoyed this DIY, if you did check my other posts below for so many more ideas!!
- DIY Patriotic Door Topper
- DIY Lemon Mason Jar Sign
- My Thrift Treasures
- DIY Grow Garden Sign
- DIY Uncle Sam Hat
FIND ME HERE!
www.creatingthroughchaos.com
www.facebook.com/creatingthroughchaos
PIN FOR LATER!

Comments
Join the conversation
-
This is so cute! I love how it looks on the chair with the plant. Perfect!!


Frequently asked questions
Have a question about this project?