


DIY Pallet Bridge

5 Materials
$5
4 Hours
Easy
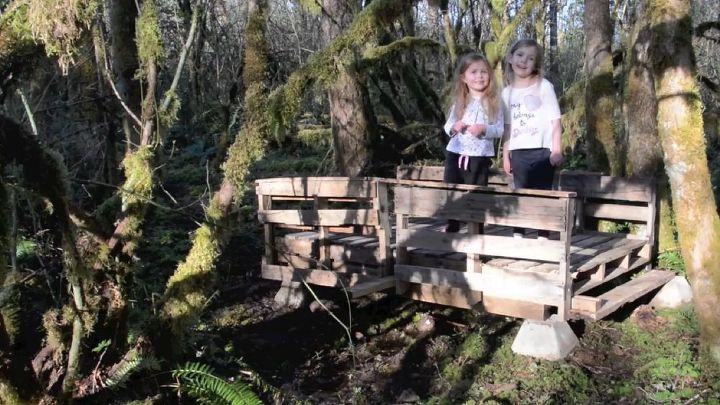
Our foot trail crosses a small creek which made it unusable parts of the year. A few pallets, beams, and precast pier blocks made an easy foot bridge and allows us to use the trail year-round while keeping our feet dry (although the kids seem to still end up in the mud ). We've even seen deer crossing on our bridge.
Be sure to watch the video at the end of this post for a project time lapse.
{
"id": "4377348",
"alt": "",
"title": "",
"video_link": "https://www.youtube.com/embed/aleFHwlY27w",
"youtube_video_id": "aleFHwlY27w"
}
{
"width": 634,
"height": 357,
"showRelated": true
}
Scroll down to see all steps in this project and a time-lapse video.
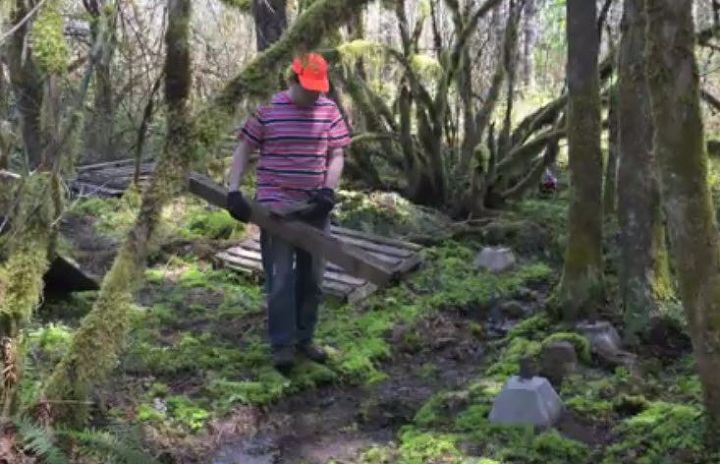
Step 1: Use a shovel to clear away soft topsoil and clear a flat area. Place a pier block on the cleared areas. For maximum bridge height, measure your beams and place the piers blocks near where the beams will end and estimate the width.
Step 2: Set the beams and attach to the pier block flange using nails. The beams should be shimmed with boards so that they are approximately level.
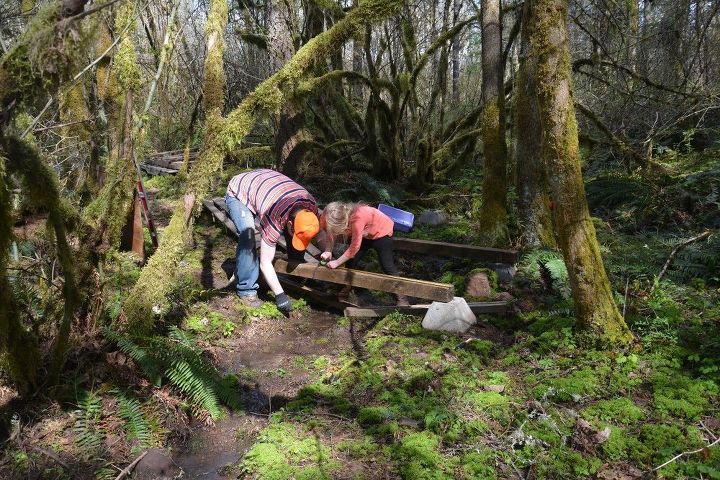
Step 3: Attach the pallets to the beams. We set our pallets so that the outside 2x4's are flush with the beams. We also left enough room on each end for a 2x6 step.
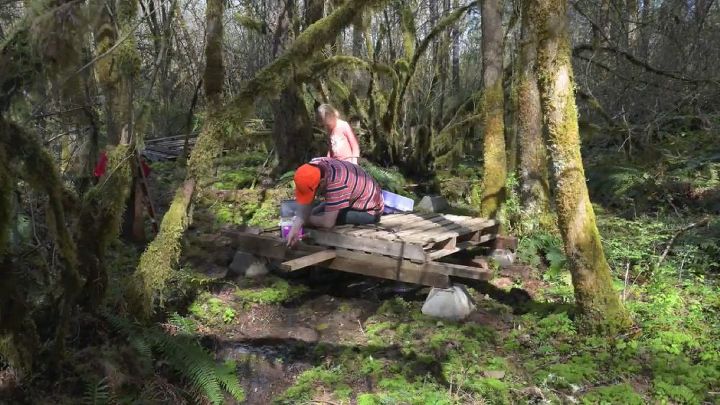
Step 4: Add a rail to the bridge by cutting two pallets in half and attaching the halves to the beam and deck pallets using nails. The nails have to be driven at an angle.
Step 4: Add a rail to the bridge by cutting two pallets in half and attaching the halves to the beam and deck pallets using nails. The nails have to be driven at an angle.
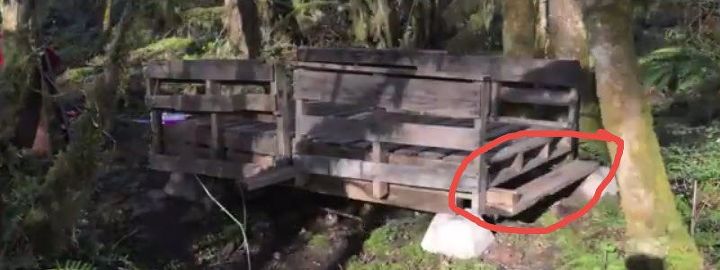
Step 5: Attach a 2x6 to the beams at each end, if necessary. We didn't plan ahead for this step and had to make it work in a less than ideal way. Ideally your step would bear on the beam instead of being attached to the bottom of the beam.
{
"id": "4322516",
"alt": "Pallet Foot Bridge Project Video & Time Lapse",
"title": "Pallet Foot Bridge Project Video & Time Lapse",
"video_link": "https://www.youtube.com/embed/-vhiwtycfaI",
"youtube_video_id": "-vhiwtycfaI"
}
{
"width": 634,
"height": 357,
"showRelated": true
}
The primary purpose of this project was to teach the kids how to use tools, especially a tape measure. Our video does include a time lapse of the entire project. Time lapse is 63 seconds into the video.
We want to help you DIY, so some of the materials in this post are linked to sellers. Just so you know, Hometalk may collect a small share of sales from the links on this page.
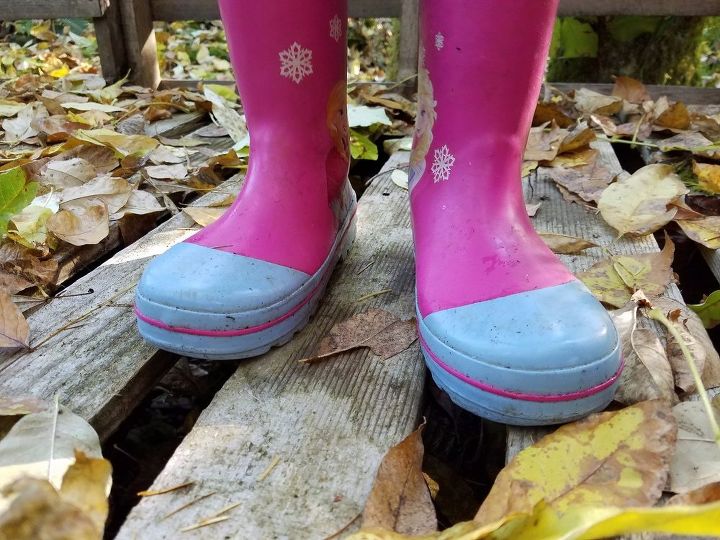
Several concerned comments on this project have asked if you could twist your ankle between the pallet boards. You can see here that we used pallets that are more sturdy than the average pallet and have smaller gaps. My daughter may not get her boots on the right feet but she's not going to fall between boards.


Any price and availability information displayed on [relevant Amazon Site(s), as applicable] at the time of purchase will apply to the purchase of this product.
Hometalk may collect a small share of sales from the links on this page.More info
Comments
Join the conversation
4 of 29 comments
-
Very cute! Is there a troll living under your bridge?

-
What a cool dad and what lucky little girls!!!


Frequently asked questions
Have a question about this project?
Where do you get your pallets,how much do you. Pay for them
You list the cost as $5, is that correct?
How did you transport the pallets? Wooden pallets tend to break when they are old; not only that, the spaces in between are very wide. This project doesn't seem very safe.