


DIY Garden Art Sunflower
DIY flowers can be made out of so many different repurposed things, and this garden art sunflower is proof of that.
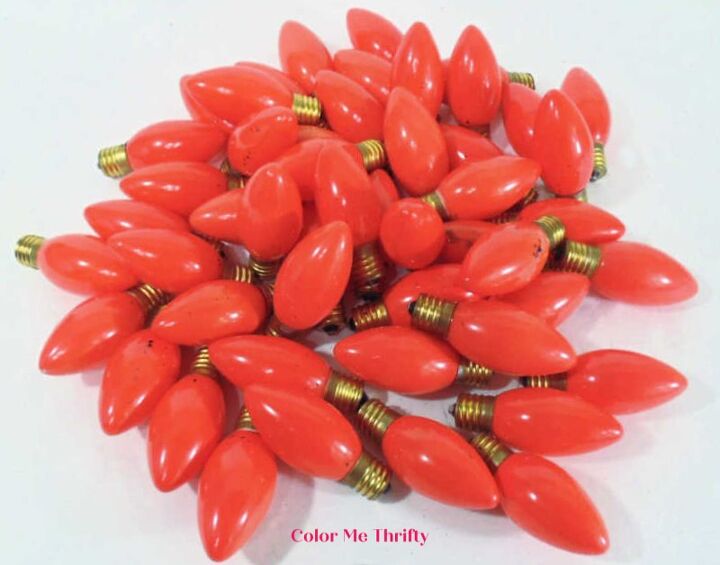
I found a bag of what I’m assuming were Halloween light bulbs a couple of years ago at a thrift store.
The bag was just $2 and for that price I just couldn’t pass them up. When I got home and counted them, there were 50 fabulous fallish bright orange light bulbs.
I have no idea if the light bulbs work because I didn’t test any of them.
They were always going to be repurposed some day, so to me it didn’t matter whether they worked or not.
I put the light bulbs away with my small fall crafting stash to wait for the day when inspiration would strike.
And it finally did.
When the fall comes I always like to delve into that small stash and see what happens. While playing with the bulbs to see what I could do with them, I came up with a funky fall garden art sunflower.
If you don’t have orange light bulbs, you could easily spray paint Christmas ones orange.
The light bulbs I’m using are glass, but plastic ones could be used as well.
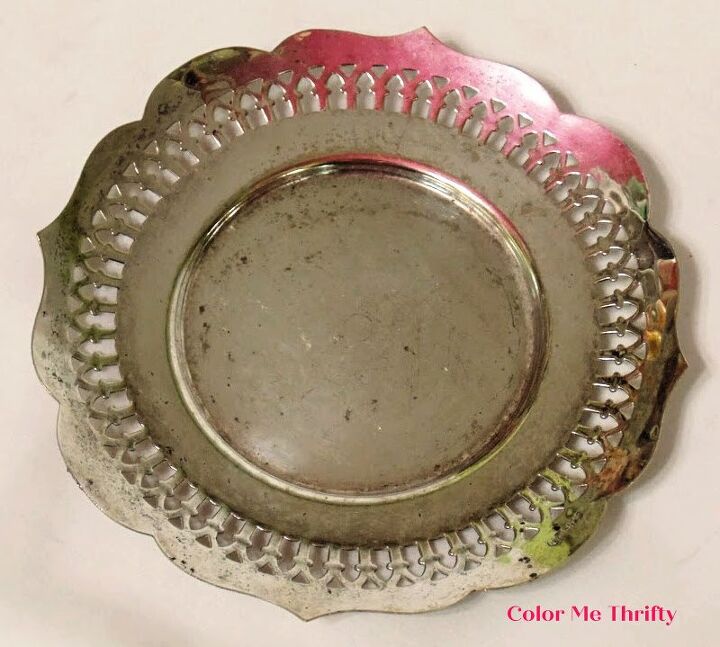
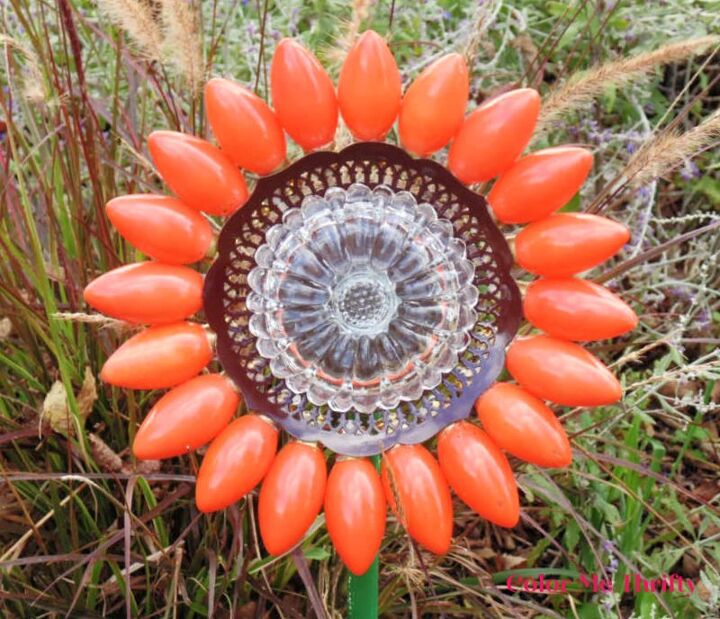
To create my DIY sunflower I needed a small tray. My $1 thrifted tray is silver plate, but any metal tray will do.
This tray is about 5 1/2 inches across, and it has a lovely filigree cut out pattern in it.
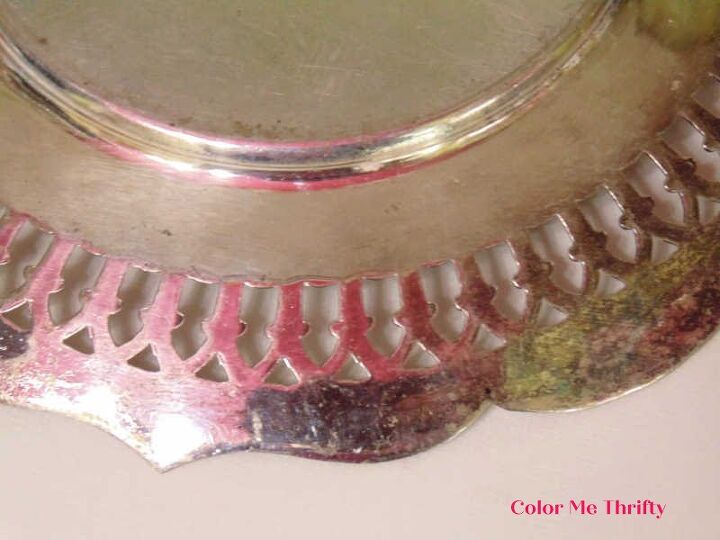
When choosing a tray the only thing that really matters is that the cut out pattern doesn’t go all the way to the edge, and that the edge is flat.
You need a solid and flat edge for the light bulbs to be glued to.

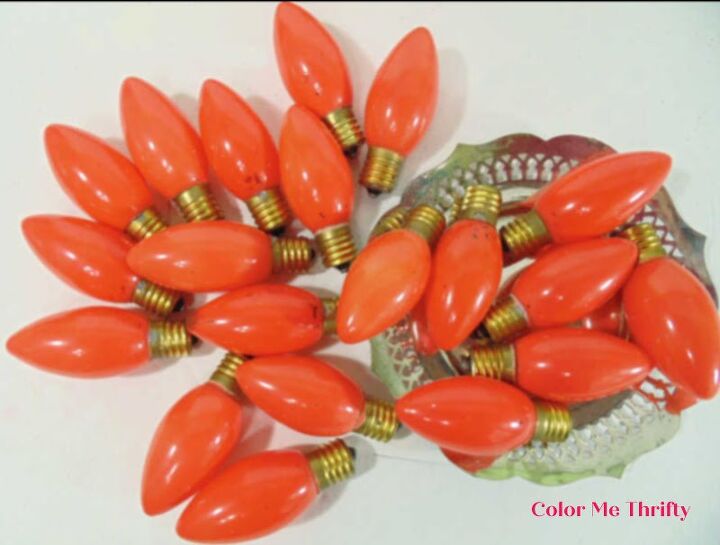
Before putting my sunflower together I did a dry fit to see how many light bulbs I would need.
For the size of tray I’m using I needed 20 light bulbs.
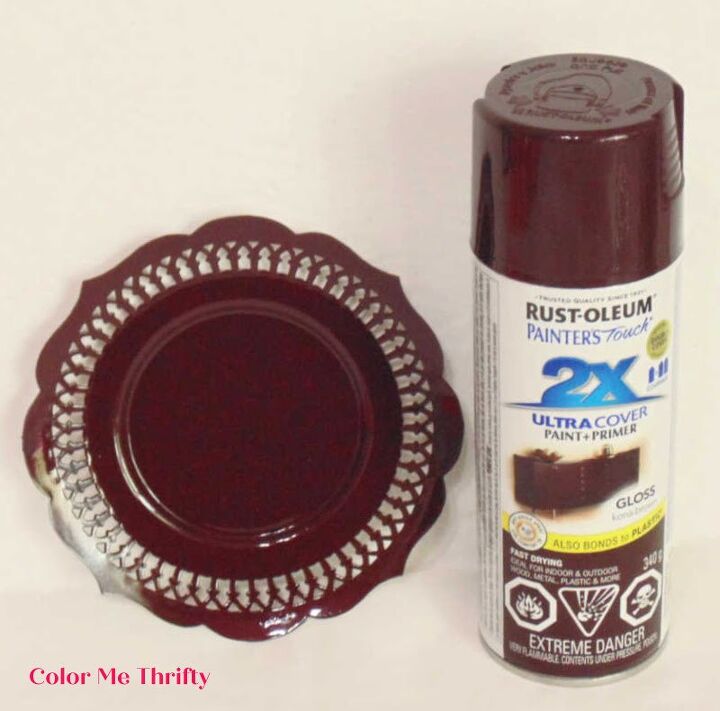
So that my tray looks more like the middle of a sunflower I spray painted the top with two light coats of a lovely brown.
You don’t want to spray paint the bottom because that’s where the light bulbs will be glued to, and they’ll get better adherence that way.
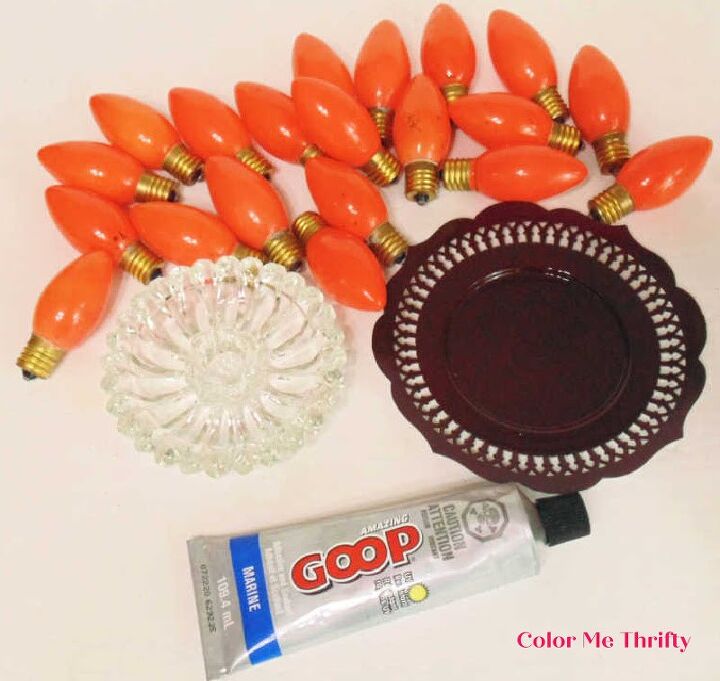
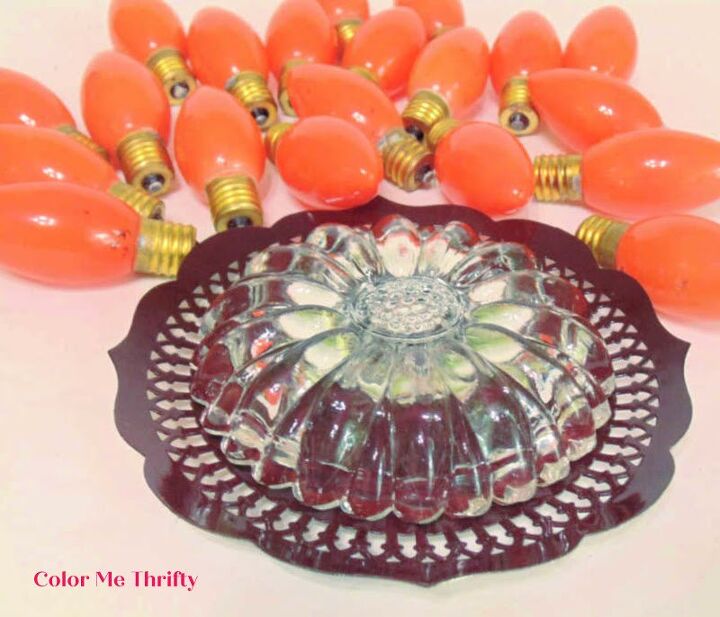
In addition to my 20 light bulbs and the tray, I used a 50 cent thrifted clear glass candle holder and some Marine GOOP adhesive to make the fall flower magic happen.
Marine GOOP is meant to be used on boats and it’s water and UV resistant. I use it often for outdoor projects.
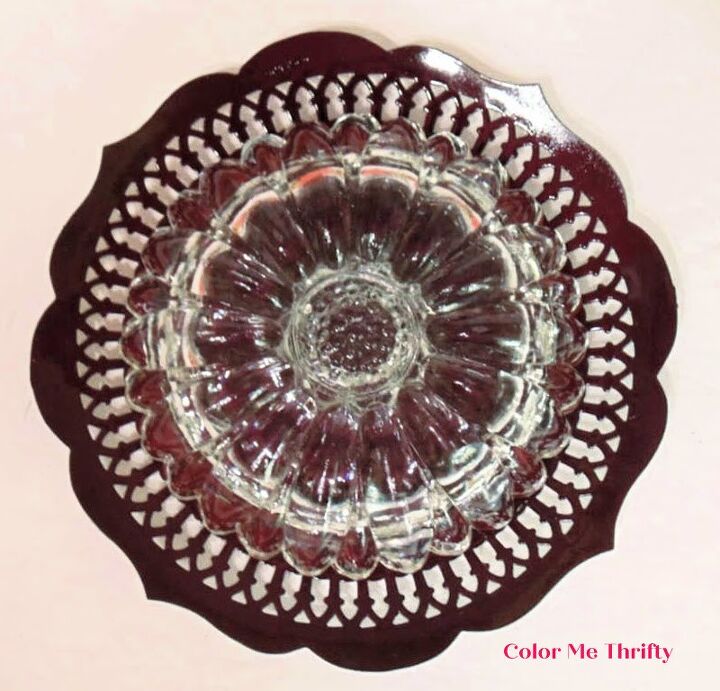
I glued the clear glass candle holder upside down on the top of the tray to give it a dimensional look.
Then I left it for 24 hours to cure.
Here’s a side view.
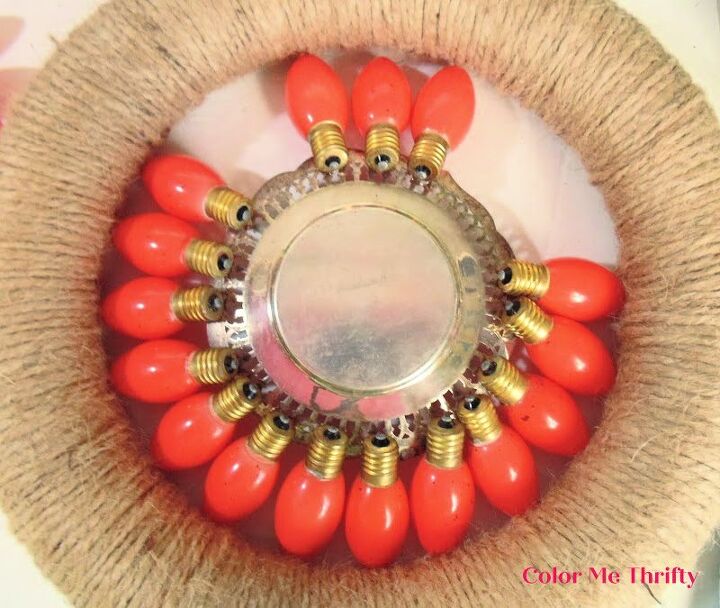
Even though the edge of the tray is flat, the tray itself does angle up a bit so I needed something to help me keep the light bulbs in place as I glued them down.
This easy DIY jute covered wreath form, that I use for all kinds of wreaths, fit the bill.
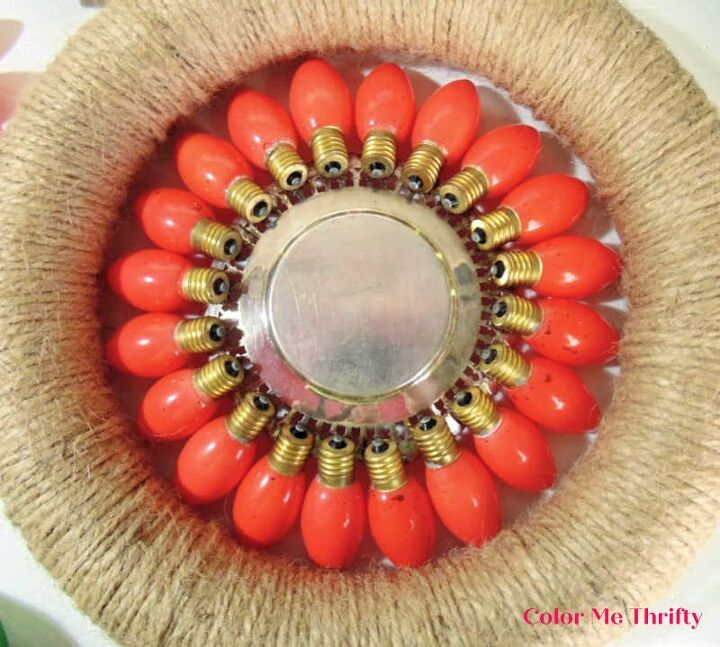
I glued each bulb onto the bottom of the tray one at a time until I was done.
The Marine GOOP does give you time to adjust any placement issues until you’re happy with the way they look.
Basically if you like the way your light bulbs look from the back, you'll be happy with the front look too.
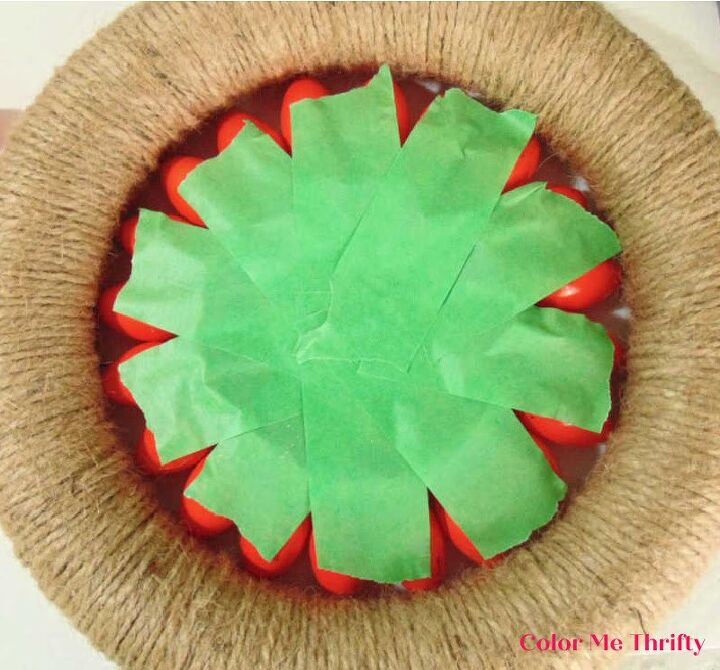
Once all the light bulbs were in place, I used 2 inch painter’s tape to hold them in place. Each piece of tape held two light bulbs, and stopped them from sliding down.
And I left it to cure for 24 hours.
Be careful when removing the tape. It can pull off bits of the orange paint from the bulbs. But if that happens it’s ok because it’s the back of the flower.
Once the light bulbs were all securely glued in place I removed the wreath form and checked every single bulb to make sure.
If any of the bulbs were loose I would have removed them and glued them again, but they were all good.
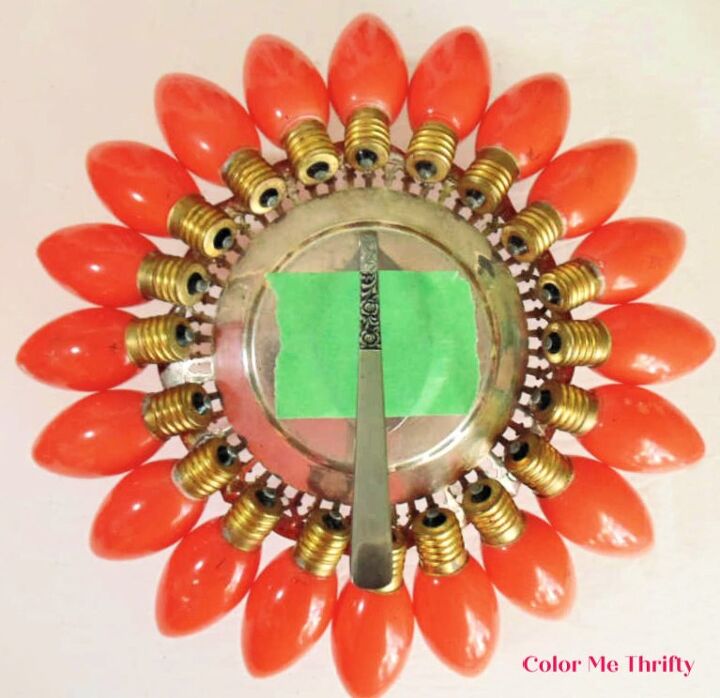
After flattening and bending a stainless steel tablespoon, I glued it in place on the back of the tray.
A piece of painter’s tape held the tablespoon in place for 24 hours.
I didn’t glue the spoon on at the same time as the light bulbs because I wanted my sunflower to be able to sit flat so I could check out the front.
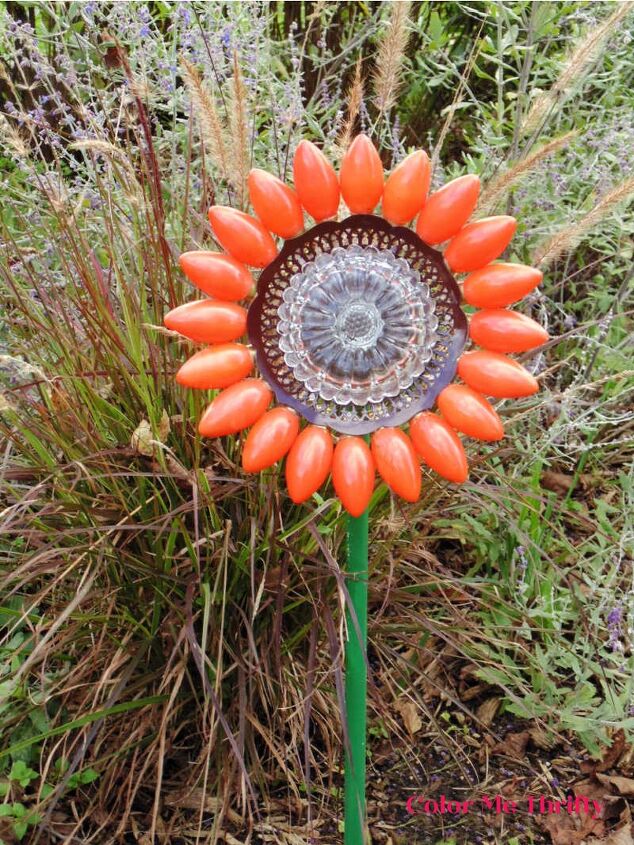
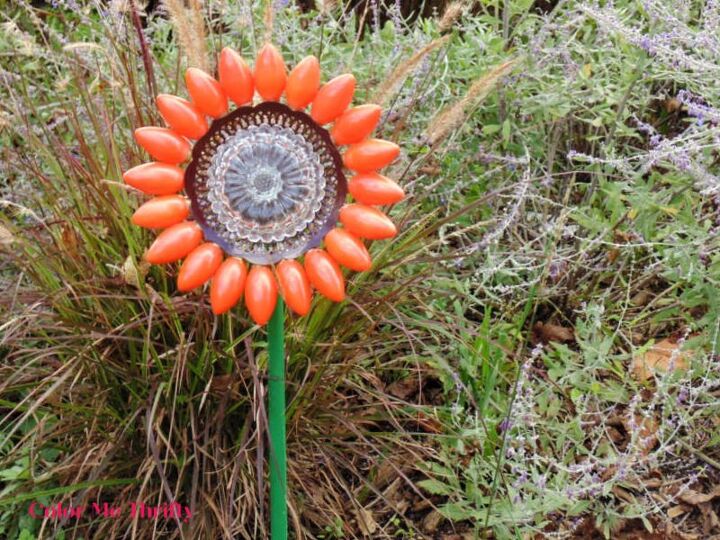
And here’s my finished garden art sunflower in my fall garden.
I love the way the glass candle holder looks. It allows you to see the brown color underneath, but it gives the sunflower more dimension and interest.
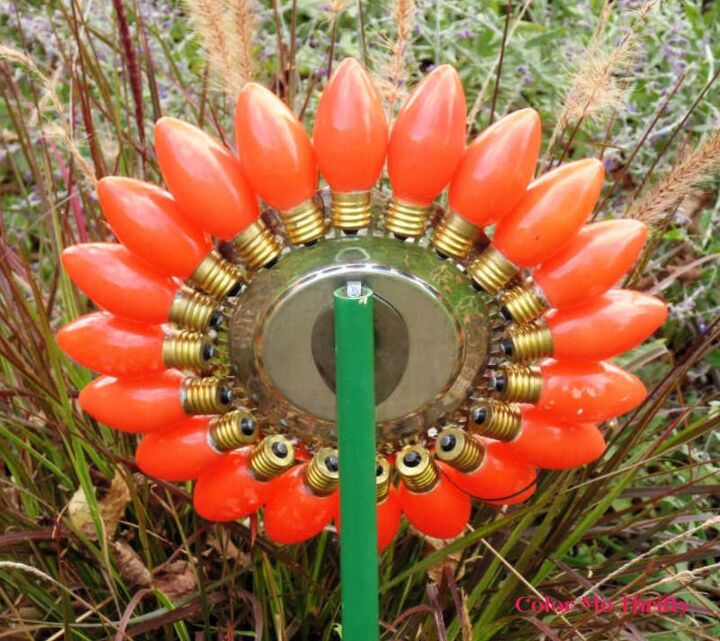
Here’s how the back looks with the spoon inside the pipe.
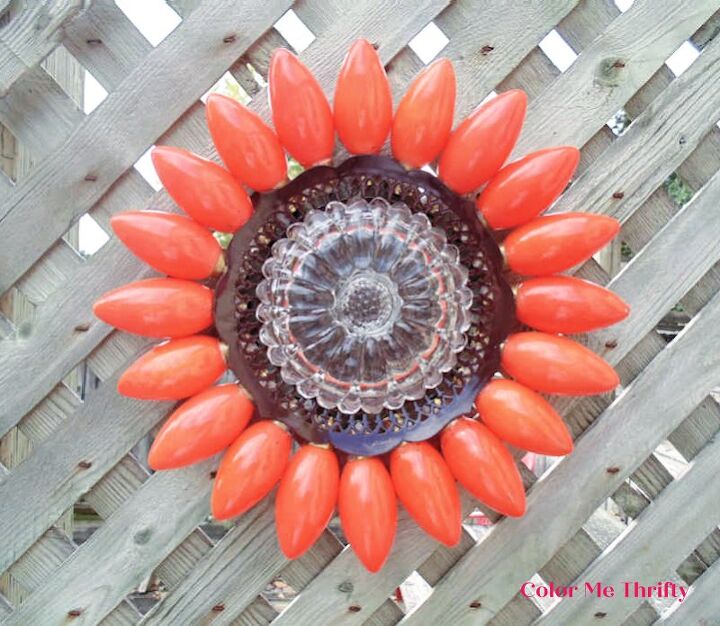
If you’re worried about putting this in the garden because the bulbs are glass, you could hang it up instead.
Here’s mine on a wall of lattice on my back deck.
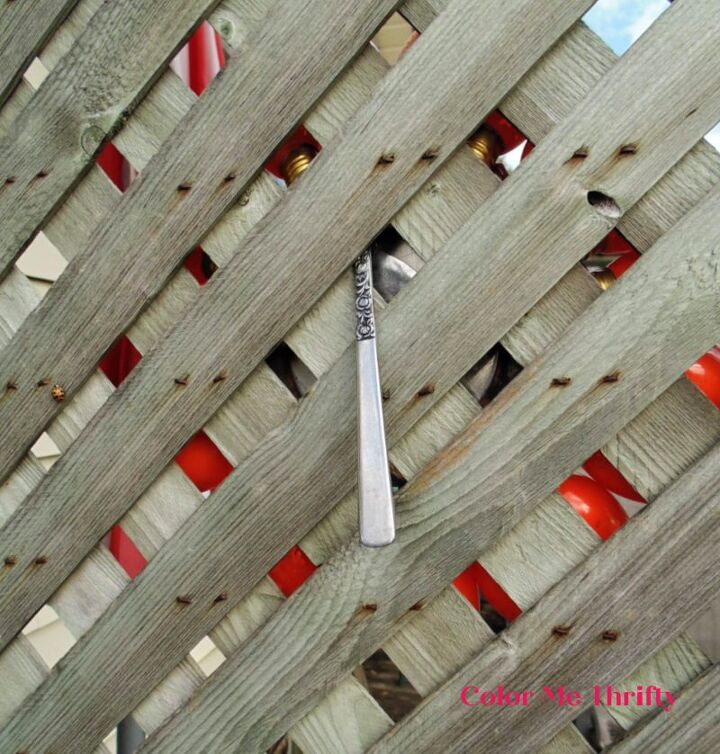
Here’s the spoon poking out the other side.
I’m using a piece of metal pipe leftover from a deck swing we took apart years ago, and I spray painted it green.
Whatever kind of pipe you use, it’s super important that it be pushed at least 10-12 inches into the ground.
You don’t want the flower toppling over in the wind.
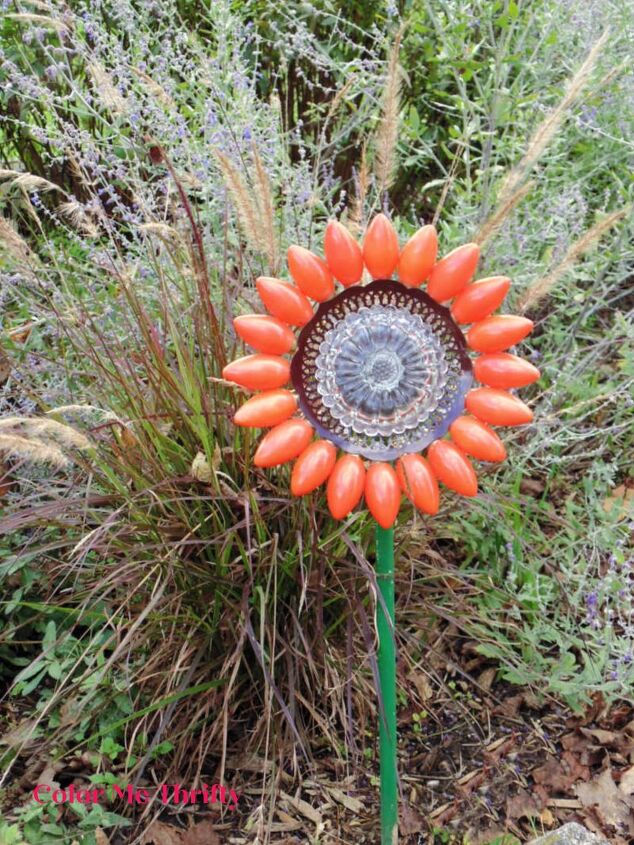
My garden art sunflower really pops against the purplish ornamental grass and the blue Russian Sage.
If you enjoyed this fall flower project I think you’ll also love my DIY Repurposed Corn Fork Flowers.
I hope this project has inspired you to add some funky fall flowers to your outdoor space.
You can find more creative garden art flower projects on my blog here.
Resources for this project:
See all materials


Frequently asked questions
Have a question about this project?