


How to Make Stepping Stones
Are you looking for a way to make your own concrete stepping stones? Here’s a simple and budget friendly option that will add beauty and character to your yard.
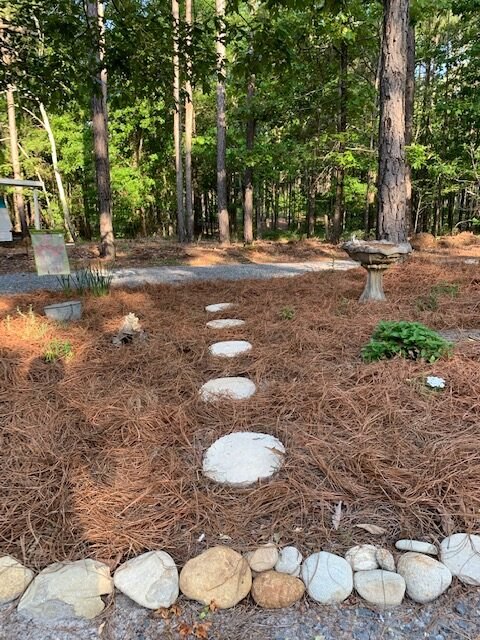
Is a flower garden even complete without stepping stones? I think not 🙂
As I continue to add flowers and do other landscaping projects around our yard, I’m always looking for budget friendly ideas to beautify the space.
The more money I can save on projects, the more projects I can do 🙂
That’s how I came up with the idea to make my own concrete stepping stones for my large flower bed.
Interested in making your own DIY stepping stones? Here’s how I made mine.
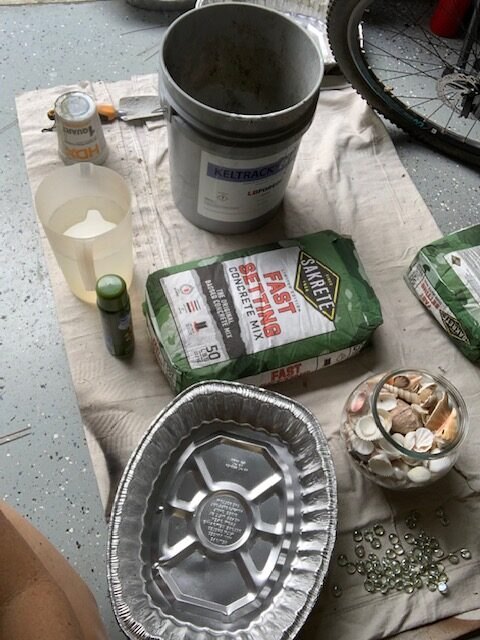
Supplies for DIY Stepping Stones:
- Aluminum pans for your forms (choose any size or shape you like)
- (1) 50 lb. bag of fast setting concrete mix (I used Sakrete)
- Can of non-stick cook spray to coat bottom of pans
- Bucket or large pail to hold the mixture
- Something to stir with (shovel, large spade, etc.)
- Water
- Accessories to decorate the top of your stones if you wish
I shared a video of the process on my TikTok and Instagram stories if you’d like to watch it. If you’re a visual learner like me, I highly recommend it.
Directions:
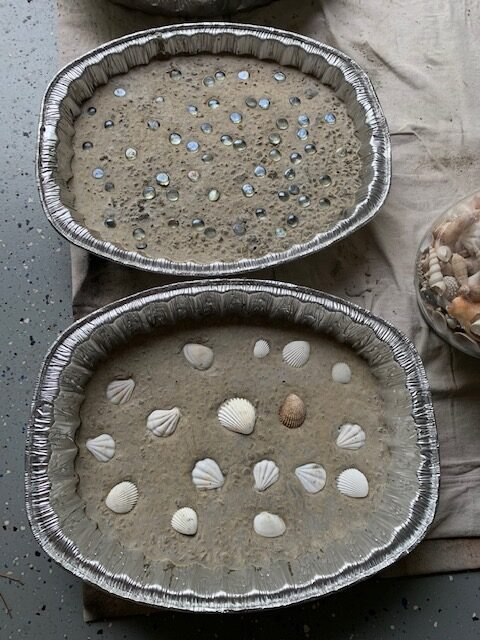
- Spray bottom of pans with non-stick cook spray
- Mix concrete mix and water according to instructions on bag
- Pour mixture into pans, filling about half the pan
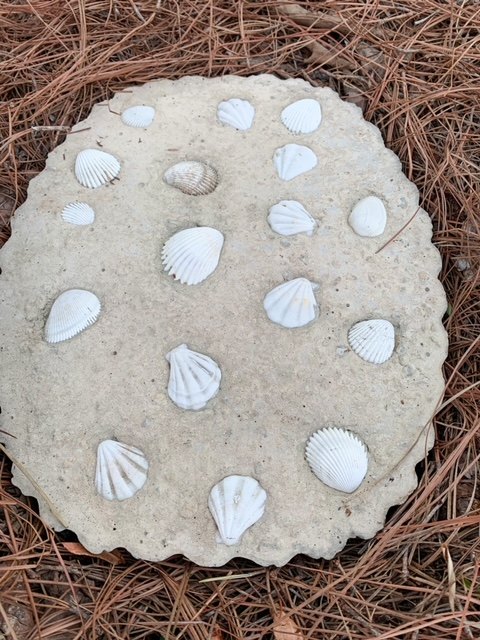
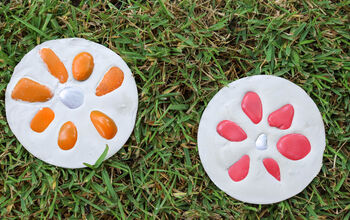
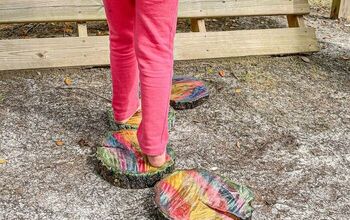
- If you’re decorating the tops of your stones, lightly press shells, glass beads, or any other accessories you are using. By pressing my shells slightly into the mixture, they have stayed well and I am able to walk on them with no problems.
- Instructions say fast setting in 30 minutes, but I let mine dry 24-48 hours.
TIPS:
Follow the directions on the bag for mixing the water and concrete. You want it like a pancake consistency. If you have too much water, it will take much longer to dry.
My 50 lb. bag of Sakrete made three stones with the size aluminum pans I used.
Aluminum pans can be purchased at dollar stores, Walmart, and many grocery stores.
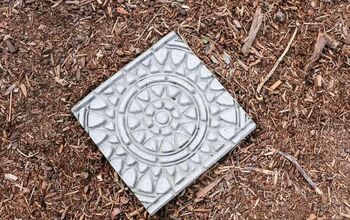
Depending on the pans you use, the bottom of the pans can leave a beautiful design of their own. I chose not to use that size because of the fine print on the bottom of the pan showing in the concrete, but you could possibly cover that before pouring your mixture in it.
This is such a fun project and is a great idea to do with your children or grandchildren. They can use so many fun items to decorate their stones.
If the stones are decorative only and won’t be stepped on, the accessories can really be fun!
I decorated some of my stones and left others plain. I love the rounded corners of the pans I chose.
This was such a fun project! Next time, I think I’ll try to use the pattern from the bottom of the pan.
What do you think? Does this look like a project you’d try? If you have any tips or other ideas for making stepping stones, I’d love to hear them.
Pin Now! Save for later!
How to Make Stepping Stones


Comments
Join the conversation
-
It’s such a fun project! 🥰
-
I think we have a Memorial Day craft for the family! Super excited!


Frequently asked questions
Have a question about this project?
I absolutely love this! My mind is exploding with ideas! One question though, is there a way to color the cement before you pour it into the pan? I wouldn’t want to paint over the little things I’m embedding in the concrete so not sure what to do. Thanks in advance for your help! You’ve inspired me!
My grandchild & I were already planning on making stepping stones. Her mother made some that broke & didn't last very long. I have been allowing my grandchild to break-up pieces of English vintage china that has too many chips, cracks, discolorations. I was planning to make designs upside down in the bottoms of the various mold forms. I read, somewhere, to cut a piece of clear contact paper to arrange the various designs onto, before beginning to pour the medium. Does this technique make any since or should we forgot about it & arrange china chips, shells, etc. as in your photos on the top rather than the bottom & then flipping it when dry???? Thank you!