


MCM Dresser Graphic Paint Makeover

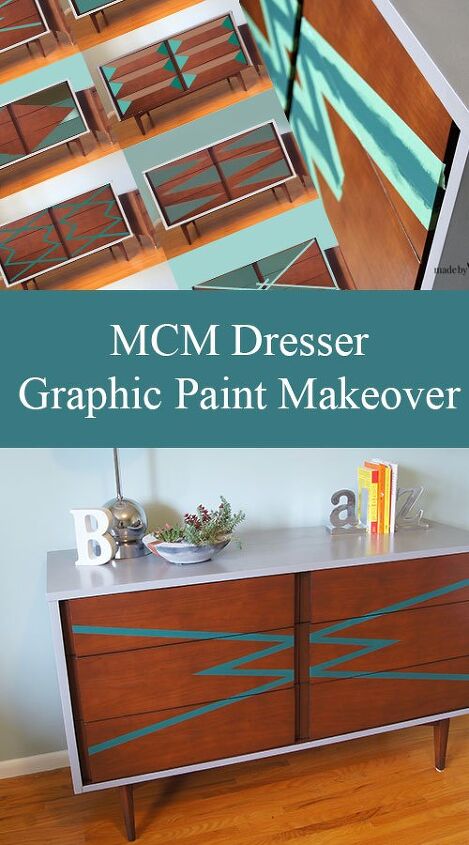
It’s been so very hot lately which gets me thinking of the state of our environment. I try in my little ways to make a difference. Why not take a great old piece of MCM – Midcentury Modern furniture and give it a second chance. ‘Saves it going to landfill, saves the energy to make new furniture, saves your sanity as you are ‘crazy proud’ of your makeover and saves a chunk of cash, not to mention how absolutely cool this style is!
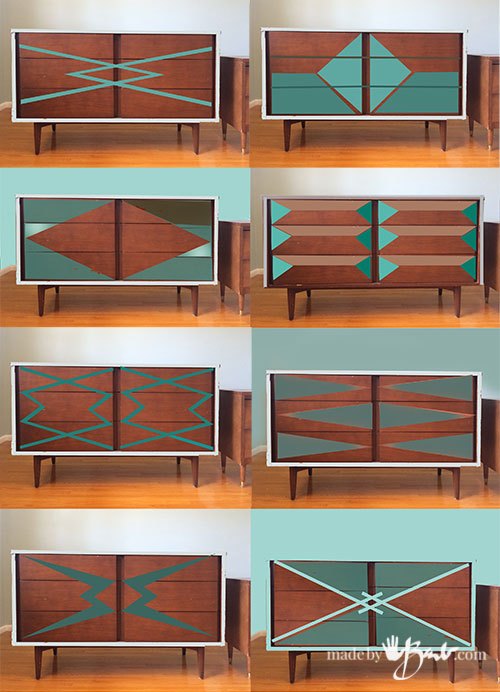
The Endless Options:
Yes, I now, there are a lot of makeover styles. I had a hard time deciding what I wanted to do. So I did what I do, turned to Photoshop and drafted some out. Think of lines that connect corners or midway marks. Triangles, chevrons, simple shapes… Draw on paper til you have one you like. I wanted a toned down accent as I didn’t want to tire of it too fast.
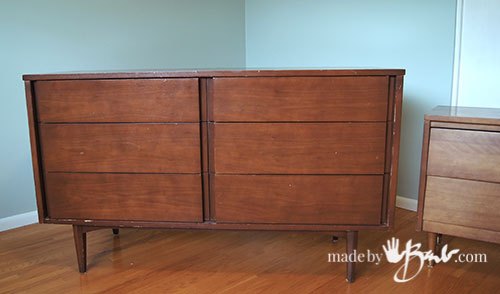
This piece was so cheap, and actually real wood. It is a Kroehler manufactured piece with great simple lines. No handles needed as the drawer sides have a lip for your fingers. Ok, ya, it had scratches, but mostly on the top and sides. That’s where the paint usually goes, so no ‘problemo’.
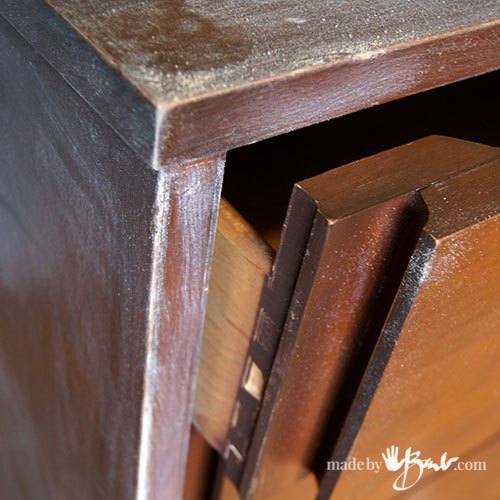
The Prep:
Just to be sure that the paint adheres I like to give it a scuff sanding where the paint will go, just to roughen a bit. A good damp cloth wipe down and clean and you are ready for paint. Drawer fronts were left original.
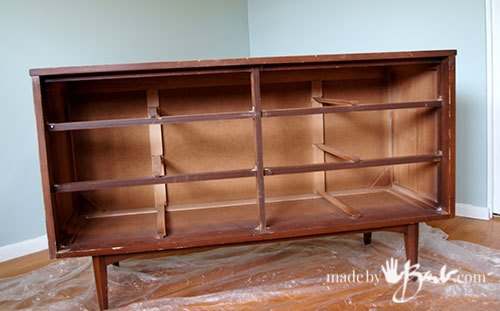
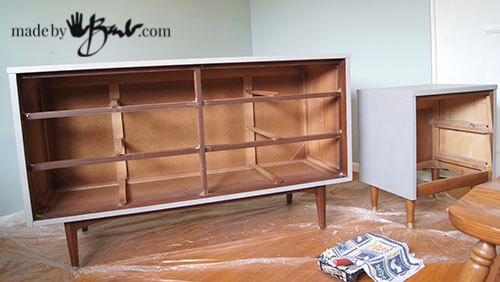
Drawers pulled out for outer shell painting.
The Painting:
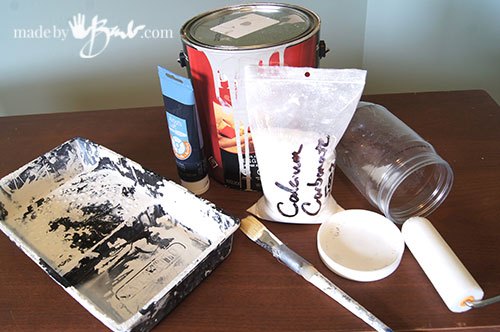
And again, rather than investing in paint, I knew it wasn’t going to take much so I used what I had. Satin grey latex paint, a bit of extra black acrylic paint, and a trick!
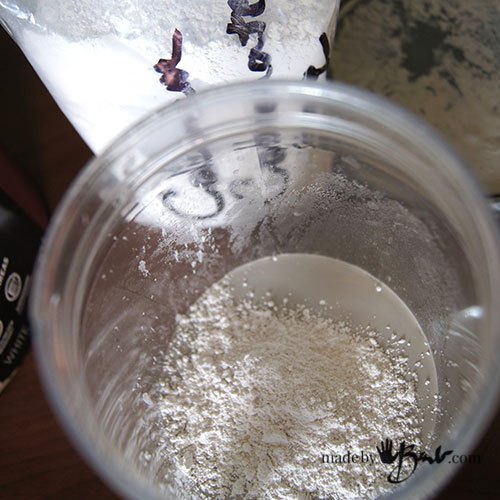
Chalk painting has been the rage for a while. Instead of investing a bunch for it I make my own. I go to the winemaking store and buy CALCIUM CARBONATE. It is the ‘chalk’ ( see my tutorial for painting everything white) and will help make your paint more opaque and add a harder finish. It is the mineral that makes seashells and egg shells. I added 2 tablespoons to 1 cup of paint. The key is that you mix it in very well. It will make the paint thicker, so if it’s just too globby, then add a touch of water.
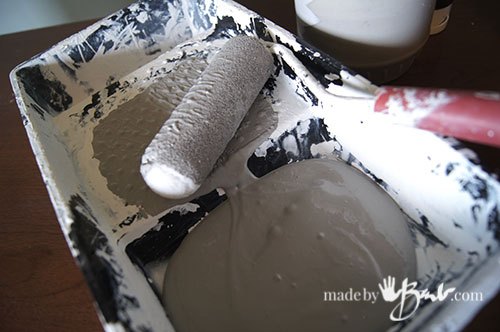
I am ready with my colour choice and trusty roller sponge.
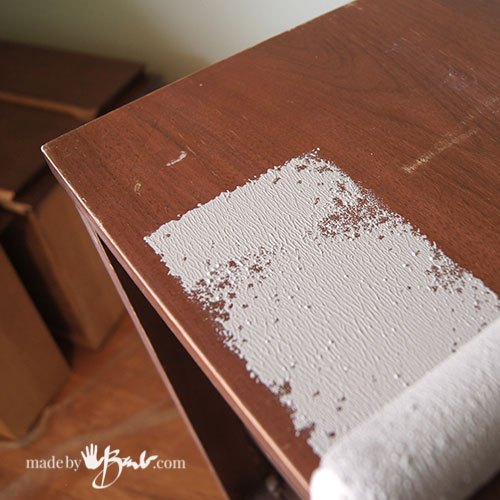
One pass and you see how much coverage it gives. (Move over Annie Sloane)
It goes on nice and quickly spreads. Don’t fret too much if you get the odd speck of grit as you can do a small sanding between coats
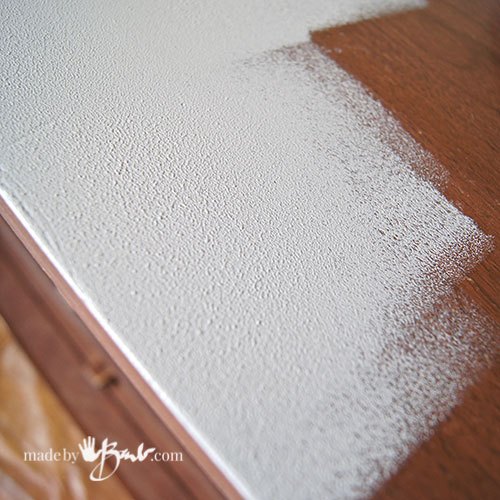
No masking necessary as I used the roller for front edges only, as well as top and sides. The scratches were filled in quite nicely with this thick paint. That is the other great thing about MCM, the simple lines are easy to work with.
The Design:
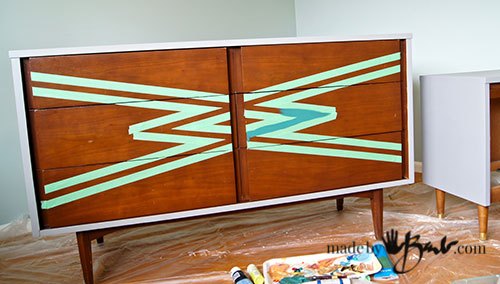
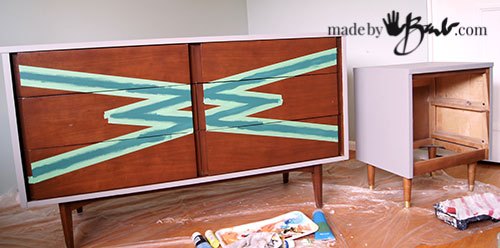
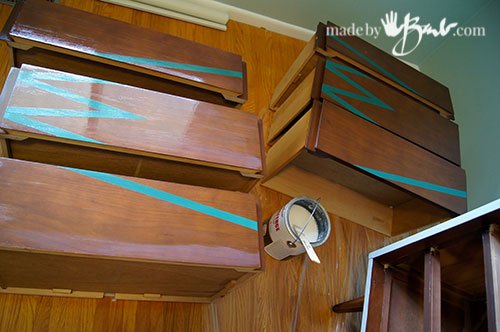
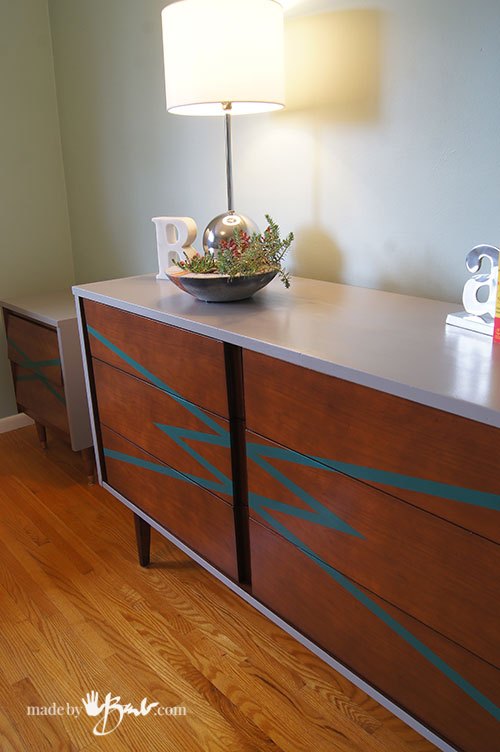
I chose this design, which is using the middle points of drawers and sides. After a good clean, I masked off the lines. Check that they are straight with a long ruler, check symmetry.
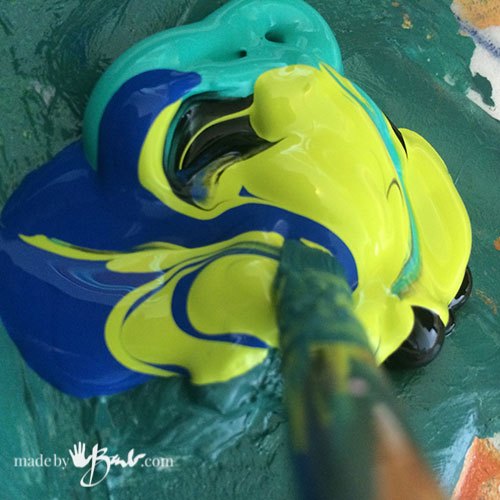
As you can notice, I’ve been on a teal kick lately. So again I just mixed up some paint to my liking. Oh, you can do it, you will know when you have a colour that you like. I wanted it to be about the same darkness as the wood, but different colour. But there are no rules.
Give it a couple coats…
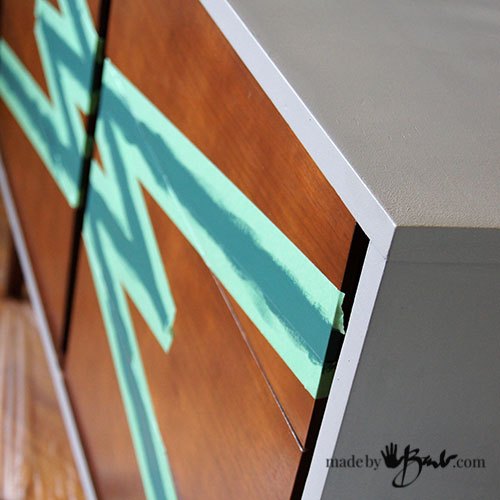
Carefully pull tape off at an angle to the edge, then less likely to pull off paint.
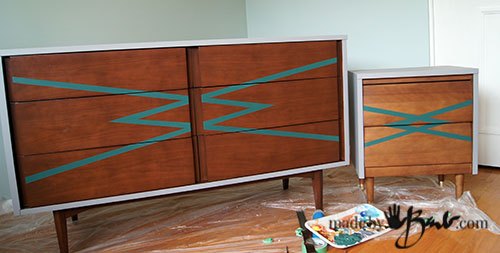
The Finish:
Voila! Good job! Now to give it the protection it needs.
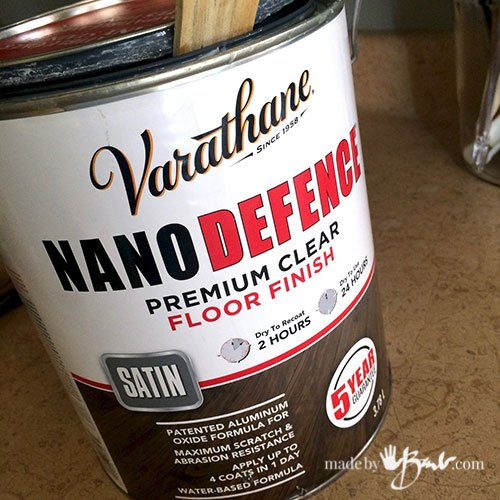
I have fallen in love with the new ‘Nano’ technology in paint! The addition of aluminum oxide makes this product coat with a super hard finish. I used Nano Defence on the floors and figured why not give the dressers that extra added protection. It is also available in furniture grade.
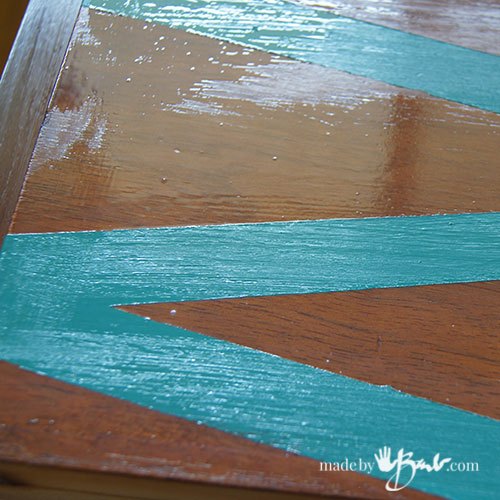
It can be finicky as it is quite thin, dries super fast and likes to make bubbles. So go slow, smooth out the bubbles with restroking, but don’t go back once it’s too tacky. It will looky patchier wet than when it is dry. I prefer the satin finish, less shine shows less imperfection.
Being about as thick as milk, it likes to bubble. Just slowly stroke and keep vigorous brush work to a minimum. Thin coats are best.
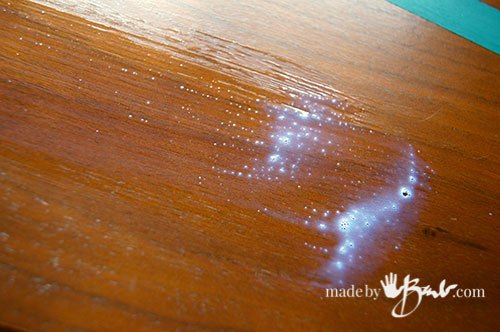
Those white milky areas will dry clear. Also coat the grey latex areas as well. It will give it a great surface for the top and minimize chipping. Nano Defence can withstand dog claws when used on stairs, so it IS strong.
I bet you sweat a bit during the clear coat. But don't worry. it was worth it! Awesome Job! Simple but unique.
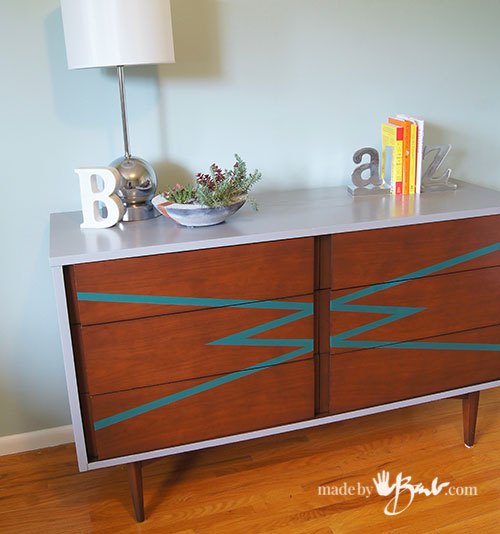
Dress it up a bit… with a great concrete bowl, (hint hint) and you have a sleek modern design. No rocket science here. Bravo!
For more of my projects please visit: https://www.madebybarb.com/
Resources for this project:
See all materials


Comments
Join the conversation
-
I'm not a fan of mid century modern, but I have to say, this is gorgeous. Thank you.
-
Fantastic look and thanks for the tip on the Varathane product!


Frequently asked questions
Have a question about this project?
I just went back to look mine over and it has sunken horizontal handles in the middle of each drawer (no hardware). I think what it needs most is some repair work. There are grooves with raised strips in a rectangle design on the doors that have one of those strips missing. Anyone have any idea if I can find any strips like that anywhere to replace the lost one? The bottom portions of the handles are unfinished. I need to sand them and put a clear coating on them so they can be dusted properly. Now the dust clings to the rough surface and refuses to be removed completely. I'm sure there is more work to be done on them. No one in my family will want this set when I die and I don't want it to be trashed. Do you think I can make arrangements for an antique shop to pick it up right after my death? Not for any money that might come from it, but to preserve it.
I just went back to look mine over and it has sunken horizontal handles in the middle of each drawer (no hardware). I think what it needs most is some repair work. There are grooves with raised strips in a rectangle design on the doors that have one of those strips missing. Anyone have any idea if I can find any strips like that anywhere to replace the lost one? The bottom portions of the handles are unfinished. I need to sand them and put a clear coating on them so they can be dusted properly. Now the dust clings to the rough surface and refuses to be removed completely. I'm sure there is more work to be done on them. No one in my family will want this set when I die and I don't want it to be trashed. Do you think I can make arrangements for an antique shop to pick it up right after my death? Not for any money that might come from it, but to preserve it.
Can this be done with an veneer dresser without sanding first?