


Shelving Unit Upgrade With White Wash Treatment
2 Materials
$10
4 Hours
Easy
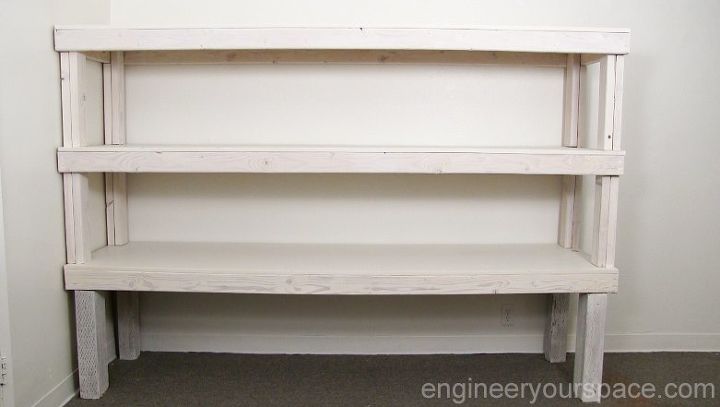
I recently took on the challenge of transforming a dark and neglected basement into a creative space for me to use for a few months. I was on a very tight budget for this project but luckily there were a few things left in the basement that I could use or repurpose, like this old shelving unit built out of 2"x4".
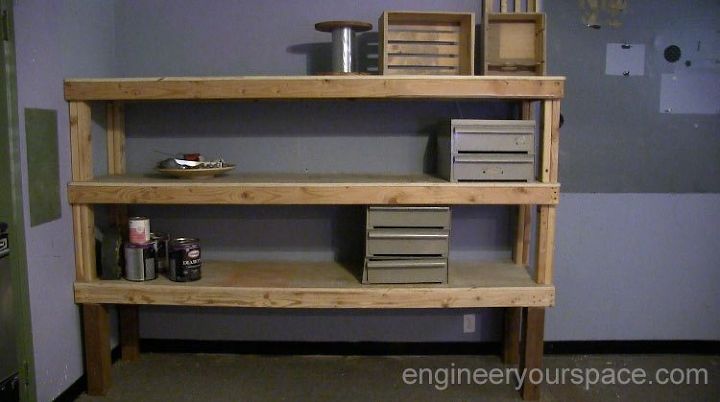
It will be very useful to store things but I had to figure out a way to spruce it up without spending a lot of money. I had always wanted to try white washing a piece of furniture so this was the perfect occasion to give it a try without too much stress about the outcome.
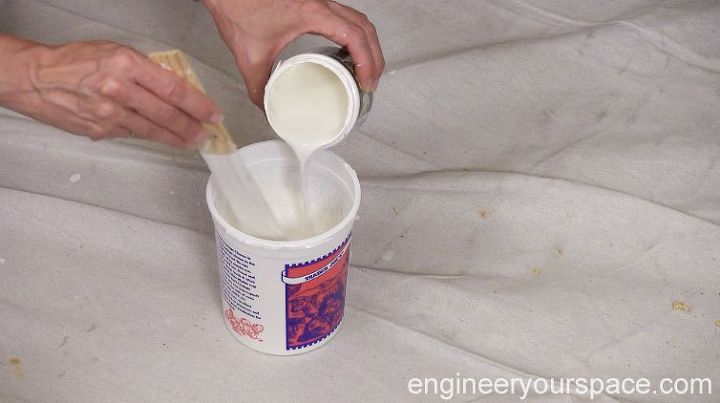
So after doing a bit of research online, I settled on making a white wash mix of 1 part paint, 2 parts water. It's important to mix the 2 together very well to have a uniform distribution of the paint. I prepped the shelving unit by filling in holes with wood filler and sanding down the rougher parts.

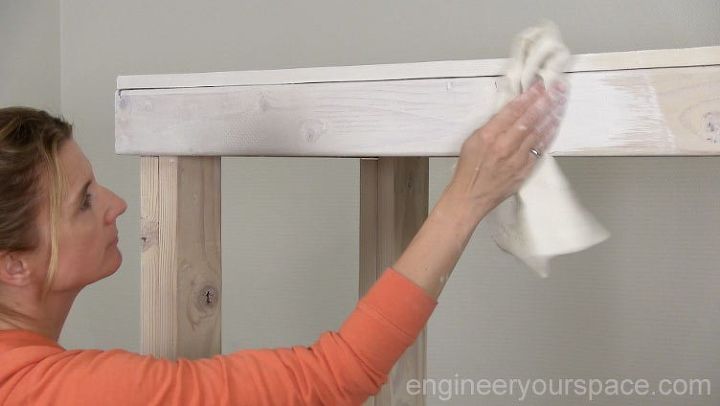
Then I applied the white wash mix onto the shelving unit with a brush first, and then wiped off the excess with damp rag. Please don't go "sans-gloves" like I did or your hands will be covered with paint like mine were!
After doing the first coat and letting that dry, I opted to apply another coat for a whiter look.
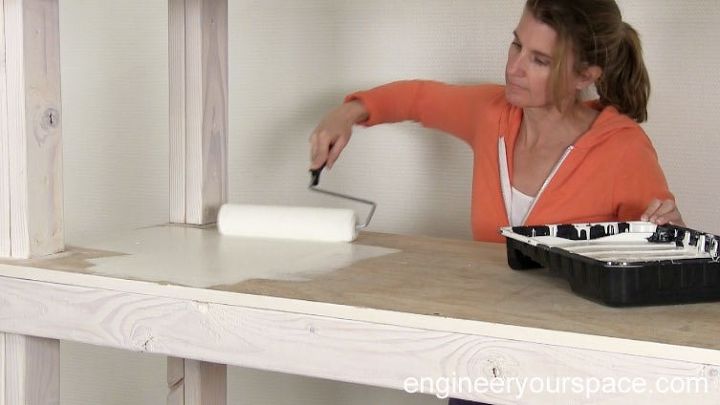
The shelves had a lot of stains so I painted them instead of doing the white washing.
I really liked how it turned out! I didn't do this but it would be a good idea to seal it with wax or some other sealer.
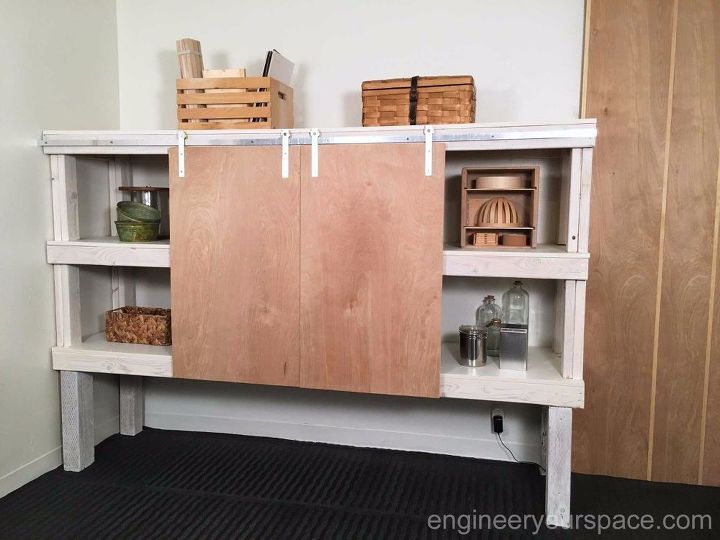
Here's the shelving unit all finished with the barn doors I added. I made t he hardware myself in a way that's really easy (hand tools only!) and it was way cheaper than buying these on Amazon.
{
"id": "4535842",
"alt": "",
"title": "",
"video_link": "https://www.youtube.com/embed/1l-NJ0jamXI",
"youtube_video_id": "1l-NJ0jamXI"
}
{
"width": 634,
"height": 357,
"showRelated": true
}
You can see all the projects I did in the basement in this video, including how I built the LED lighted wall panel, and temporarily covered up the old carpet.
Resources for this project:


Any price and availability information displayed on [relevant Amazon Site(s), as applicable] at the time of purchase will apply to the purchase of this product.
Hometalk may collect a small share of sales from the links on this page.More info

Want more details about this and other DIY projects? Check out my blog post!


Frequently asked questions
Have a question about this project?