


Vintage Cane Chair Upholstery Tutorial
I picked up these chairs, intending to make them over for my own home. I don't really enjoy upholstery work, but I tinker with it and I was motivated by my plan to keep them. In the end, I am going to sell them after all. :)
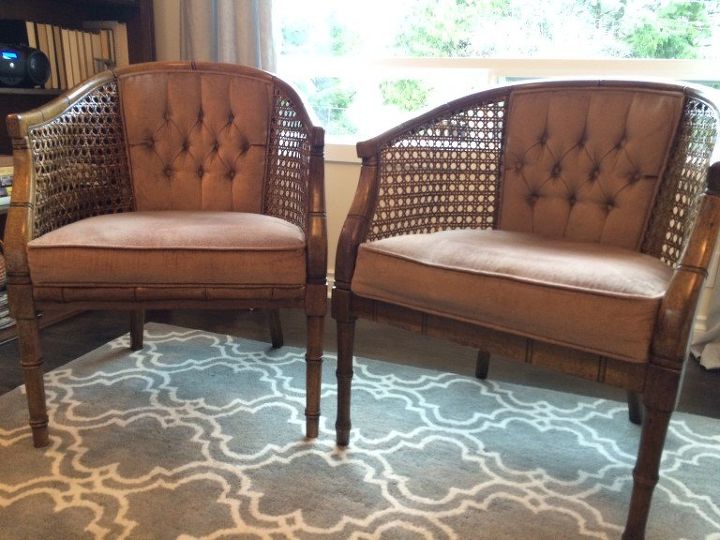
This was my third upholstery project. The last project I DIY'd back in 2014, I documented step-by-step, so I am going to to take you through that here before I show you the "after" for these chairs.
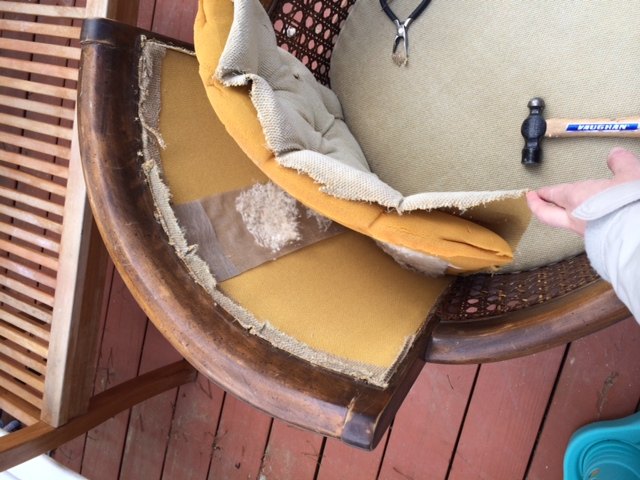
First, get out whatever tools you have - needle nose pliers, a screwdriver - etc - and star removing the old upholstery. The chair seat should unscrew from the bottom - you can remove it then start taking out staples to reveal the foam. The rest will need to be stripped off, staple-by-staple - and it's not fun. I know there are upholstery tools you can buy to make this easier, but like I said - this is just something I tinker with so I try and work with what I have.
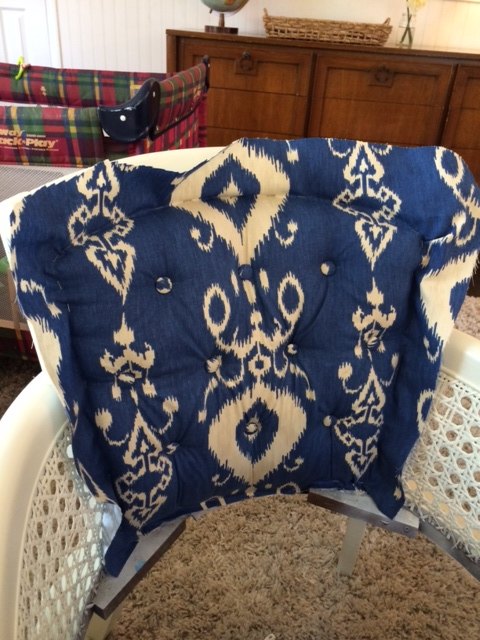
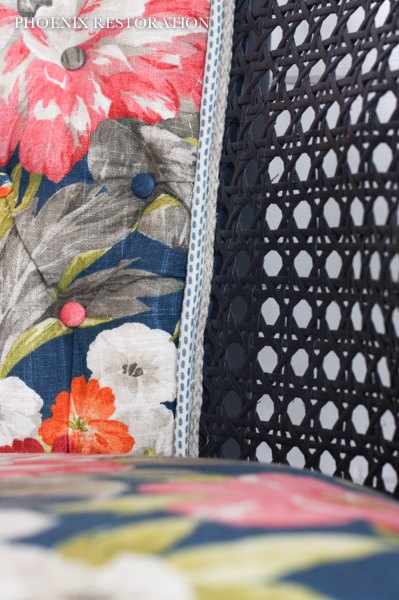
Be mindful of any patterns that need to be centered, like the one above.
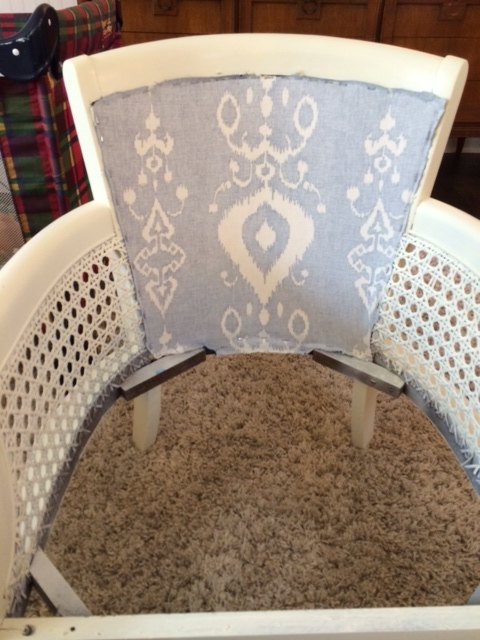
If desired, paint your chair frame once the fabric is off.
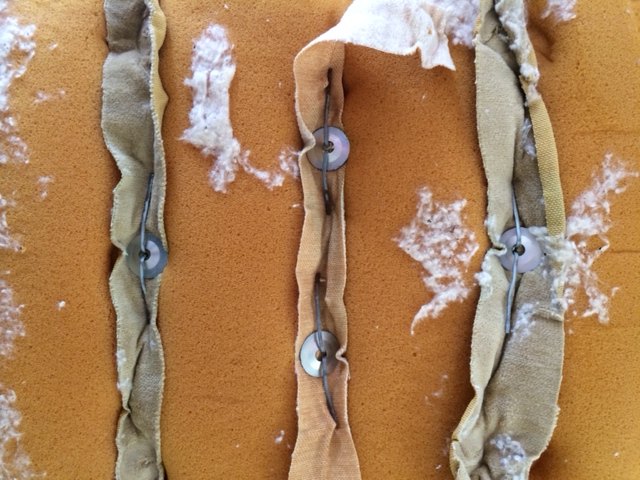
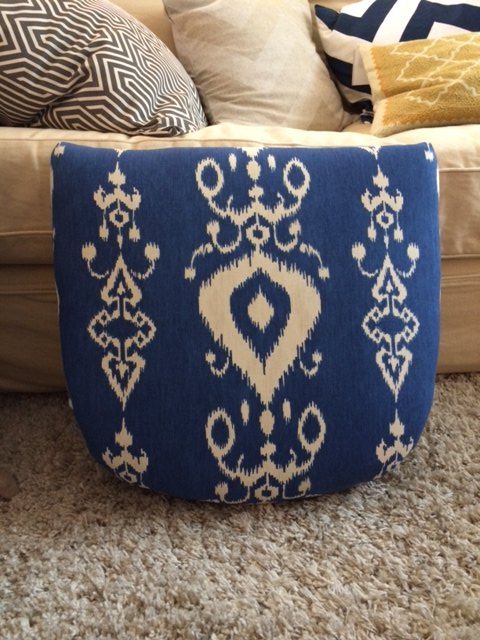
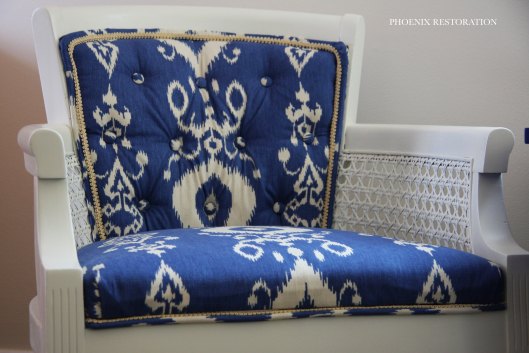
Tufting is easier than you think. Here is the back side of the tufted pillow.
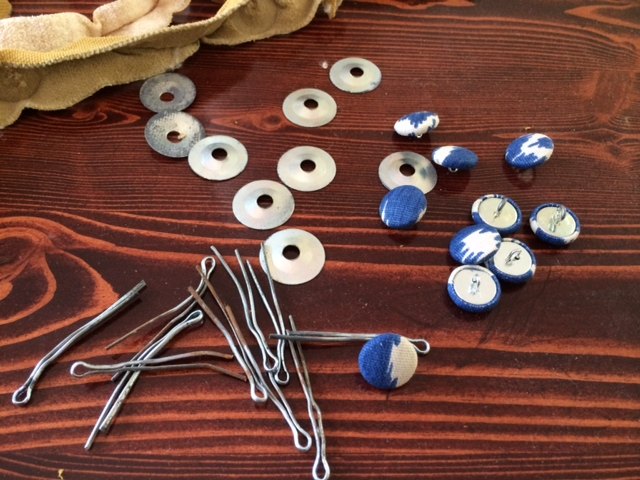
I get upholstered buttons made at Pacific Fabrics and I reuse the pins from the old buttons. Save your pins if you can, because I haven't been able to find these new.
Staple the fabric to the front and cut away the excess fabric. It will look a bit rough.
Use hot glue to cover the old trim with new fabric. Once it's covered, hot glue it around the rough area, covering the staples.
Finally, use decorative upholstery trim to cover any other stapled areas, if needed, or simply to provide some contrast.
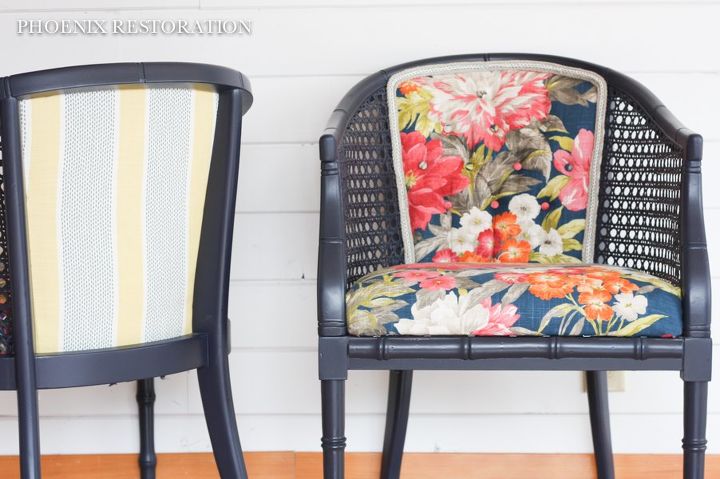
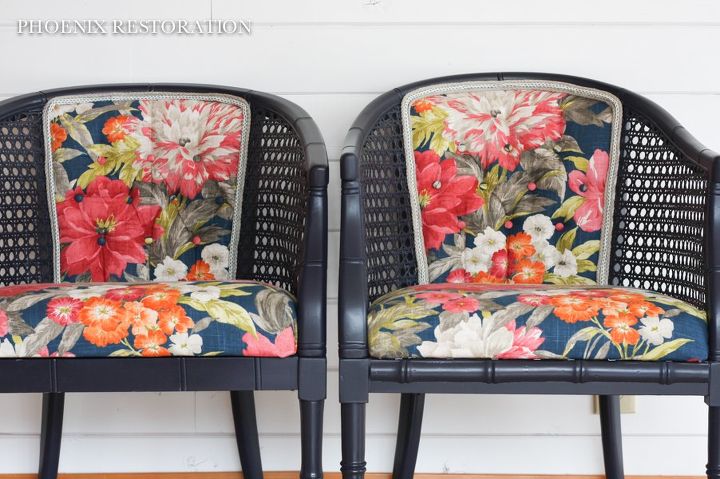
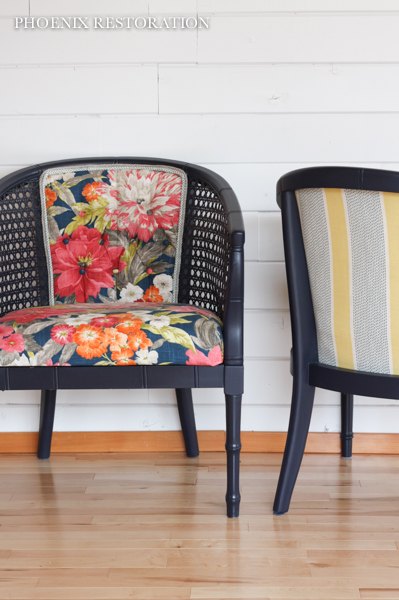
And that is exactly what I did with these chairs. I used a complementary fabric on the back side.
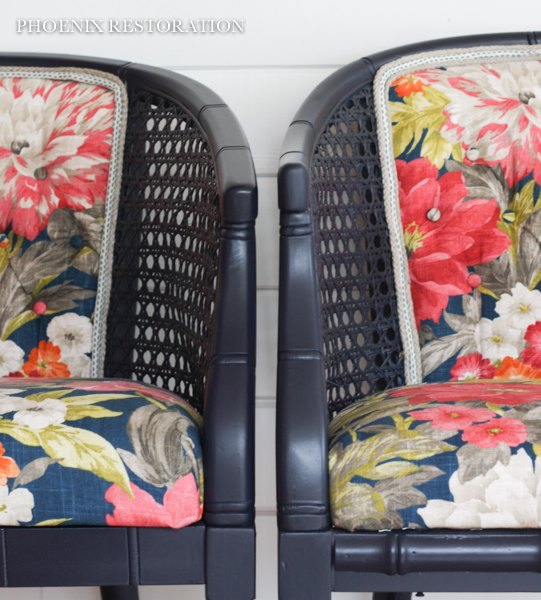
Chairs were painted in General Finishes Coastal Blue and topcoated with Satin Polyurethane.
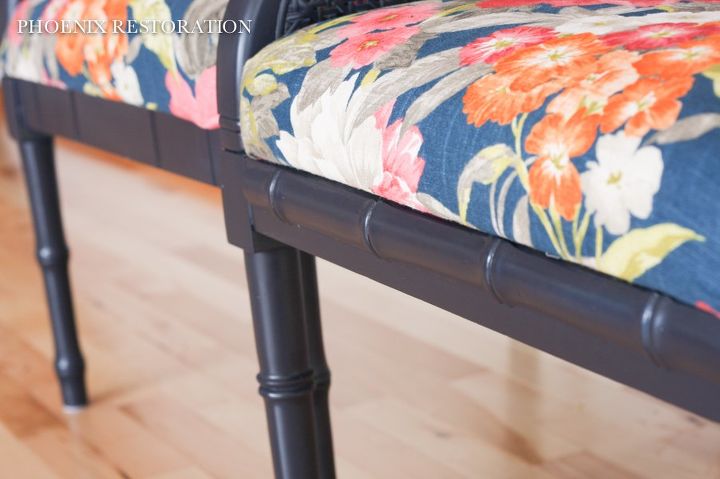
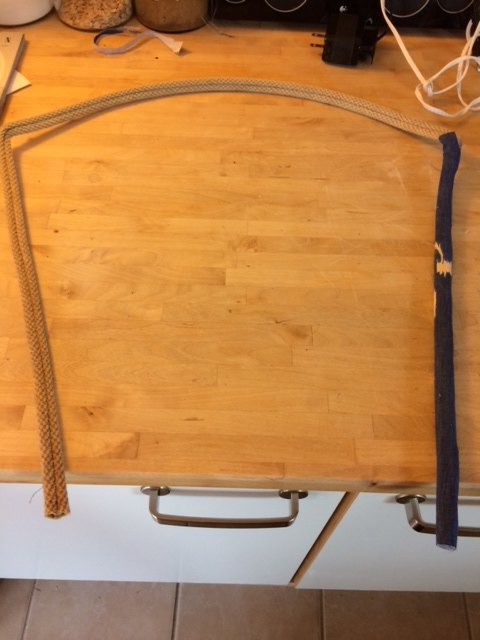
I used part of the fabric from the back to create some contrast on the trim and I used a natural rope upholstery trim to finish it up.
Hop over to my blog for all the details!

Want more details about this and other DIY projects? Check out my blog post!
Comments
Join the conversation
2 of 4 comments
-
I always know Im going to love what you make!
-
Beautiful job! You've inspired me to do the same with a couple of old chairs I recently inherited from my mother.


Frequently asked questions
Have a question about this project?