


Rainbow Wood Stain
Did you know you can stain wood in literally any color? With the stain I used, it's easy to mix colors for a custom look. The possibilities are endless! The results are bright, vibrant hues that allow the wood grain to show through.

While my taste is a little more subdued, I encourage my daughter to express her personality. So with this shelving finish, I took note of her affinity for bright colors and decided to run with it. Here’s how I created an easy rainbow stain for her existing pine wood shelves.
STEP ONE: Prepare your workspace and materials
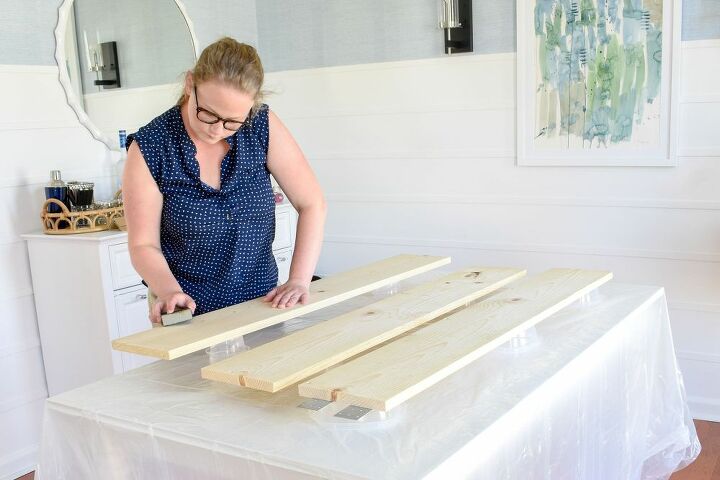
This project can be messy, which is what makes it so fun! I typically apply stain or paint outdoors or in the garage but since the weather wasn’t cooperating for this project, I turned our dining room table into a workspace.
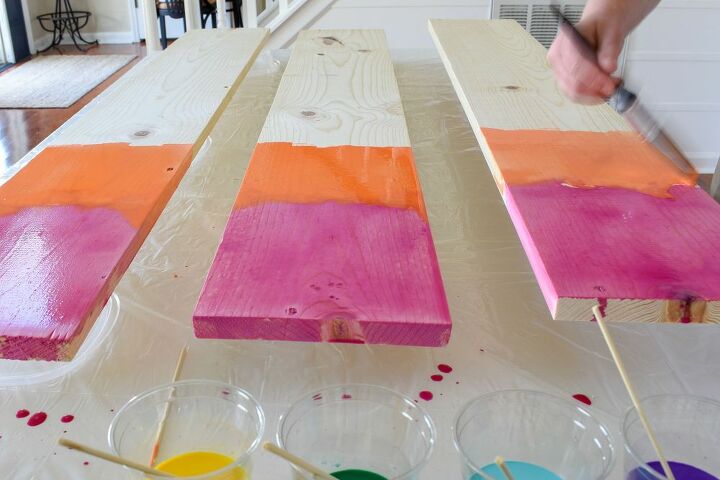
To protect my table, I covered it with a plastic drop cloth and used disposable plastic bowls as a base to hold the wood roughly 3 inches above the table.
Then I carefully sanded the tops and sides of each wood plank. I used special care around the edges to remove any splinters. After sanding, I brushed away all dust with a dry cloth. This is important to achieving a smooth finish.
STEP TWO: Determine your colors
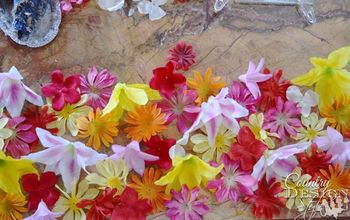
I chose one of my daughter’s favorite items, an acrylic rainbow photo frame, to use as inspiration for the color way of this project. The colors aren’t traditional rainbow (think ROYGBIV) but speak more to her bedroom decor.
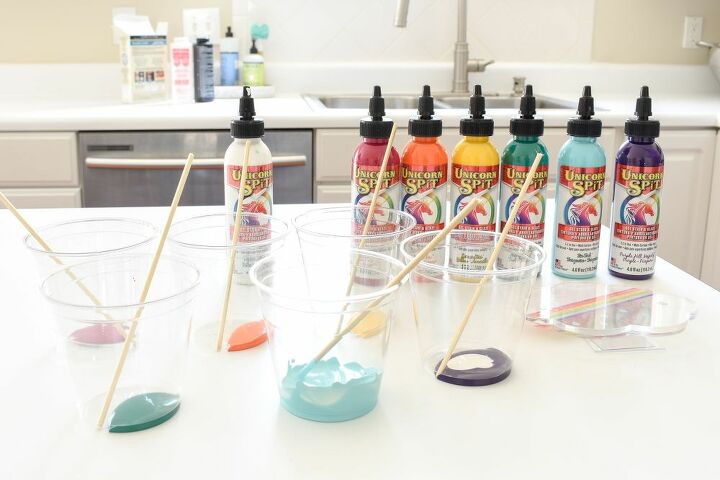
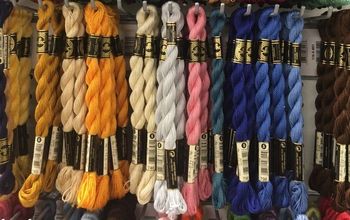
UNICORN SPiT is available in 14 amazingly bright color options and since, it’s a paint, gel stain, and glaze, it can even be mixed together to create the absolute perfect hue for any project. For instance, I added a little white UNICORN SPiT to a few of the colors to lighten them up so they’d more accurately match the inspiration rainbow. Don’t worry that this will tone down their vibrancy! The end result was color that was still just as saturated and bright as I’d hoped it would be!

STEP THREE: Add water to create the stain
Since I wanted the colors to really stand out and enhance the grain of the wood, I decided to thin the UNICORN SPiT with only a small amount of water. The formula I used was 1 part UNICORN SPiT to 2 parts water. Then I used a bamboo skewer to thoroughly stir the mixture.
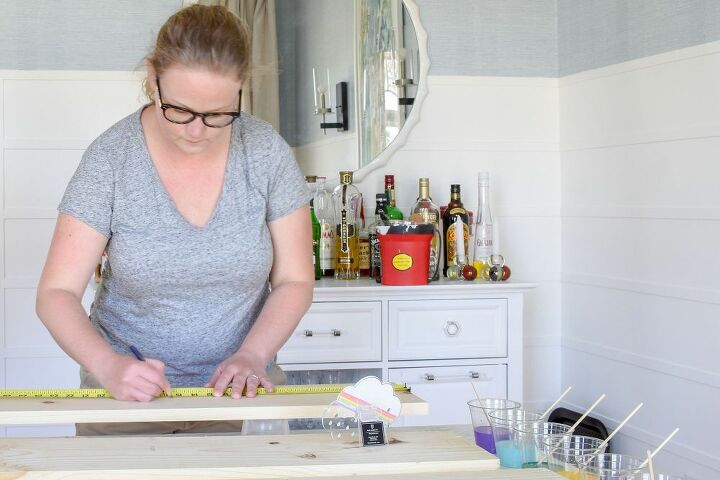
STEP FOUR: Determine your design
I decided to create a rainbow grid with a fade effect between each color. To space every color evenly, I measured the length of my board and divided that number by six (the number of colors I was using). Then I used a faint pencil line to mark where each new color should begin.
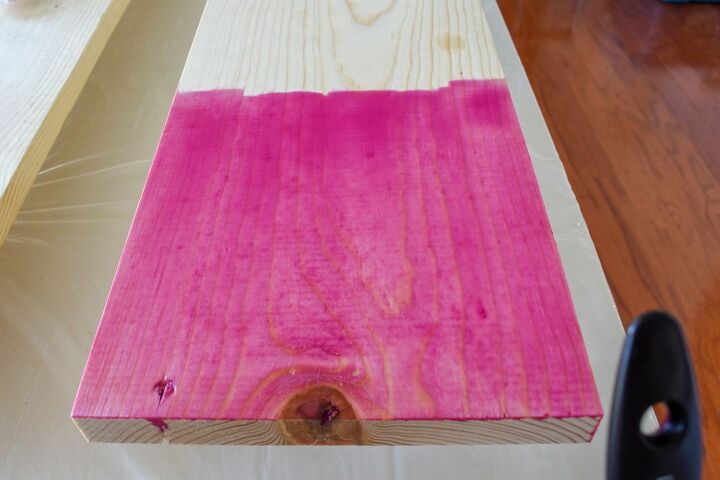
STEP FIVE: Apply your first stain color
I began the application at the interior of the wood plank, where my line was drawn for my first color change, and moved the stain towards the edge. I used long, sweeping brush strokes and allowed the stain to puddle near my color change line. This would allow me to create a unique color transition (below).
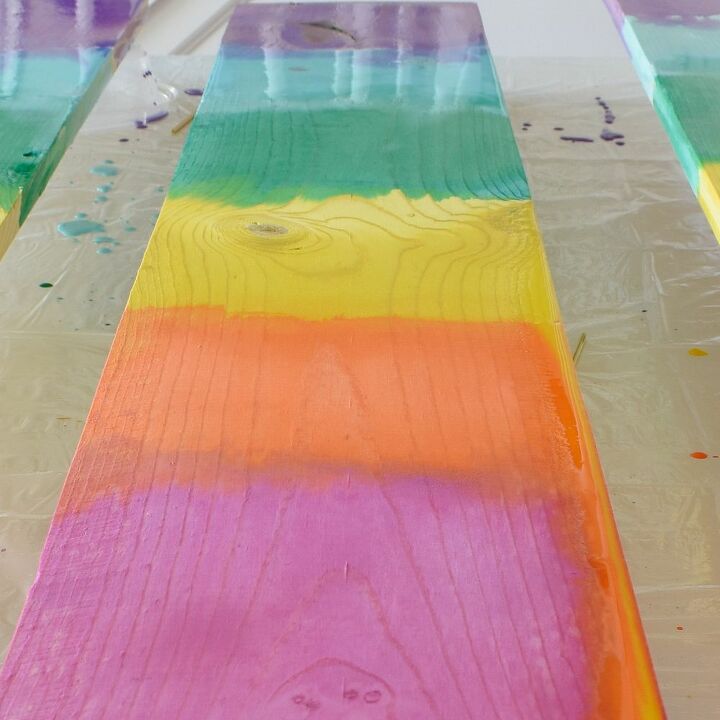
STEP SIX: Add color transitions
For a unique marbled effect, I began each new color just slightly removed from the previous color’s lines. I stained the plank and then used a dripping technique to marry the two colors, without mixing.
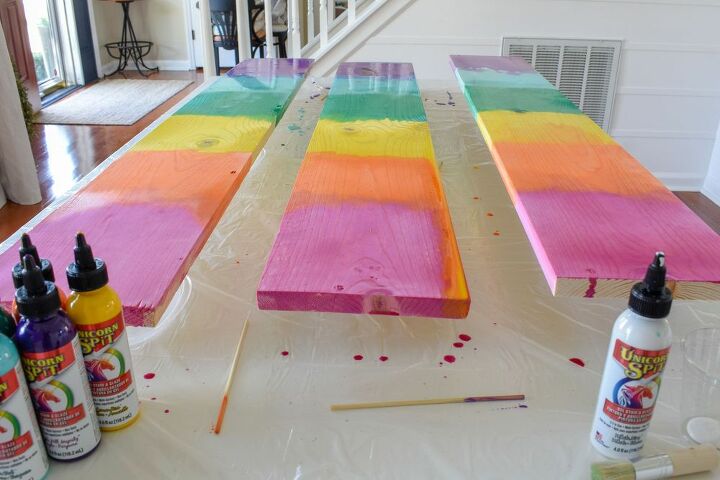
STEP SEVEN: Repeat this process with each new color
Since UNICORN SPiT is water soluble, I was able to use the same brush for the entire project! A quick rinse between each colors kept everything looking crisp.
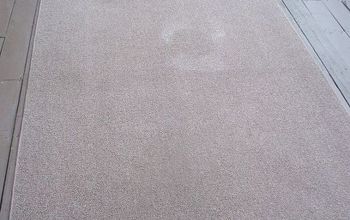
STEP EIGHT: Allow to dry
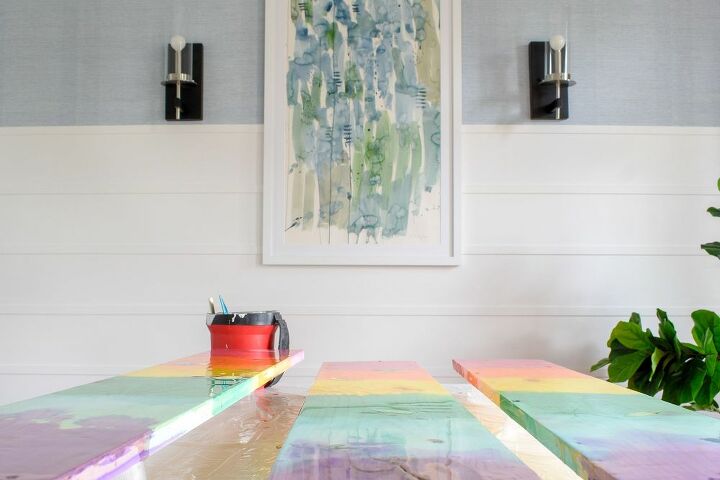
This stain will automatically be matte in finish. If you prefer a glossier finish, you can apply a glaze coating.
The final look.

I used these shelves to store my daughter's toys in her walk-in closet. She loves them!
Resources for this project:
See all materials


Frequently asked questions
Have a question about this project?