


How to Paint a Strie Faux Finish

Learn Easy step-by-step instructions on how to paint a strie finish on your walls.
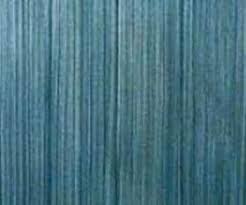
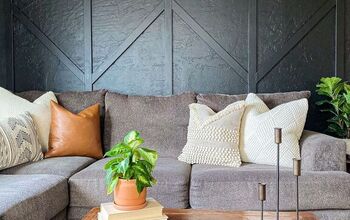
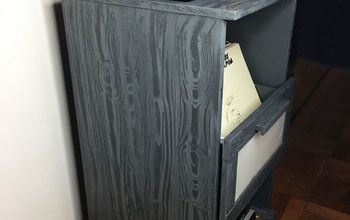
The strie technique mimics the look of centuries-old paint altered by dust and sun.
Strie is created by dragging a brush through the glaze to create bristle marks that reveal the base color. Strie is also referred to as dragging.
There are many tools you can use to create a Strie faux finish. It’s a fairly simple technique but requires a little practice. I’m going to let you know straight up, if you want perfectly straight lines, you might want to select another finish. Even as a professional faux finisher I will tell you it’s almost imposable.
Think about it, you’re walking down a ladder backwards as your holding onto a brush. It’s never going to be absolutely perfect and that’s OK.. Of course you don’t want it all wiggly but, if it’s slightly off don’t worry, that’s the look you’re going for.
Here are your step-by-step instructions
Step 1 – Apply the Base Color
Paint your wall(s) with two coats Allow at least 4-6 hours for it to dry.

Step 2 – Apply Tape
Before you apply the glaze mixture to your wall, tape off your ceiling and baseboards. Make sure you put down a drop cloth on the floor.
Step 3 – Prepare the Glaze Mixture
Pour four parts Latex Glaze to one part paint. Mix well and pour into a paint pan
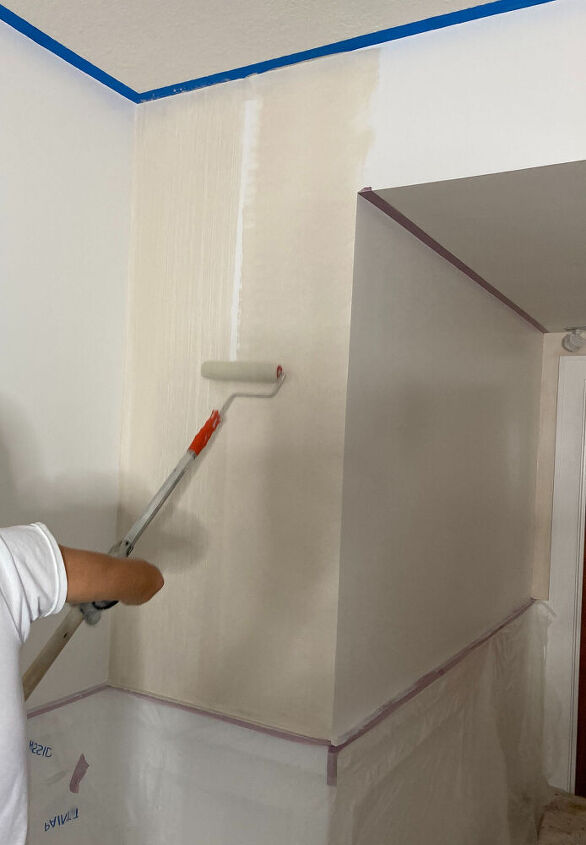
Step 4 – Apply the Glaze
Cut in glaze along your baseboards and ceiling about 4 foot wide. Roll glaze from ceiling to floor. Do not work more than a 4 foot area at a time.
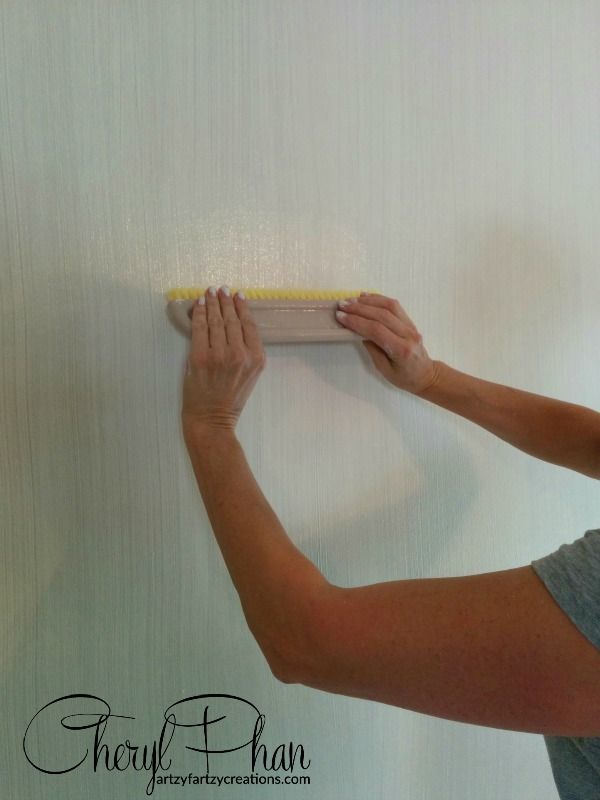
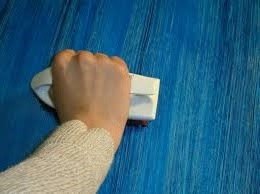
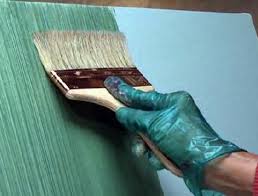
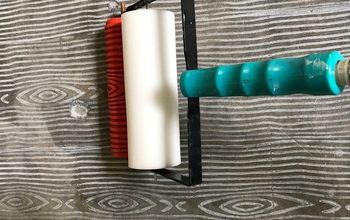
Step 5 –Strié Technique
Before the glaze dries, quickly drag your wallpaper paste brush vertically along the wall from ceiling to floor, until the glazed area is complete. Drag the brush over the taped baseboard.
Try not to overlap too much glaze on areas you have already completed. If it overlaps a little don’t worry, the next drag will cover it.
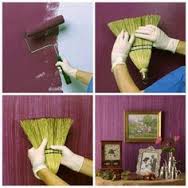
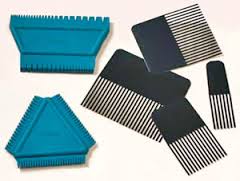
Here are some other tools you can use
Here’s what you will need
Paints:
• Base Color – any color as long as it is 3-5 times lighter or darker than the glaze
• Strié Color – any color as long as it is 3-5 times lighter or darker than the base
NOTE: you can be a subtle or as bold as you want. They’re your walls so bring out your personality.
Tools:
• 3/8–inch roller
• 2–inch Blue tape
• 2½–inch paint brush
• Bucket
• Large wallpaper paste brush• Paint tray
• Rags
• Stir Stick
Tips:
• Avoid over working the area or you will lose the effect.
• Always make a sample before applying it to the wall.
• Other tools you can use: Large flat paint brush, scrub brush, small broom
• Wall should be in good condition
• This technique is straight forward, but you have to work fast
• It’s best to have two people. One roller and one dragger
If you have any questions, message me on facebook I’d be happy to help you in any way I can.

Comments
Join the conversation
-
great job !
-
Gorgeous technique, Cheryl!


Frequently asked questions
Have a question about this project?
Do you think this technique could transfer to a painted tile floor? I have this image of a dark gray tile floor in my mind for my bathroom renovation. My main concern is keeping price to a minimum.