


Rustic Wedding Arch

Our oldest son and new daughter got married!!
They requested a more rustic looking wedding arch then the one we built for my niece last year (Hexagon Wedding Arch seen here). So, of course my husband and I were happy to bring their vision to life.
If you're looking for more wedding DIY projects, we also made wooden lanterns for their table centerpieces (seen here).

Materials List:
- 5 - 4x4 - 8' Dougfir posts
- 1- 2x6 - 8' Construction Framing stud
- 4 - 1/4"x3" SPAX POWER LAG Screws
- 8 - 1/4"x6" SPAX POWER LAG Screws
- Deck Screws
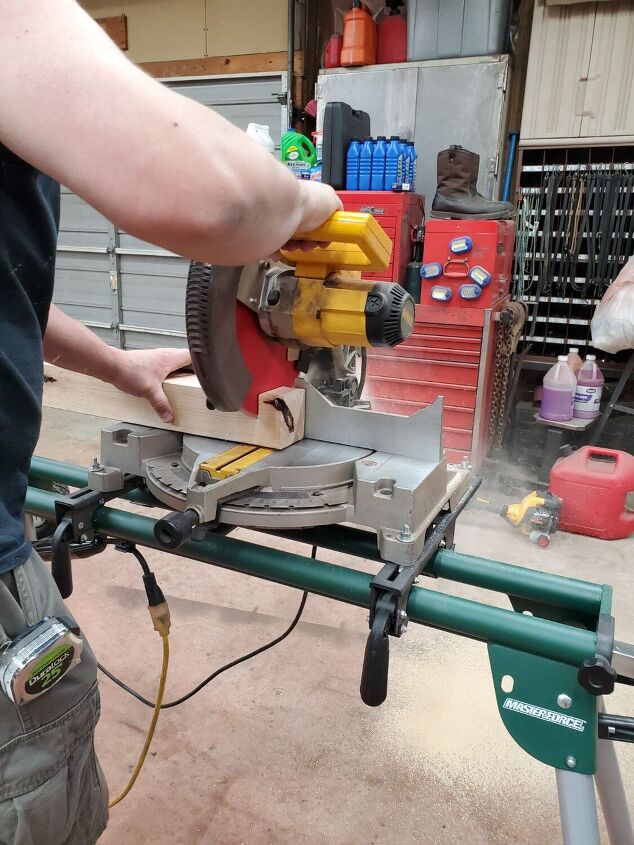
- Miter Saw
- Impact Drill
- Tape Measure
- Square
- Table Saw
- Palm Sander & Dynafile
- Stain-Gloves-Rag
- Spar Urethane
- Paint Gun Sprayer-Air Compressor
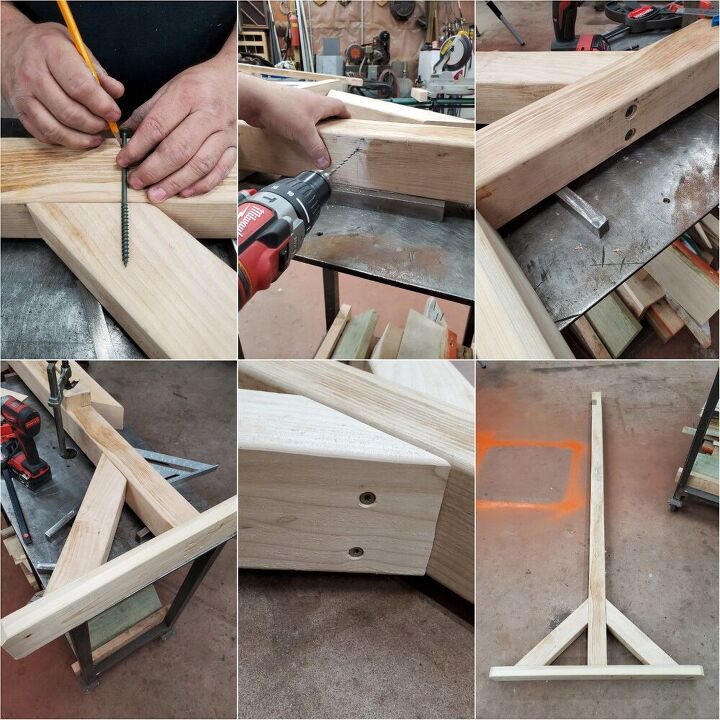
We always start any wood project off by trimming up the ends and making sure our wood board or post is perfectly square.
Our top post is 7 feet long and the two leg posts are 93.5" long.
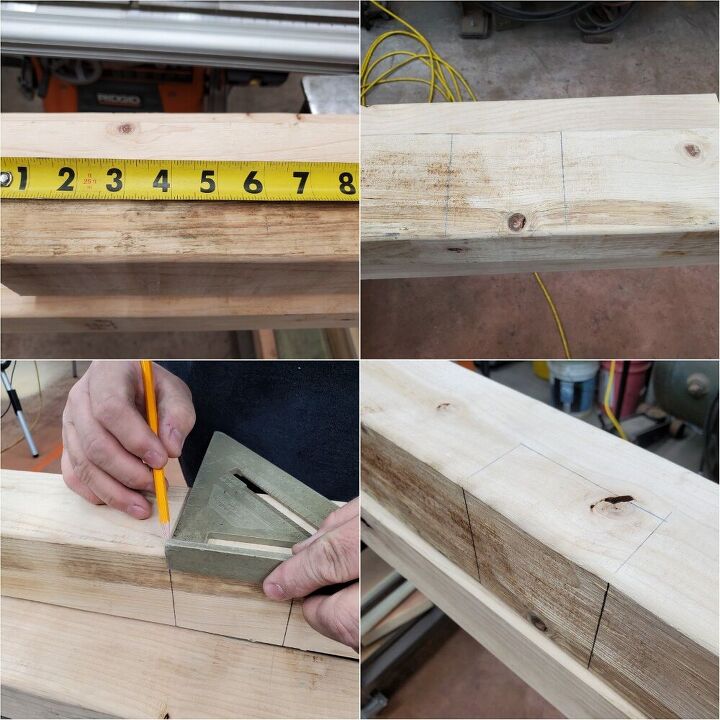
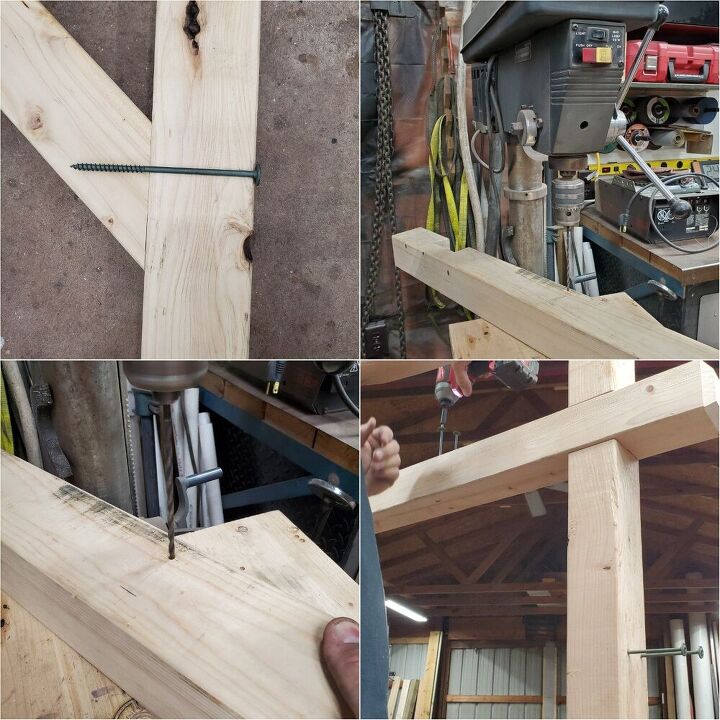
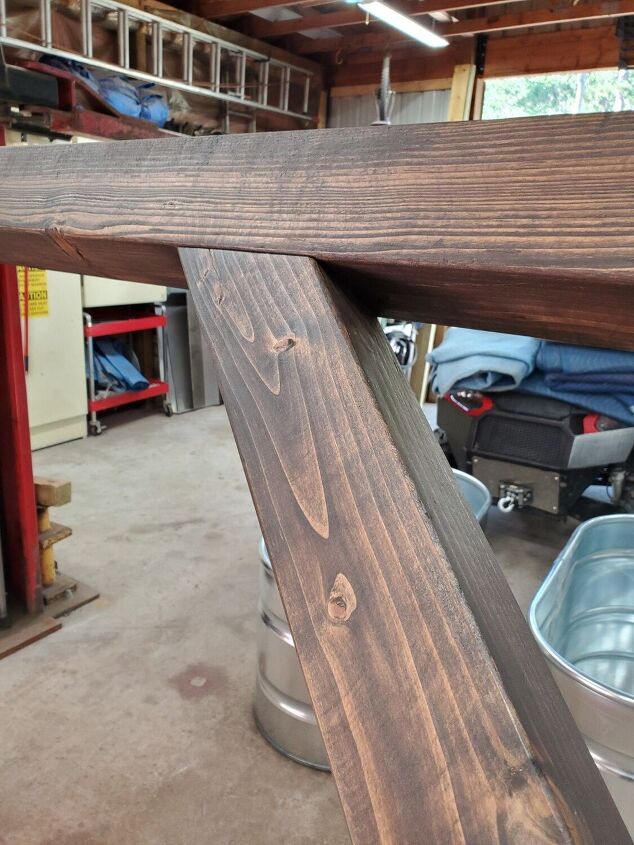
Once the 4x4 posts are square, we marked the posts for the spot where our top post will fit inside.
Our specific notches are on the back side of the top post and the front of the leg posts. They are 1.71 inches deep, and 6 inches from the end of each post.

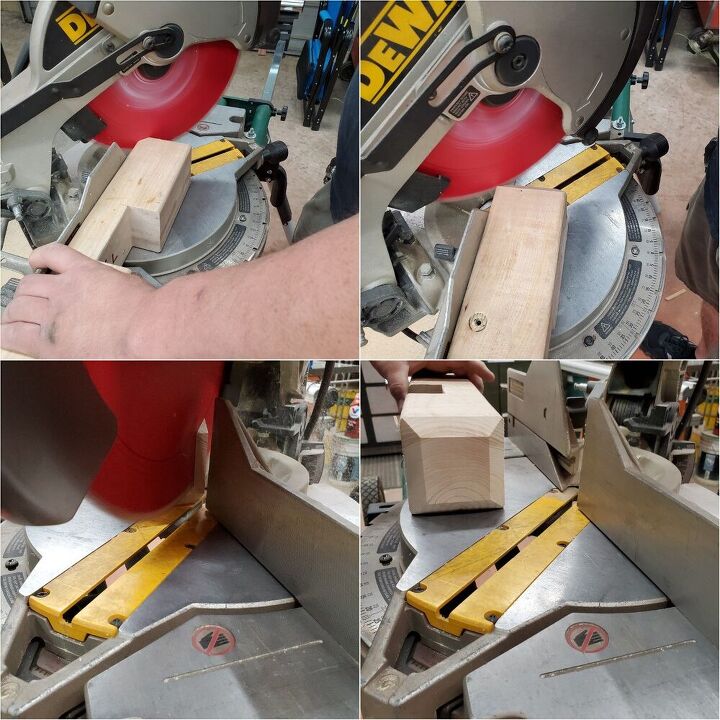
Using the table saw we made sure the blade was set at the right height. Always test on a scrap piece of wood before you start cutting into your piece.
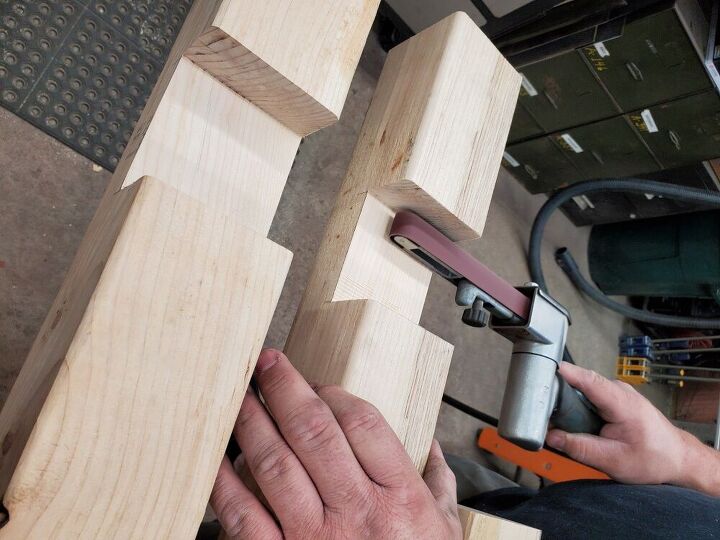
Once the notches are cut out with the table saw we used a dynafile sander to level out and smooth the inside so the posts can sit snuggly and flush inside.
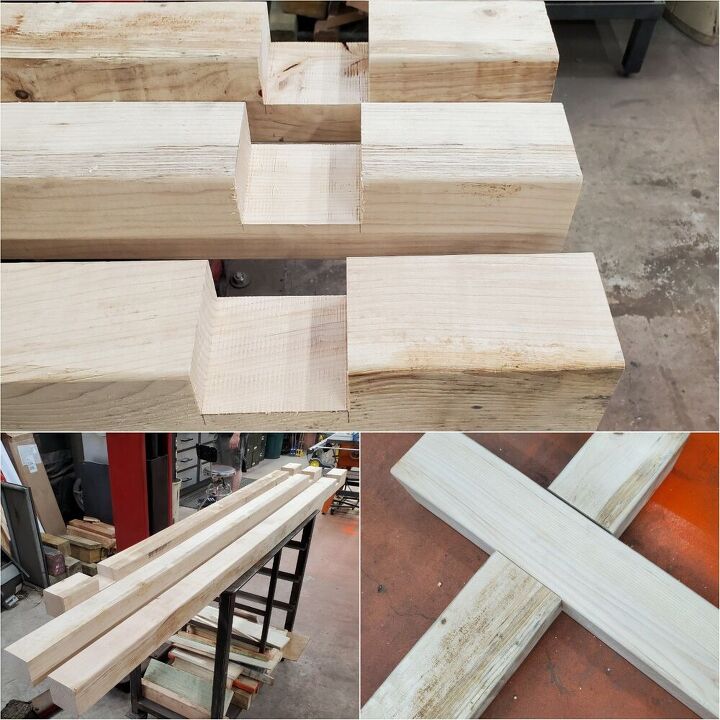
As you can see we did this same notching technique for all the posts. Your top post will have 2 areas notched out and ready to fit inside the leg posts. always test out your pieces and make sure they sit flush.
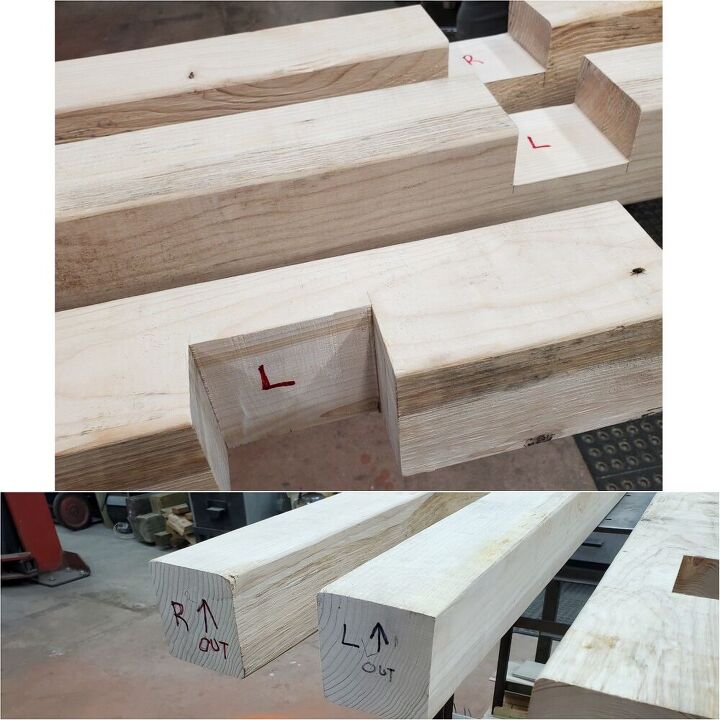
We also took the time to label the notches and legs so we knew which piece fit where.
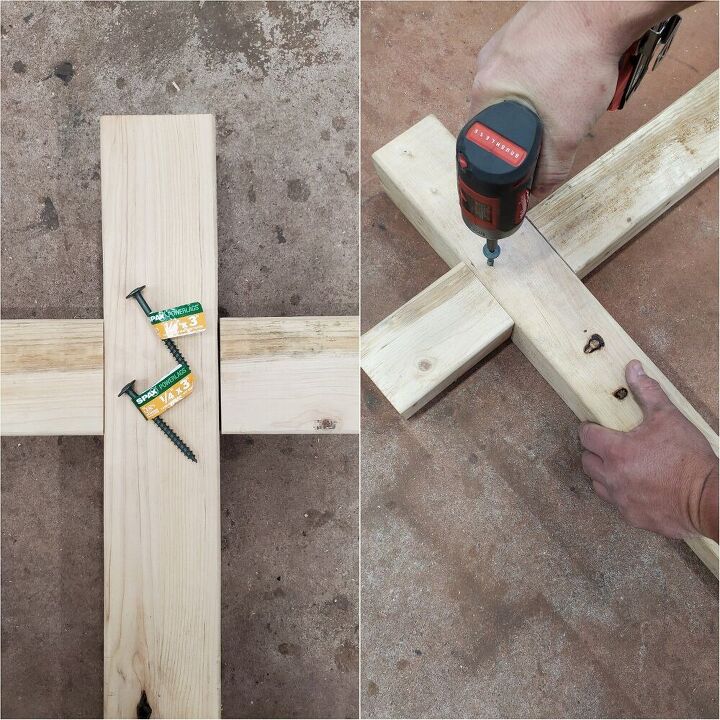
Once our notched areas were sanded and fitted we used the power lag screws to connect the top post and legs. We did this so we can take accurate measurements for the brace pieces for the top post to the legs.
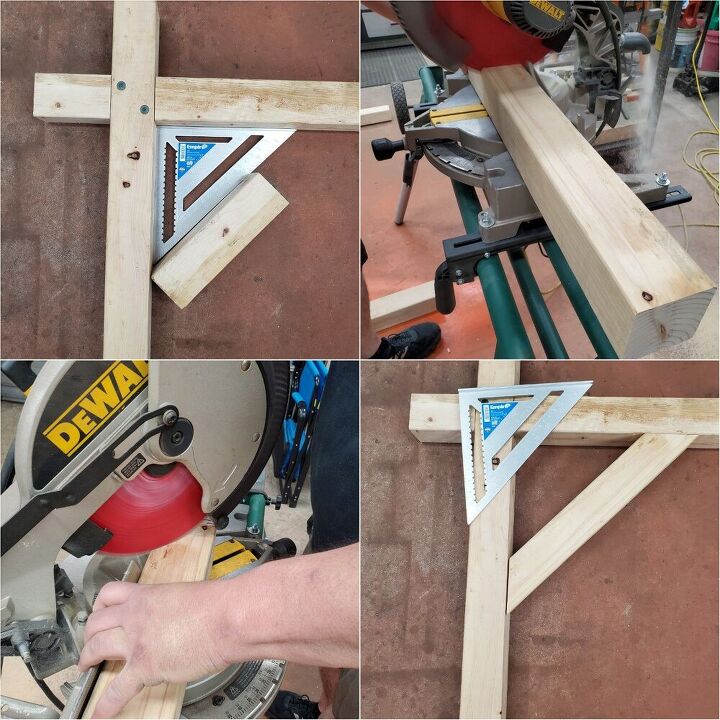
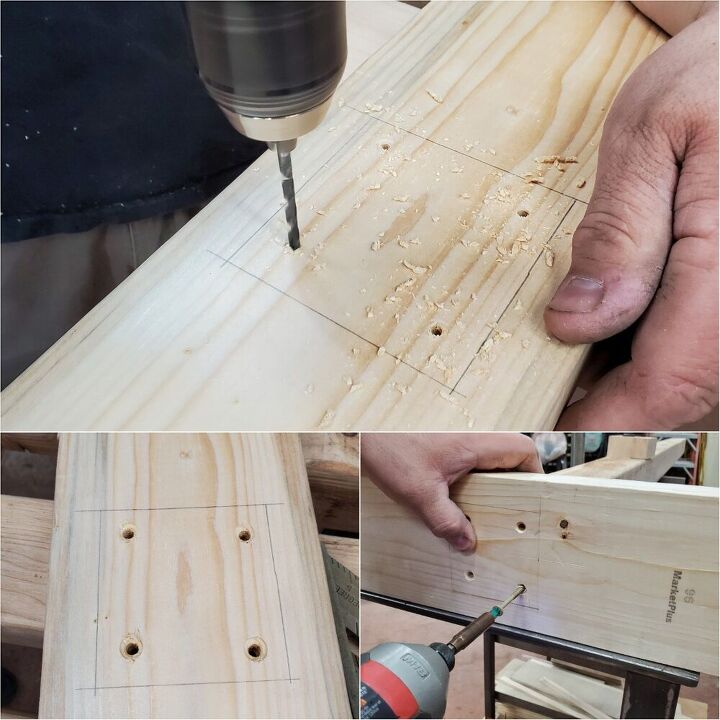
To figure out how far down we wanted the brace pieces I used a square and a scrap piece of wood to get a bit of a visual. This measurement is dependent on your taste and where you want to place it. I simply used the square and took a measurement for the longest side.
Our brace pieces are 23 inches long on the longest side and cut at 45 degrees.
Before we attached the support braces for the top post we decided the ends of the top post were too square. We cut them at a 45 angle on each side on the miter saw.
With that done we reattached the top post and leg posts and added our brace pieces. we purchased longer power lag screws to attach the brace to the leg post.
We wanted to make sure the screw hole was completely straight and did not want to chance it screw getting out of whack and sticking out the side of the brace. We predrilled the holes using the drill press.
We started the power lag screws and then put the brace pieces in place and secured them.
We then went to the 2x6x6 piece and cut it to 40 inches long and predrilled and counter sunk deck screws to the bottom of the leg so it would be supported sitting on the ground.
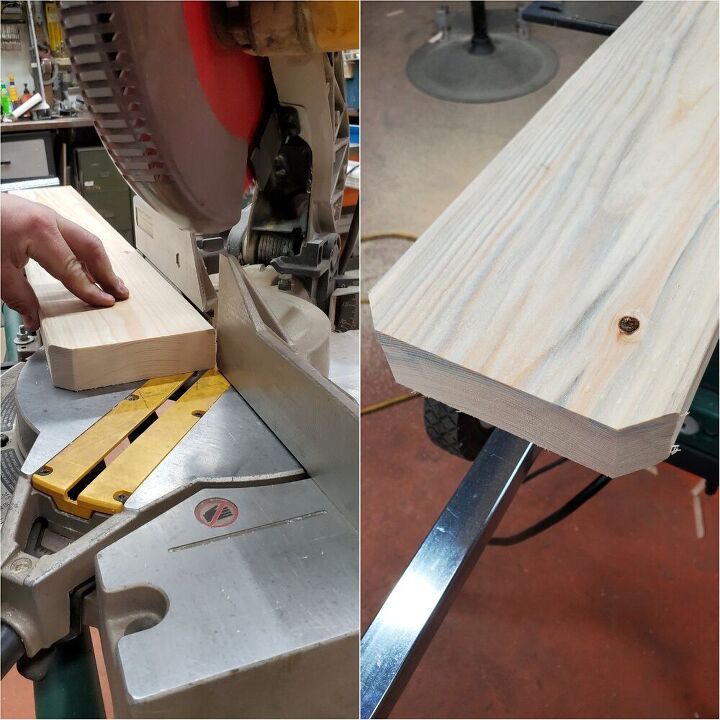
We didn't want the ground support boards to just be square so we cut the ends at a 45° angles.
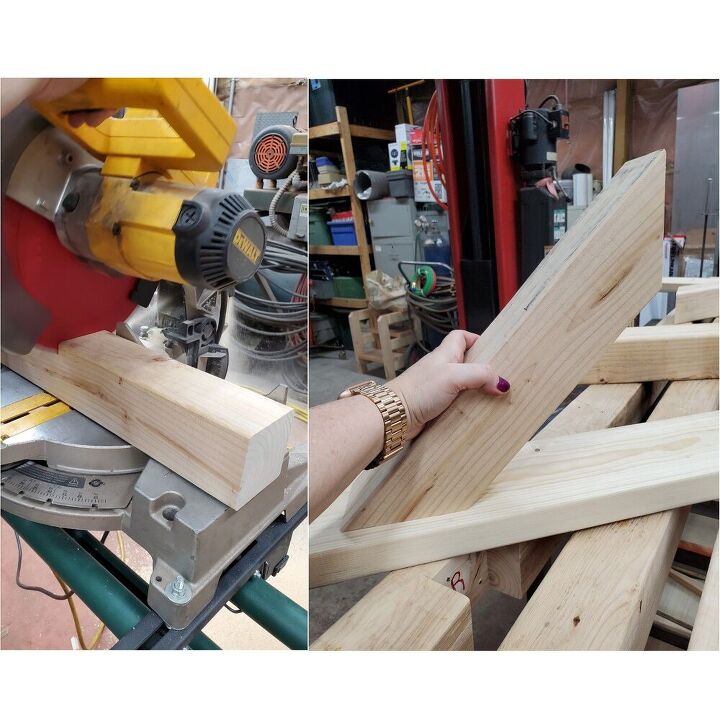
Once the flat ground support boards are attached to the legs it was time to figure out the ground support braces. We cut those on the miter saw at a 45° angle.
We used the power lag screws on the front ground brace attaching it to the post so we wouldn't have any visible screws on the front of the arch. We used deck screws to attach the back brace so there would be minimal visual impact.
Note- The power lags have a larger head on them then deck screws.
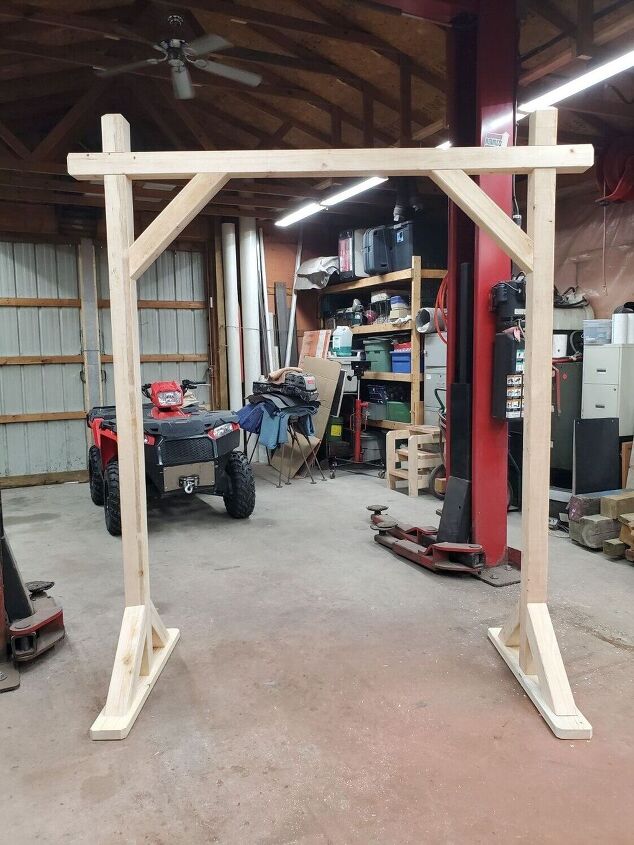
The fully assembled unfinished arch.
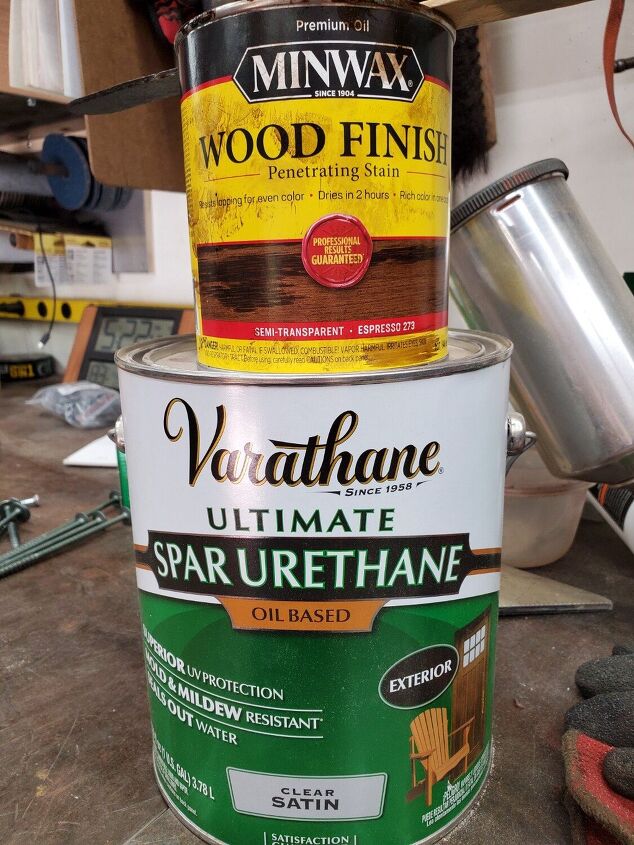
We used Espresso Stain and an oil based Spar Urethane sealer. We used regular wood instead of treated lumber that is made for outdoor use. Using regular wood allowed us to stain it the color our kids wanted for their wedding.
Then we used the Spar Urethane sealer because it is said to be a very good weather resistant sealer. Time will tell but we used this same sealer last year on a Hexagon Wedding Arch and were happy with the results.
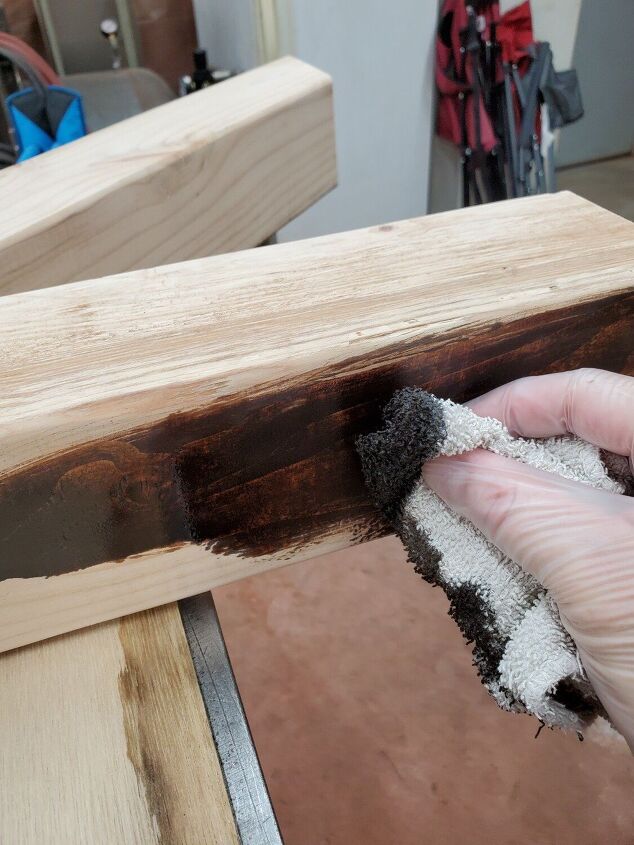
After a light sanding, I wiped stain on the posts and wiped it off immediatly. I do that because if I want it darker I can add more stain.
NOTE- We sanded lightly because we were going for a rustic look so we didn't need it to be perfectly smooth.
The Espresso stain dried beautifully.
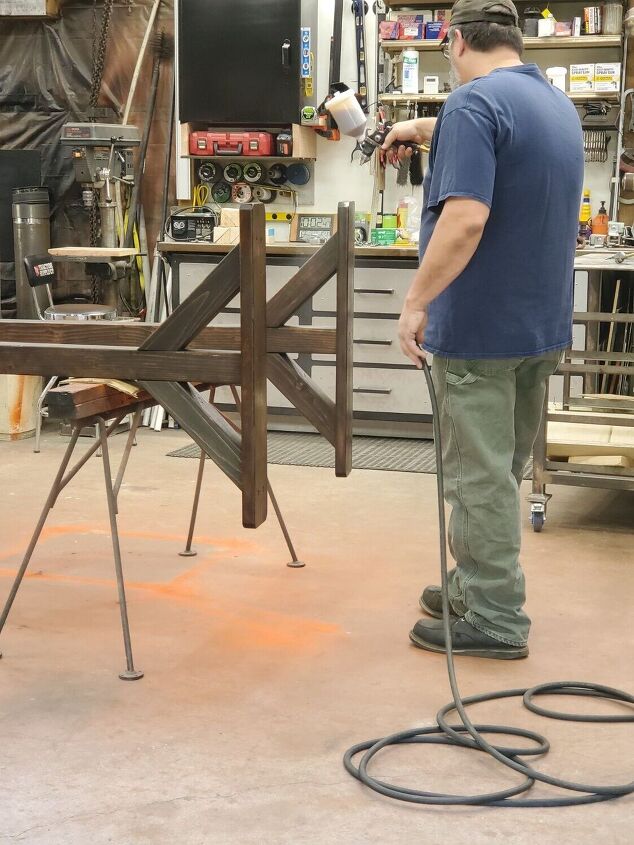
Once the stain is completely dry you can start to spray your Spar Urethane. We sprayed 4 coats waiting for each coat to dry before adding the next.

The finished Wedding Arch at the wedding. I think it looks beautiful with all of the flowers and sheer fabric.
NOTE- This arch and the Hexagon arch could also be used after the wedding in a garden or yard. Memories for years to come.


Frequently asked questions
Have a question about this project?