


A High End Look for Less: Foam Board Cornice Window Treatment

by
Megan Aubrey
7 Materials
Just like any home decorating lover like me, I'm always looking for the perfect look in my house - and am always game in changing things up and giving new things a try! So when I wanted a new look for my living room windows I decided to grab some foam board, batting, and fabric to make a foam board cornice!
Making a cornice out of foam board gives the same look as a traditional cornice made out of wood but is much lighter, easier to handle, and much cheaper to make! It also gives out quite a high end look!
Making a cornice out of foam board gives the same look as a traditional cornice made out of wood but is much lighter, easier to handle, and much cheaper to make! It also gives out quite a high end look!
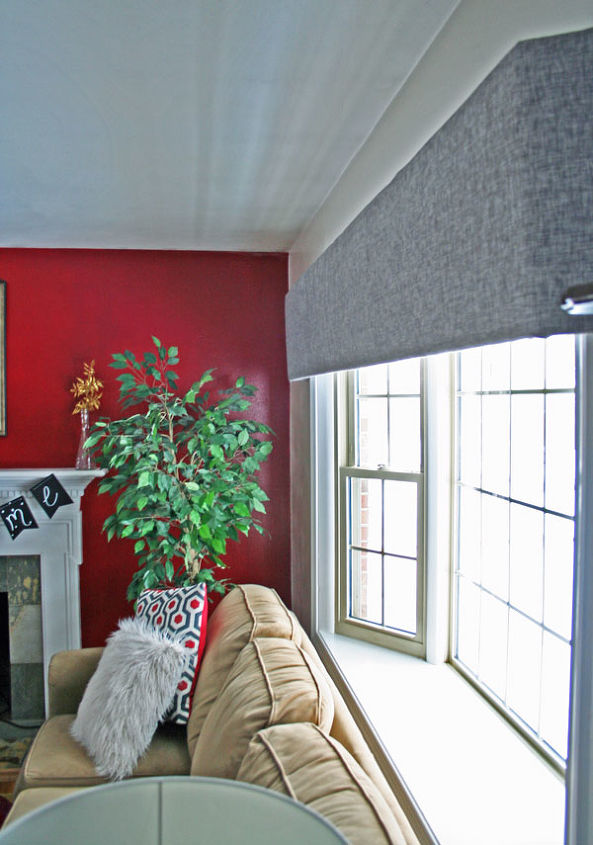
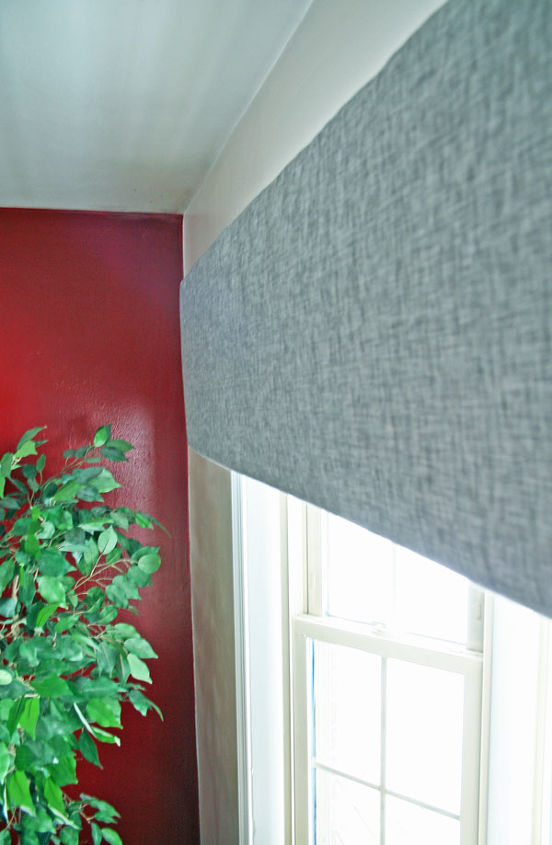
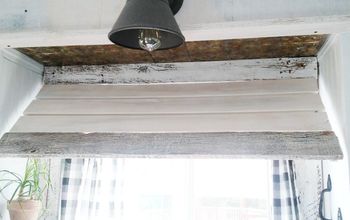
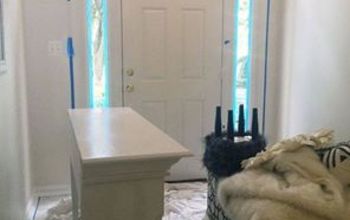
Just a sneak peek at my finished foam board cornice.
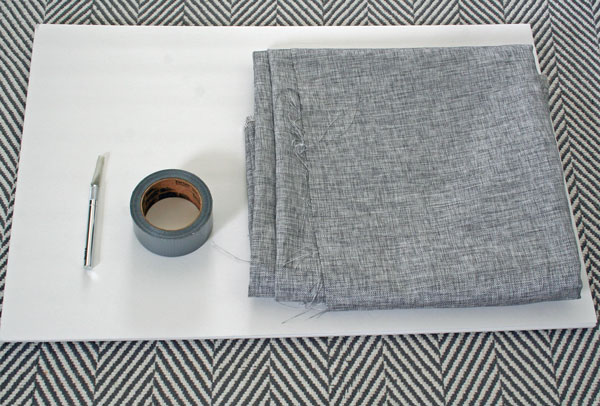
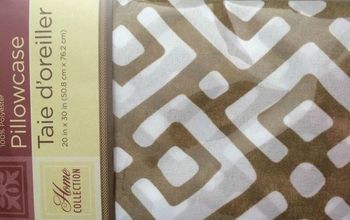
Materials Needed:
Measure the length of your window and add a foot to that. This is the length your cornice will be, including the side pieces (at 6 inches for each side). Buy the appropriate amount of foam board you will need (I found mine at the Dollar Tree and needed 5).
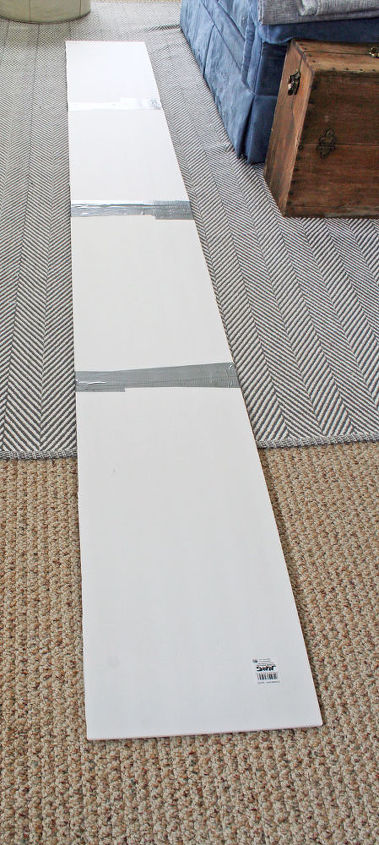
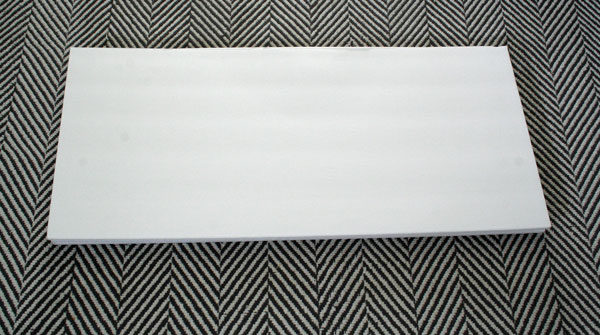
Figure out the width that you want the cornice to be. Cut out the length and width of foam board. I used an exacto knife and it cut like butter. Duct tape all the pieces together (if needed).
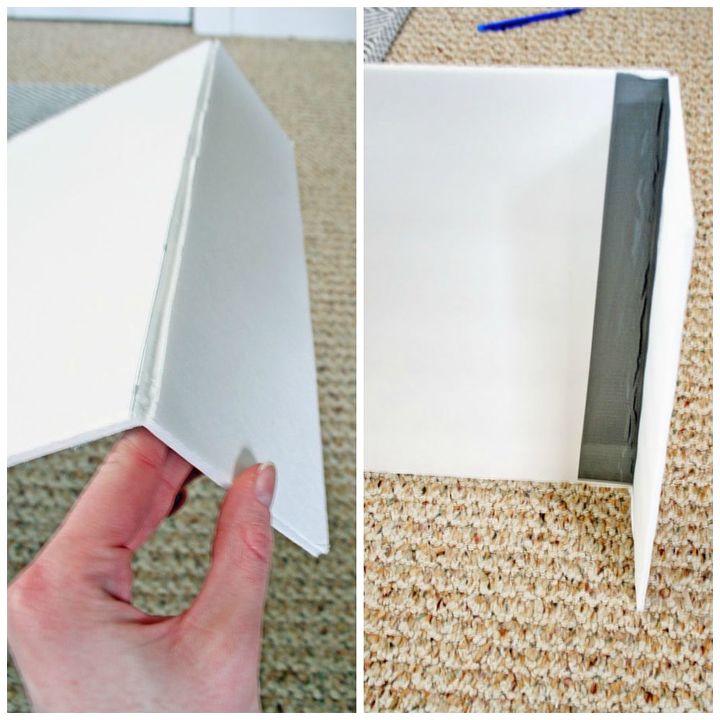
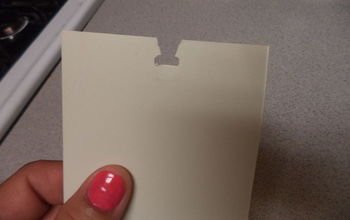
Make the corners of your cornice by carefully cutting in 6 inches on each side. Don’t cut the whole way through! Just cut enough to be able to bend it backward. I put a piece of duct tape on the back of the cut to reinforce it. You now have the frame of your cornice board.
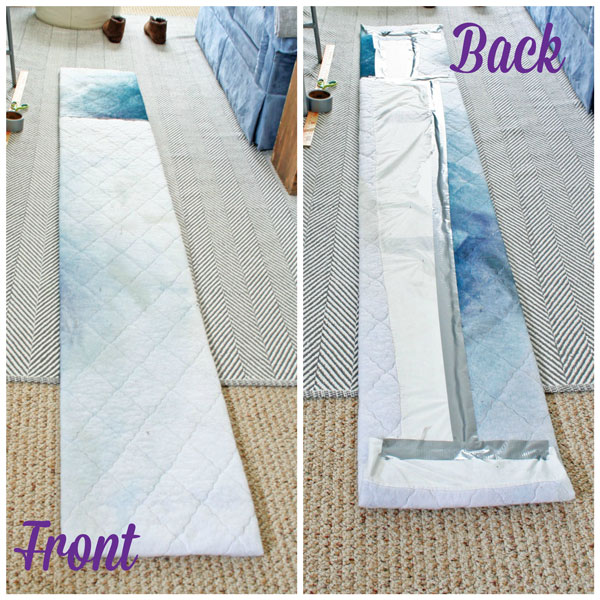
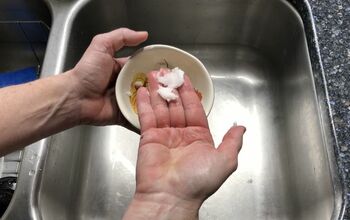
Wrap a thin batting around the foam board frame. You can also just adhere it to the front with spray adhesive. Use duct tape or hot glue to adhere it to foam board. [Yes, mine looks very weird. It is because I used an old mattress pad that works just like batting. It looks colorful because it was used as a paint drop cloth prior to being batting for this project.]
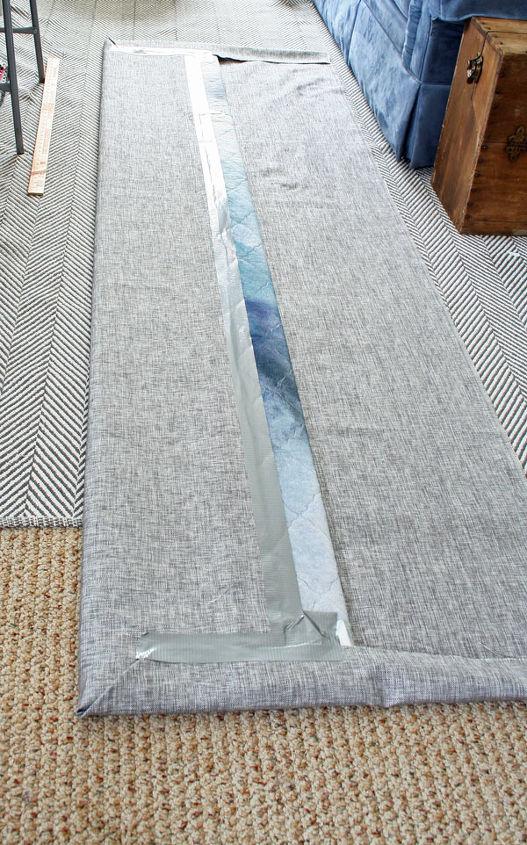
Next, wrap the fabric around the batting. Adhere it to the foam board with adhesive or duct tape.
Hanging! The best way is to connect picture hanging hooks/claws and nails. Just glue the picture hanging hook/claw to the edges of the foam board.
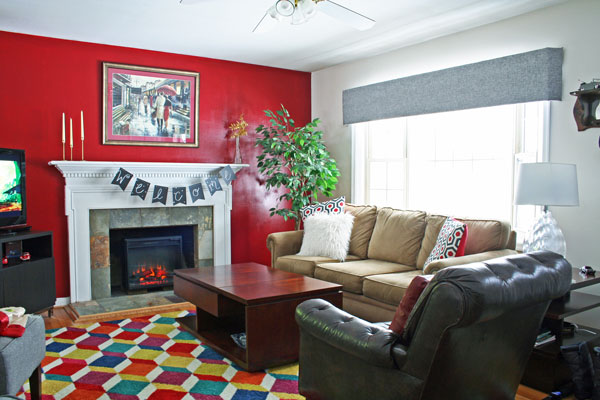
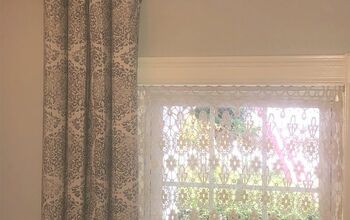
I love how this just finishes off the room! So easy and inexpensive for a high end look!
Want more details about this and other DIY projects? Check out my blog post!
Comments
Join the conversation
2 of 286 comments
-
Finished this project super fast! So easy to do. Just cut and tape and hang! Looks great.
-
This is so light you could probably just Velcro it up there


Frequently asked questions
Have a question about this project?
still don't get how you attached the hook......can you show a picture
You show putting a flat pc with material. How did you do sides and corners so well?
I agree. How were the hangers installed on the back. A picture would be great