


Faux Stained Glass Wine Bottle Using Food Coloring

8 Materials
$6
4 Days
Medium
I saw a few different methods of this and wanted to see which one was the best. This is usually done on flat glass surfaces, but I love to experiment with my wine bottles and boy am I glad I did because this is now one of my favorite pieces! So I've tested all the methods out and, in my opinion, found this one to have the best results. This is very easy but I'm not going to lie, it is VERY time-consuming as you have to wait for each section to dry before doing the next but the results are so rewarding and did I mention that it's way cheaper than buying glass paints!
{
"id": "3930557",
"alt": "",
"title": "",
"video_link": "https://www.youtube.com/embed/bvaPirhHbYQ",
"youtube_video_id": "bvaPirhHbYQ"
}
{
"width": 634,
"height": 357,
"showRelated": true
}
This is the step by step video that has more detail such as, the products I used, the do's and don'ts and some extra ways you can display the bottle... or just keep scrolling to follow the step by step instructions I have written out. Let's get started!
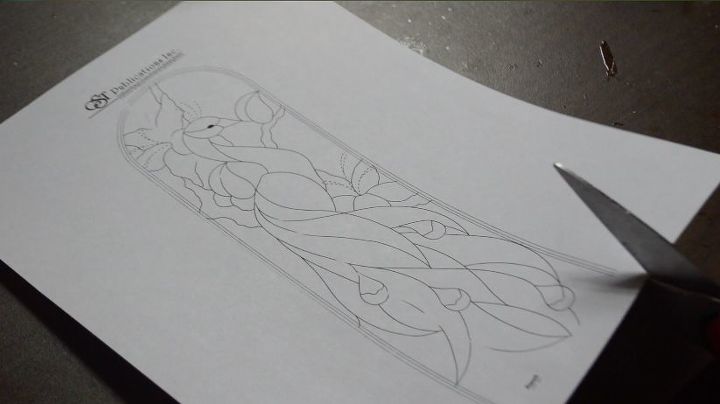
The first thing you'll need is an image, or you could freehand a design if you want. If you freehand a design, skip this step. If not, here is what you will need to do. Go to this link and download the Image.
Link To Free PDF Peacock Picture File: http://www.delphiglass.com/stained-glass-patterns/bird-patterns/free-peacock-bevel-panel-pattern-faces-right
You will need to make a copy of it. The copy MUST be a laser print copy. It CANNOT be from an inkjet copy. I got mine at my local FedEx. If you go somewhere to get the copy, they are most likely using a laser printer but just ask to make sure. I made 5 copies just in case I messed up. Cut the image out leaving about a half inch, to an inch border around it.

Stick it down, print side down, onto the bottle. I used painters tape and made sure the tape didn't overlap any of the image. That is why you leave a boarder when cutting the image out.

Using a brush and some acetone, (or nail polish remover with acetone in it) brush it over the image until you've covered the whole thing. Don't get it on the tape as it will unstick it.
Now take the back of a spoon and press down all over the image. When you are done, lift one side, if you see it's not fully transferred, place back down and repeat until it is. This transfer is very light so look closely.

Take a sharpie and trace the whole peacock. I only traced the peacock. Now go over that with black fabric paint. You can use any paint that dries puffy. Let that fully dry.
Place something under the bottle so that it doesn't move. I use an old egg container, flipped upside down, and it works great for this!
Using a cotton swab, dipped in rubbing alcohol, remove all the old sharpie marks.
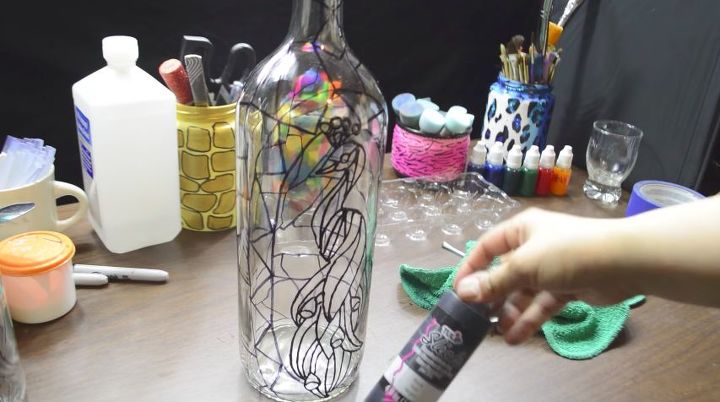
using the sharpie again... freehand a double border around the peacock, fill that in with triangles and then draw triangles, squares, and rectangles all around until the bottle is completely covered.
After that, trace over that, in sections, with the black fabric paint. I say in sections because you will need to let it dry before turning the bottle to finish tracing everything.
Let this completely dry.
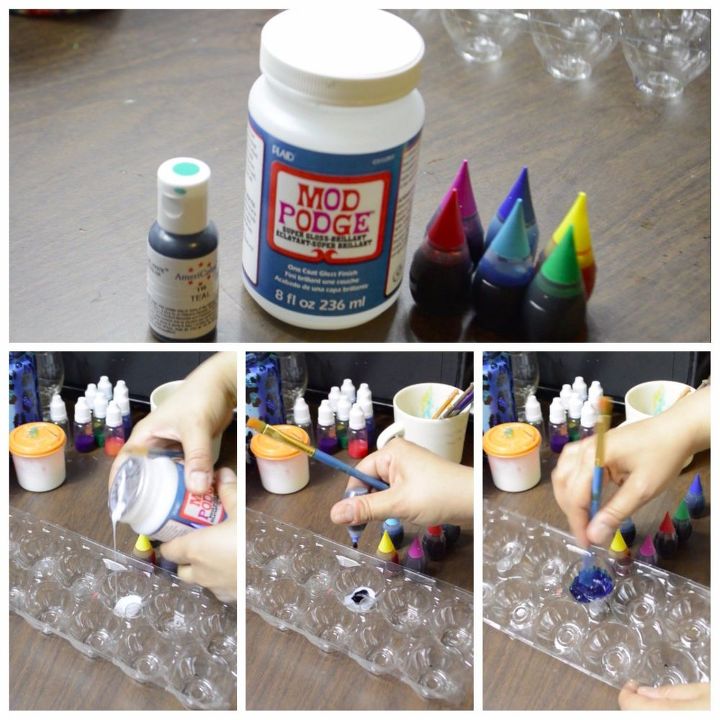
Take some Mod Podge Brilliant Gloss and food coloring and make the color mixers. I used pastel blue, blue, teal, green, red, yellow and purple. I used 6 drops for each color.
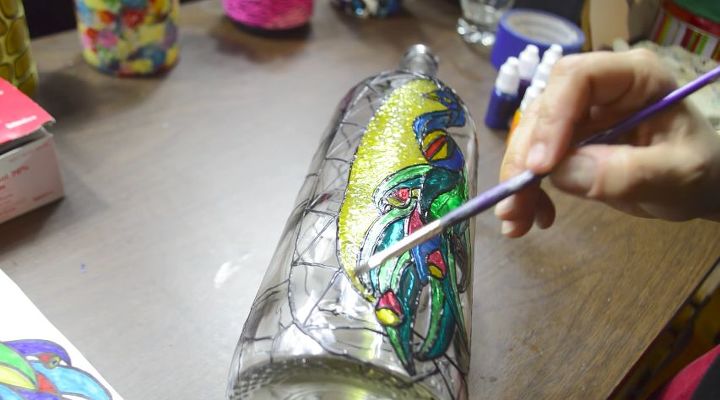
Take a brush and apply the colors in section. Let them dry and continue this until the bottle is covered.
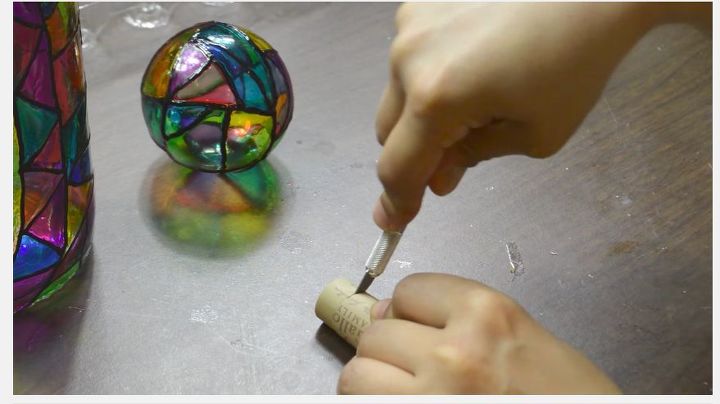
Make a custom cork to match by gluing both halves of a clear fillable ball together with E6000. Once that's dry, freehand the shapes, (squares, triangles & rectangles) with fabric paint, on half of it. Let it dry, turn it over and do the same thing. Let that dry. Now fill in with the color the same way you did the bottle.
Cut a cork to size and glue it to the finished ball. Use a strong glue if you will be taking the cork on and off.
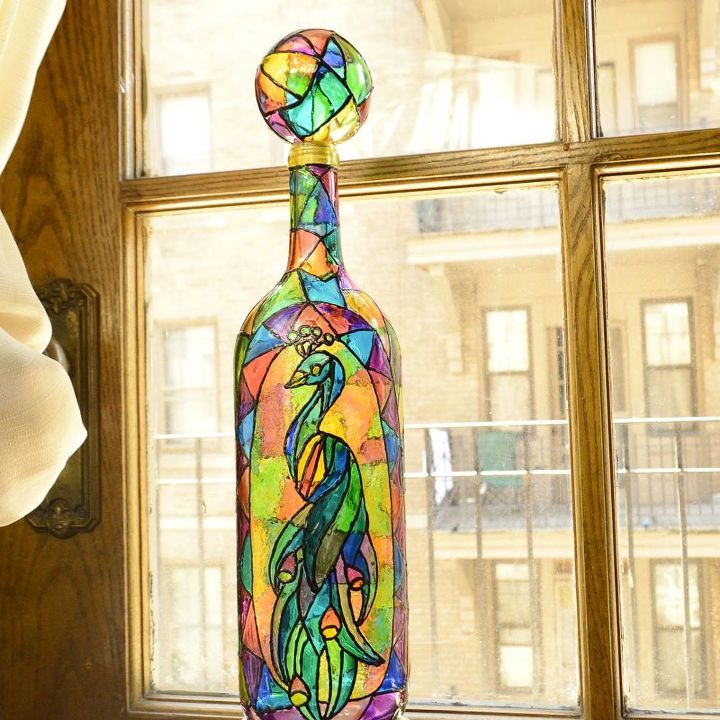
This is the finished look! It looks so good if set somewhere where the natural light hits it! It takes time but really that's it. You could also save time by buying glass paints and use that instead of mixing your own color. If you enjoyed that and want to see more of my DIYs, please come by and say hi to me on my YouTube channel. The link is below, where it says, To see more, under the materials. Thanks again for taking the time check out my DIY. Let me know what you thought of it! 

Resources for this project:
See all materials


Any price and availability information displayed on [relevant Amazon Site(s), as applicable] at the time of purchase will apply to the purchase of this product.
Hometalk may collect a small share of sales from the links on this page.More info
Comments
Join the conversation
2 of 239 comments
-
Gorgeous! Thanks for sharing.
-
Thank you for sharing your detailed video! It is good to see and know that there was a difference in appearance between the different mod lodges, and painting application techniques! …all very good information before starting my project!
You have a good heart and a lot of artistic talent!


Frequently asked questions
Have a question about this project?
Instead of the transfer spoon method, why not tape the image and then just draw it onto the other side of the bottle? I mean, you have to trace over it with a sharpie anyway
How much mod lodge was mixed with 6 drops of food coloring? I’m using this technic on a piece of clear glass to make a faux stain glass hanging with Hawaiian words. Do you think it will work? I’m hoping to do this without inverting my writing by applying pattern on front of glass with stencil peel and stick letter. Or do you suggest tapering letters to outline?
Love your pieces! Beautiful! I have made several,, and I’ve had a cpl that after a lil bit (cpl mos) the design seemed to melt? I used the clear glue and gel food coloring to do my “stain glass” and after sealed it with 2-3 coats of clear coat? It was not in direct sun,, do you have any idea what could’ve happened? Thanks in advance and have an AMAZING HOLIDAY!! 😀