


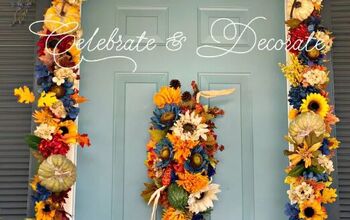
How To Make Pretty DIY Floral Pumpkins
Looking for some easy and unique DIY floral pumpkins?I wanted to create something unique and pretty to use in my fall decor, and something that I hadn’t seen before. I’d say these pretties are just that, and they turned out even better than expected (which rarely happens).
Best part: They only took me 30 minutes. I love projects like that. Anyone else?

Here’s the quick tutorial.
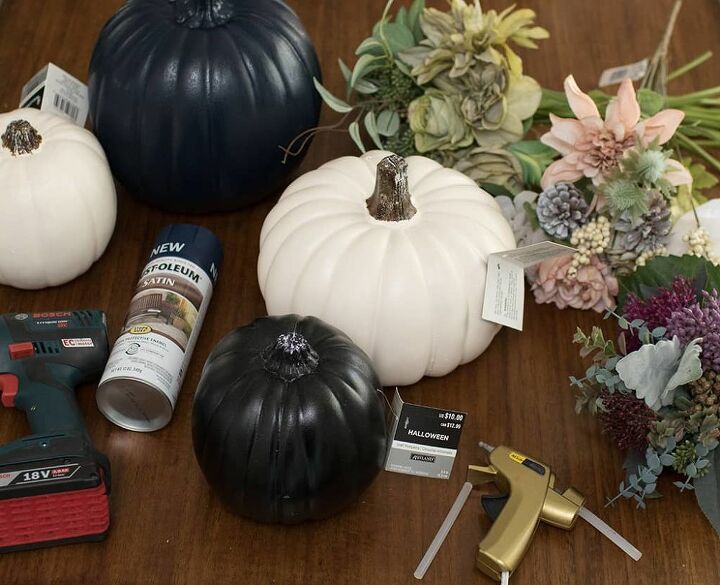
Gather your supplies. I got everything at Michael's, and had a great coupon for 25% off my whole order, which helped a lot.
Supplies:
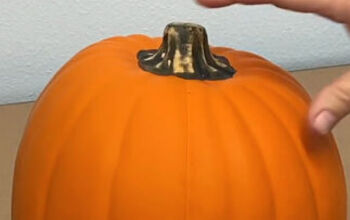
- 9″ faux pumpkin (flat, cream, medium) (spray painted navy)
- 9″ faux pumpkin (black, medium)
- Navy spray paint (I chose to spray paint my black pumpkin navy)
- Faux hydrangea and pinecode bouquet
- Faux Queen Anne’s Lace bouquet
- Hot glue gun
- Drill and bit
- Wire cutters
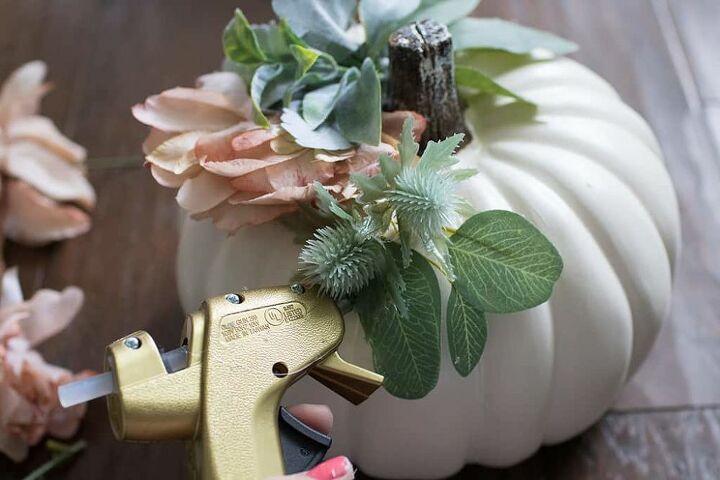
I plugged in my hot glue gun, and used my wire cutters to trim down the different florals into small pieces.
I started at the stem and hot glued a leaf on to get started. Note: I swapped out a few smaller leaves for the one large one halfway through the project in case you are wondering. :)
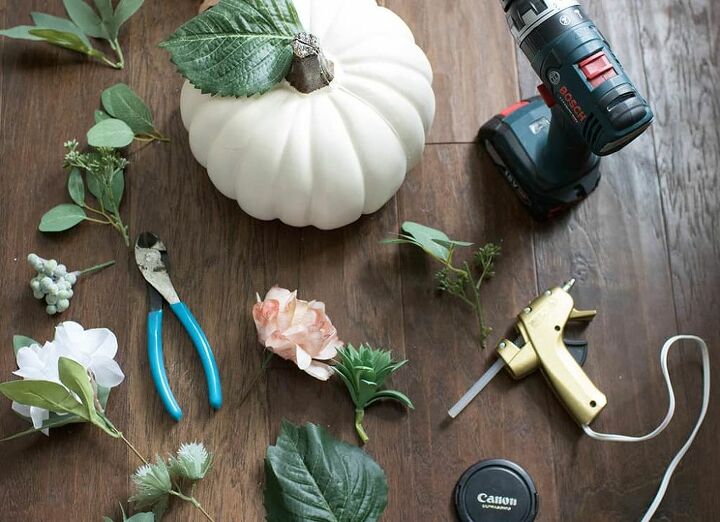
Next, I simply glued on more pieces of floral to my liking. The pink flower was a little.
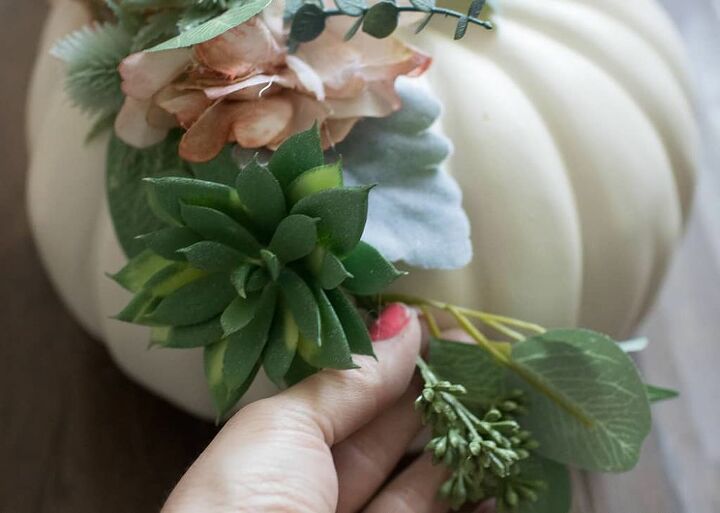
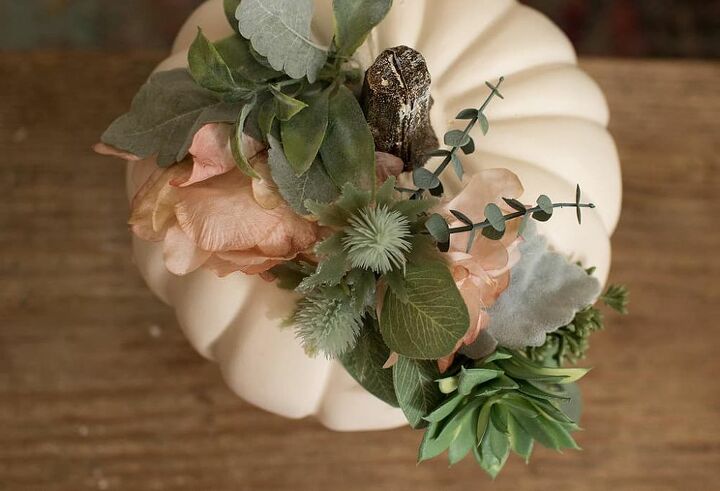
I love that this bouquet came with a succulent and these cute prickly green pieces.
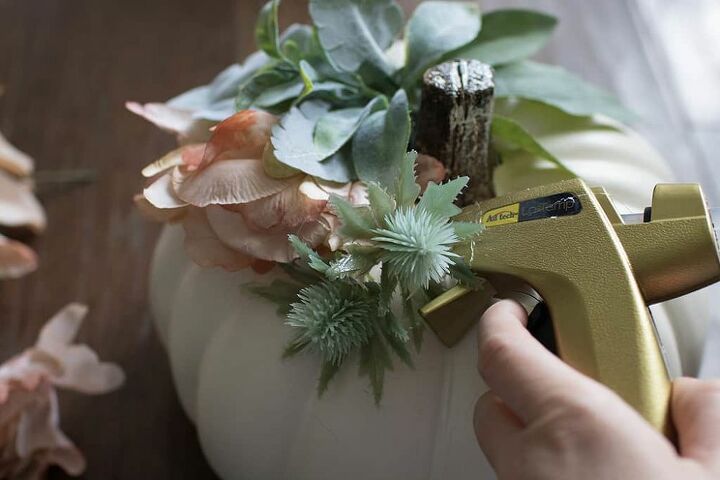
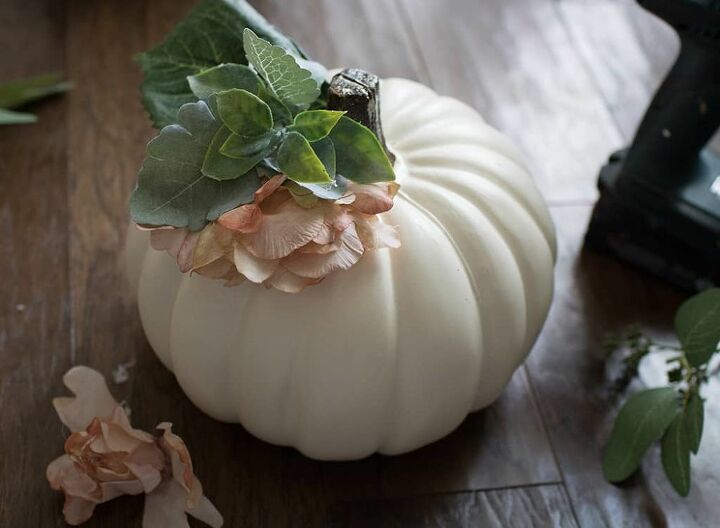
I continued to hot glue more pieces on in a sweeping line pattern.
I wanted to add the succulent on the side, and since it’s a heavier piece, I decided to drill a hole for the stem to go into.
I simply found a bit that was similar to the diameter of the stem and drilled through the pumpkin. This really helps support the weight.

I stuck the succulent stem into the hole and glued on more floral until it felt done to me.
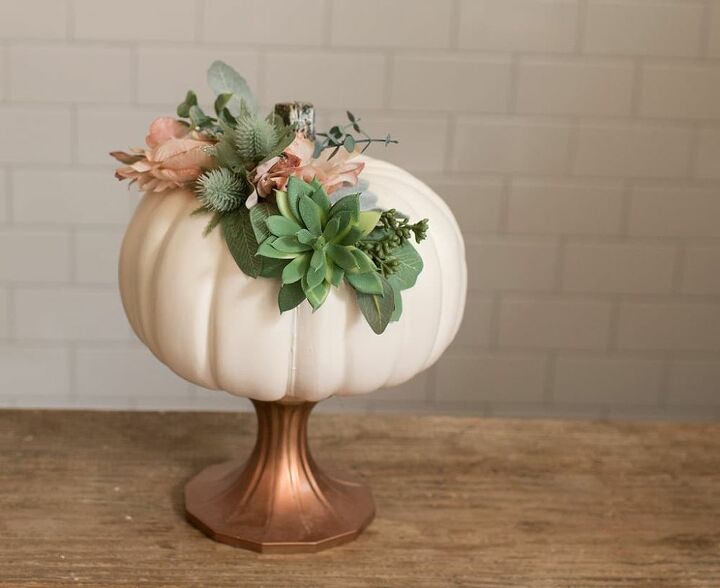
That’s it, easy right? I just love how it turned out, and love the look of it on this copper candle stick.
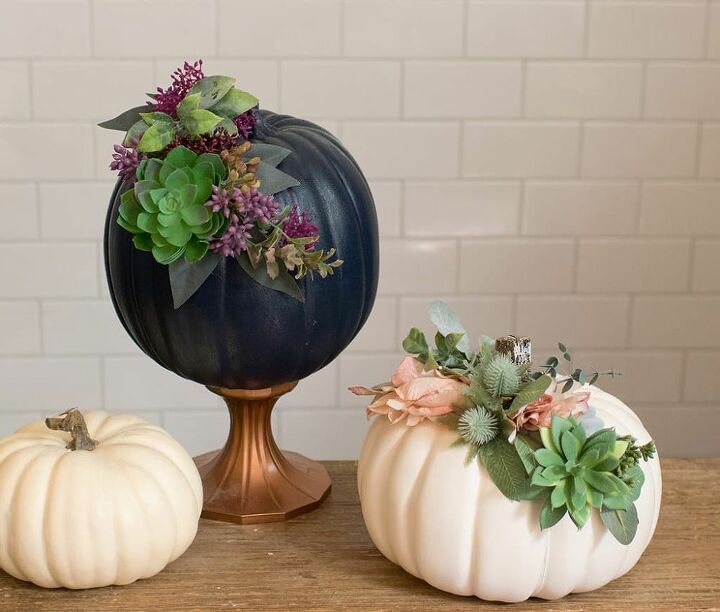
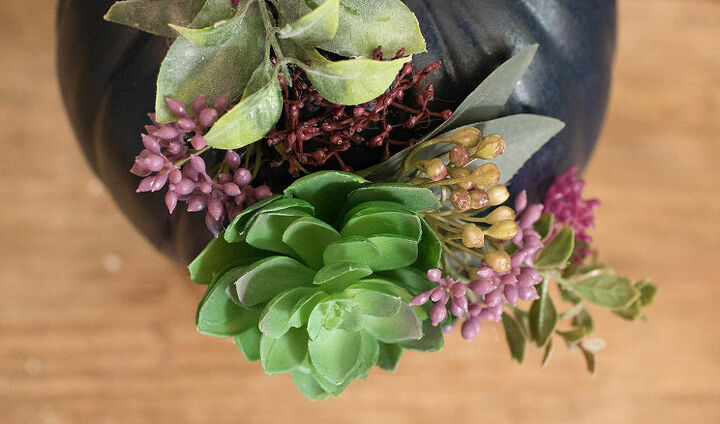
I repeated the same steps using my navy pumpkin and Queen Anne’s Lace bouquet. I love the bold colors in this one.

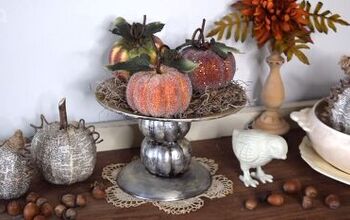
These DIY floral pumpkins make the prettiest fall table centerpiece, but I think they’s also work super well for a fall wedding.
Here are views from the top…
I hope I’ve inspired some of you to make these DIY floral pumpkins for yourself!
Resources for this project:
See all materials


Comments
Join the conversation
-
Hi Audrey! You really did a lovely job on this project. And I love your choice of colors and faux succulents too!
-
You did an amazing Job Audrey. I love them. I’m imagining doing a few. I was thinking how prissy and pretty these could be painted the mild new pink shades that they are using these days. Such light and pretty shades. And adding the faux flowers. Maybe little bits of faux pearls and pretty little embellishments that would look lovely in a little girls room or bathroom. Maybe add touches of gold color from paint or faux items. My head is swimming with ideas. Be cute for gifts. Cheap lovely gifts. Thanks so much for the video and idea. I’m going to run with it snd be creative. Or try at least. Have to ride my knee scooter not run though. Hehe. Just had major foot surgery can’t walk. 😭 boo-hoo!!! Thanks Audrey


Frequently asked questions
Have a question about this project?
What should I use on material to make it GLow?
Why so much faux? Did you know you can do the same thing with a real pumpkin? They spray paint beautifully, or brush-on acrylic designs work well, too. I had a painted real pumpkin that lasted until Feb!!
These are gorgeous! What sheen did you use for the spray paint? The link goes to the Rustoleum with a flat sheen but the pumpkins don’t look flat.