


Fall Garland Made With Wood Slices

Make this rustic Fall garland to decorate your mantel or staircase!

Make this beautiful fall garland with Dollar Tree supplies and a few wood slices.

How to Make Fall Wood Slice Garland
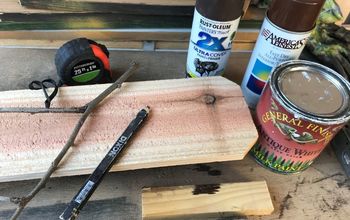
To start, paint your wood slices in any fall colors you like. I used acrylic paint in aqua and gold hues.
Also, depending on where you'll be hanging your garland, you may want to paint the back of each wood slice too!

Next, use a stencil or draw the F-A-L-L lettering freehand with a pencil on to the wood slice. Then use acrylic paint to paint the letters.

Putting It All Together
Gather up the rest of the supplies. You'll need a hole punch, baker's twine, rope, a drill with a small drill bit, and a few colorful silk leaves.

Use a hole punch to punch holes into the wide part of each leaf.
Then string your leaves onto a rope that is slightly wider in diameter than the hole you punched. This will allow you to position your leaves along the rope without them all sliding to the center. If you’re using a rope or string that is thinner, use a little hot glue to hold the leaves in place.

Use a drill to drill a hole into the top of each wood slice and tie the letters to the garland rope with baker's twine. Leave a few leaves in between each letter.

Hang up your Fall garland and enjoy!
For the full tutorial and links to the supplies visit --> Fall Garland Made with Wood Slices and Autumn Leaves.


Frequently asked questions
Have a question about this project?