


Tabletop Fall Mini-Pumpkins

I needed something small for my side table, and I really liked these
Fall mini-pumpkins that I saw in a magazine. I remembered that I had small pieces of 4 x 4's from another project, so I figured, perfect!


Supplies needed:
1 piece of wood...4" x 4" x 16"
1 pieces of wood...1 1/2" 1 1/2" x 6"
White paint
Orange paint
Ribbons...1/4"
Hot glue (not shown)
Glue gun (not shown)
Electric saw (not shown)
Cricut (not shown)
Vinyl (not shown)

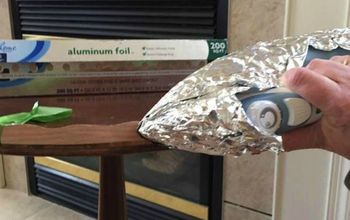
Step 1: I cut three pieces of wood 4" x 4" by 4 1/2" tall. Two of my mini-pumpkins, I white-washed them. I mixed the white paint with a little bit of water to get the white-wash effect.

Step 2: For contrast, I painted one of the pumpkins orange.

Step 3: I rounded the three small pieces of wood to use as pumpkin stems. I stained them, and hot glued them to the pumpkin.

Step 4: I made very simple bows, for each of the pumpkins. I used different Fall color ribbons.

Step 5: I printed a pumpkin face with my Cricut for the orange pumpkin. However, you can use stencils, or free hand.

Step 6: And this is my final product!

















Frequently asked questions
Have a question about this project?