


How to Add Skip Trowel Texture When You Patch or Replace Drywall
If you love this project, grab your quick start DIY guide & subscribe to our blog!
Need to patch or replace drywall with skip trowel texture? Learn all the in’s and out’s how to create a skip towel finish with drywall mud.
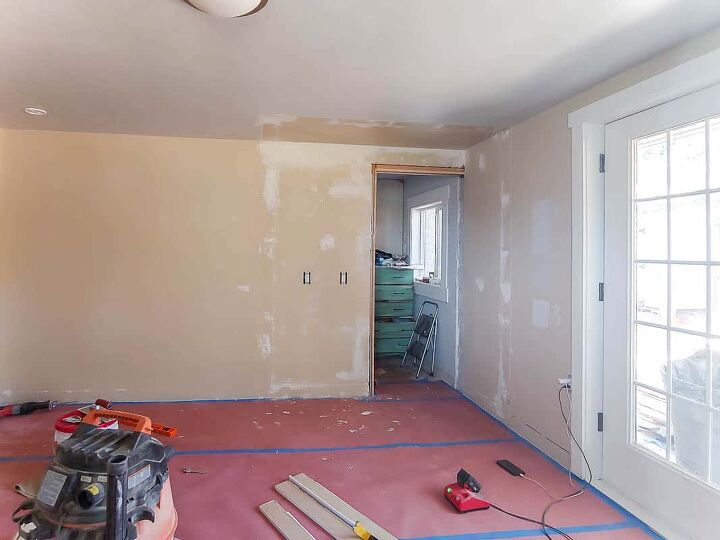
Before pictures
The two areas that we were focused on in the video tutorial were in pretty rough shape!

Step 1. Select tools to apply texture
Before you begin applying your texture, it is important to consider what tools you’ll be using. The two most used options are a mud pan with knife and the hawk and trowel.
- For beginners and smaller projects I’d recommend using a mud pan with a knife. This combo is much easier to use and can be picked up quickly.
- A hawk and trowel is a great skill to have but takes a lot of practice and can be much faster than a mud pan and knife. Don’t pick up a hawk and trowel unless you plan on do a large project or a lot of drywall projects.
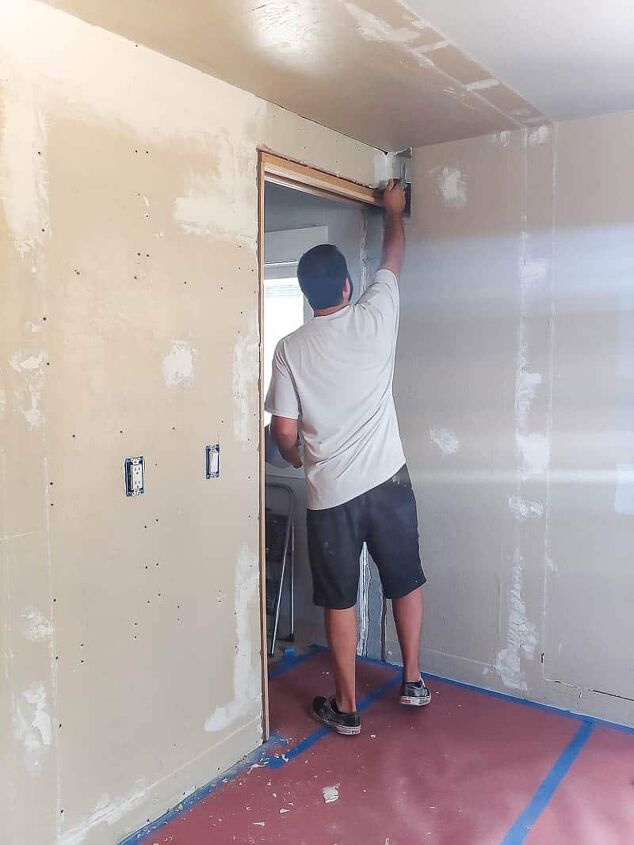
Step 2. Patch and prep
Before you can start applying your skip trowel finish, first you need to patch and fill any holes there may be.
Step 3. Sand and wash
After you patch you’ll likely need to lightly sand and/or wash your walls to remove any grim or big chunks in your patch.
Step 4. Selecting and blending your texture
There are so many types of skip trowel texture and personal preferences that go into texture.
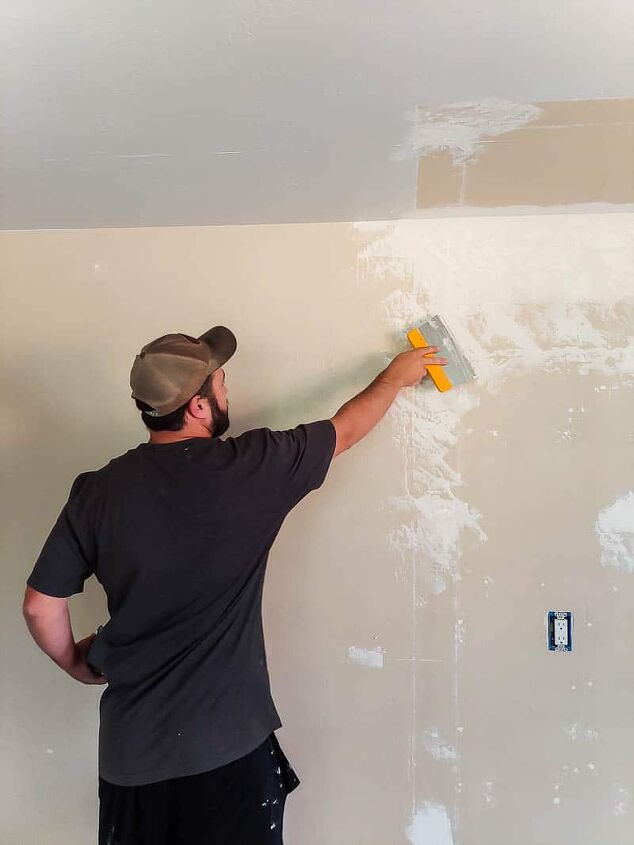
Step 5. Apply your skip trowel texture
There are tons of different looks to skip trowel finish so the very first thing you need to do is try and find some videos and photos of skip trowel texture being applied that you personally like the finished result.
Once you have selected a type of texture that you like, then you’ll need to practice applying that texture on some scrap drywall or wood until you get it how you like it. This practice run is well worth the extra cost of supplies before you experiment on your walls.
Step 6. Knockdown and sand
Depending on the style of texture you chose you may have to come back to your wall after it has dried and finish it up.
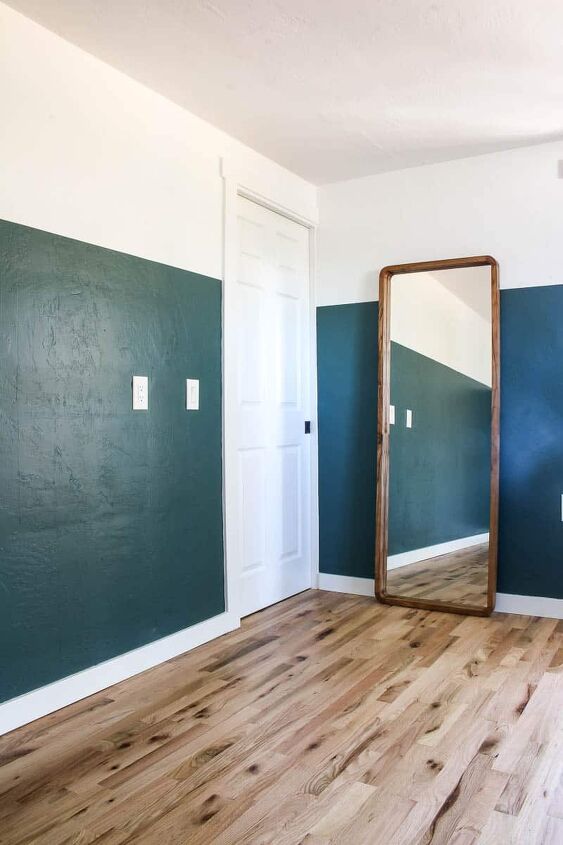
Step 7. Prime and paint
Now that your drywall texture is the way you like it all that needs to be done is to prime & paint your wall.
What kind of texture do you have in your house?
Let us know in the comments below!
If you love this texture tutorial, check out all of our renovation tutorials in the archive here!


Frequently asked questions
Have a question about this project?