


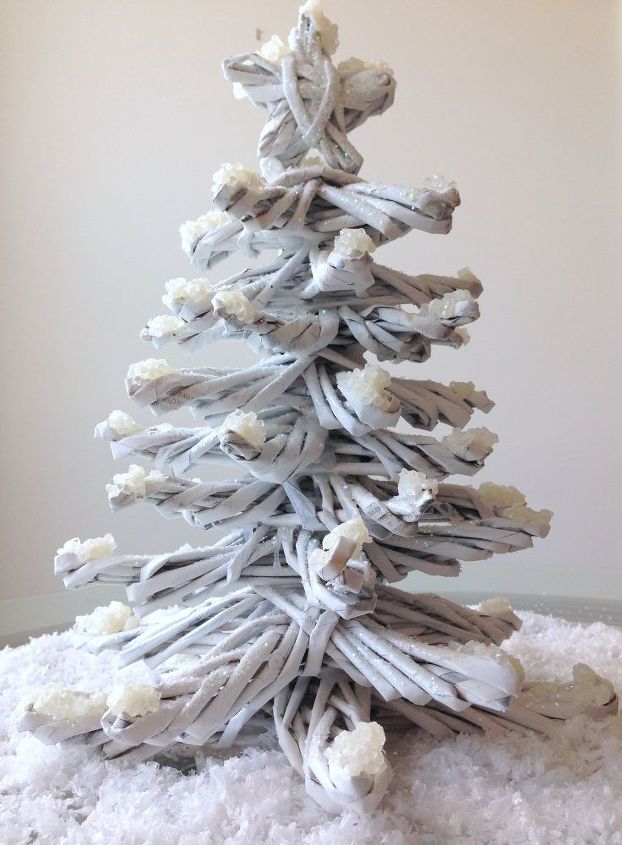
Create a Recycled Newspaper Woven Stars Tree
Easy
I spotted woven newspaper stars on Pinterest and thought how cool they would be piled on top of one another forming a tree. Trying it out, I discovered that it's really easy to make once you've made lots of newspaper tubes and mastered the art of weaving the tubes into a star. And the best part - all you need is newspaper, white glue, scissors, ruler, clamps, paint and hot glue - things you probably already have.
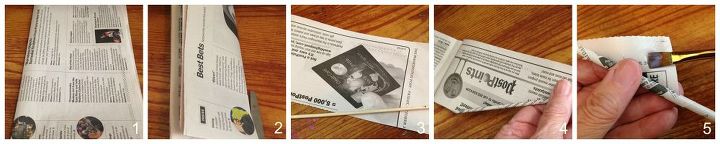
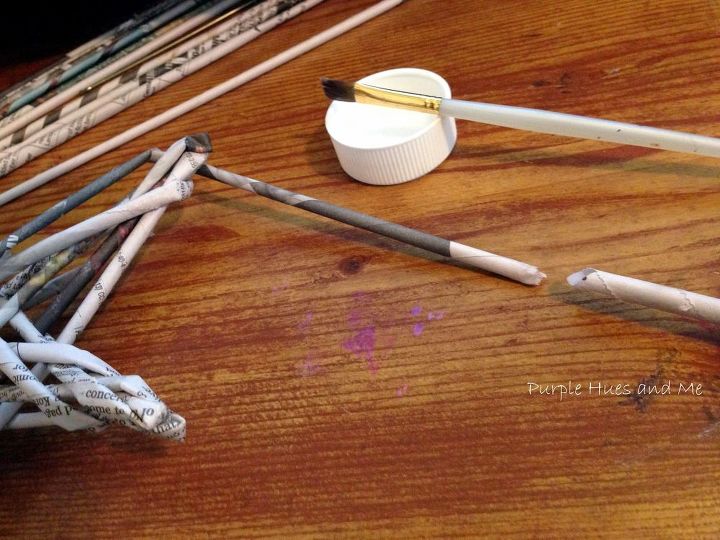
To start, fold a newspaper section into four parts and cut out the four parts. Using a thin skewer roll the paper into a tube, sealing end with white glue. You will need at least 50 or more tubes to make the eleven stars for this tree.
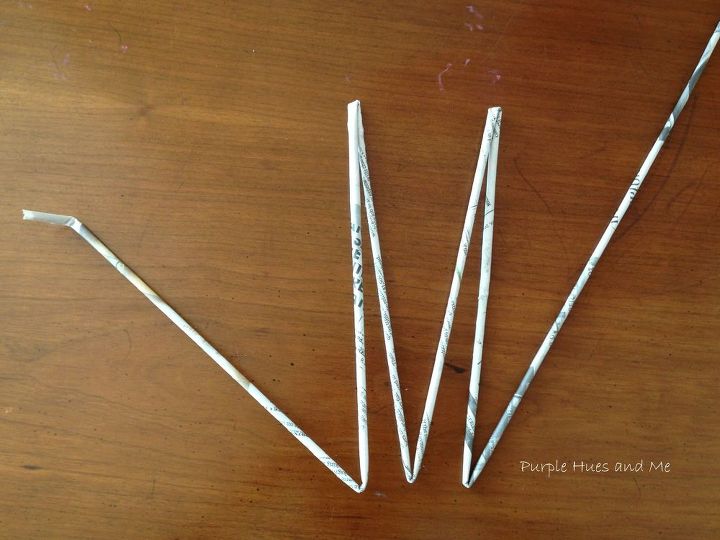
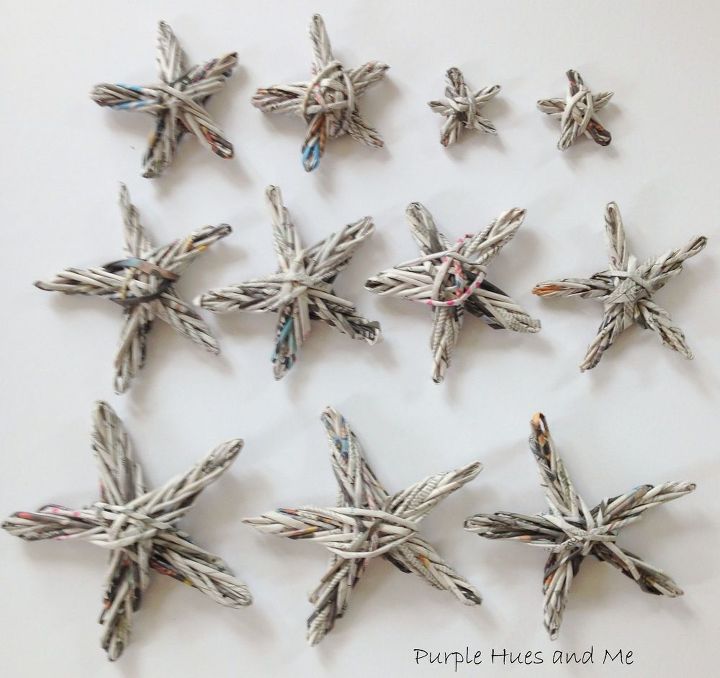
In making the largest star (base), which is 9 1/2 inches wide, take a tube and make about an inch fold on one end. Using a ruler, measure 9 1/2 inches and fold the tube into three "v" shapes. Your tube may not be long enough for folding this way so you'll need to add more tubes by putting a little glue on one end and inserting it into another tube to make the tube continuous.
Next, open the folds and shape the folded portions into a star. The one inch bended tip is glued to the last end of the tube at the fold and clamped until dry.
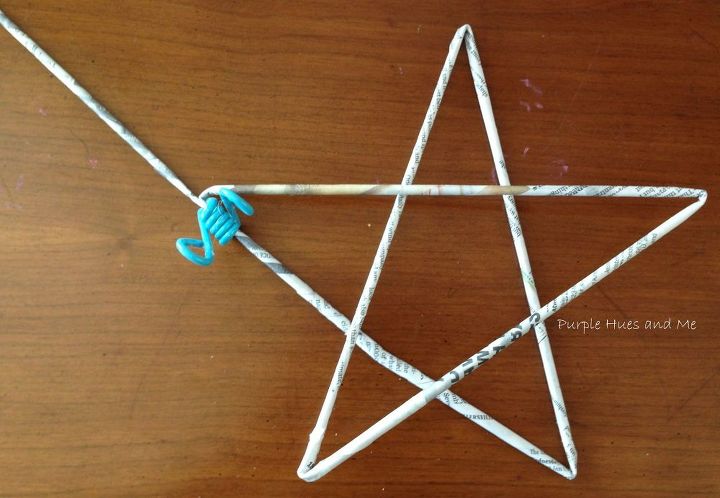
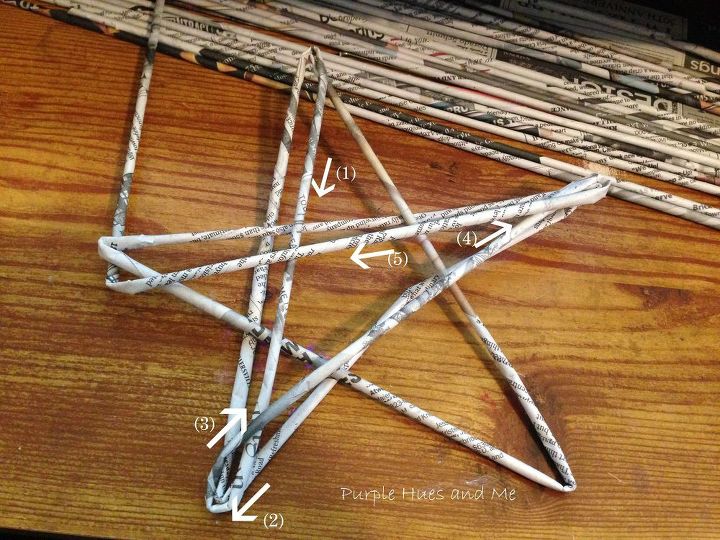
To start weaving the star, turn the star upright where the end was glued and clamped. Take the tube around the point and down, parallel to the star tube (1) to the next star point (2) and around (3) and over to the next point (4) and around and over to the next point (5).
Continue following the original pattern with the tubes running parallel so you would see rows of two, then three, then four, etc., beside each other.
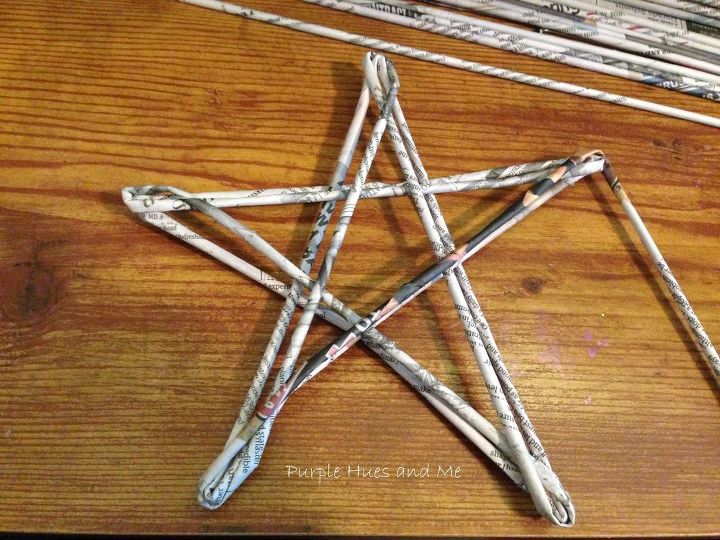
Add additional tubes by putting a little glue on one end and inserting tube into new tube end. Continue wrapping until reaching the center, making sure all points look about the same. You should see a weaving pattern on each star point.
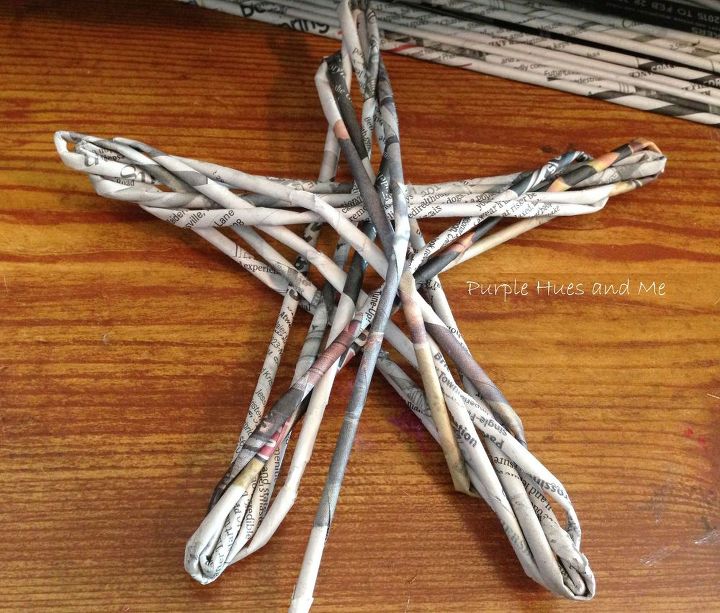
To finish off the end tube, wrap it to the back, adding glue and tucking the end under an inside tube.

Make additional stars in graduated sizes. It really doesn't take long once you get the hang of it.
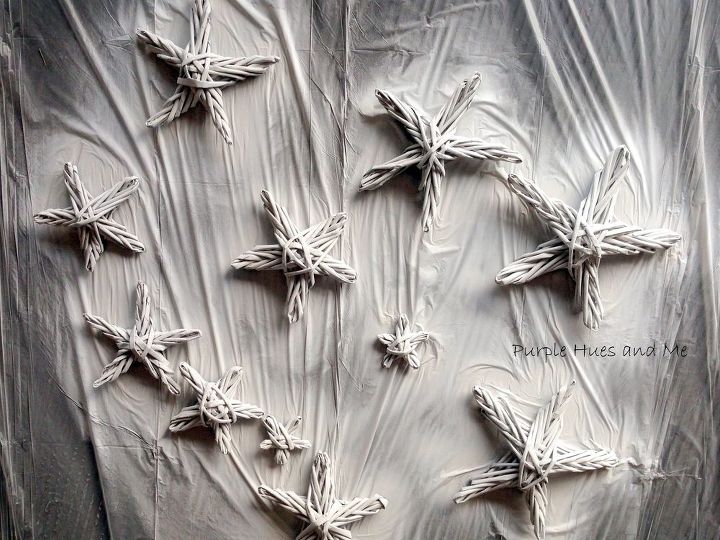
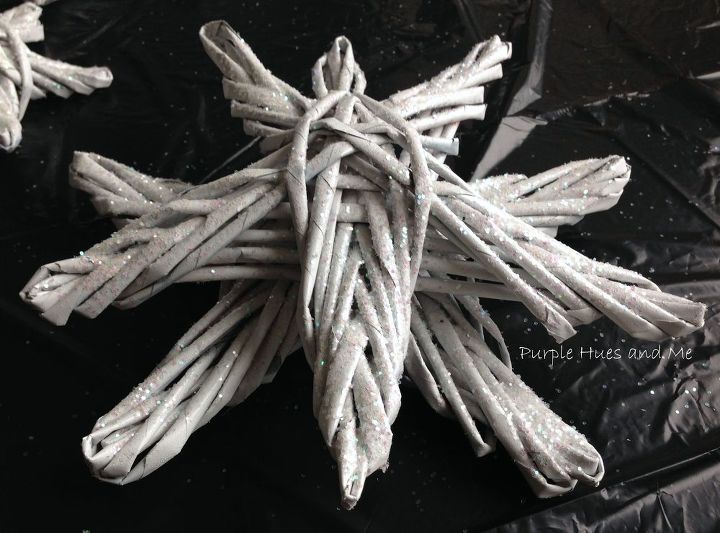
Paint white and add glitter while paint is still wet.
Once dry, hot glue stars on top of each other, straggling each star above the other.
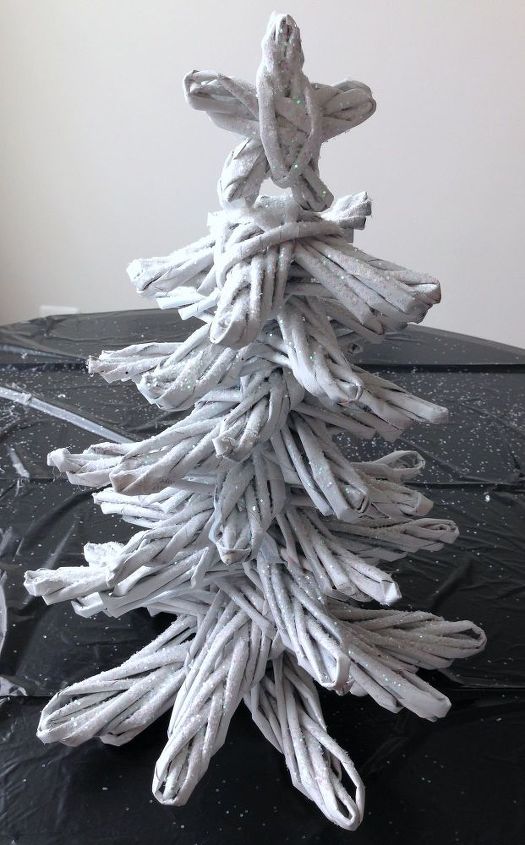
Complete the look by adding a mixture of glitter, floral filler and mod podge to the tree tips and let dry.
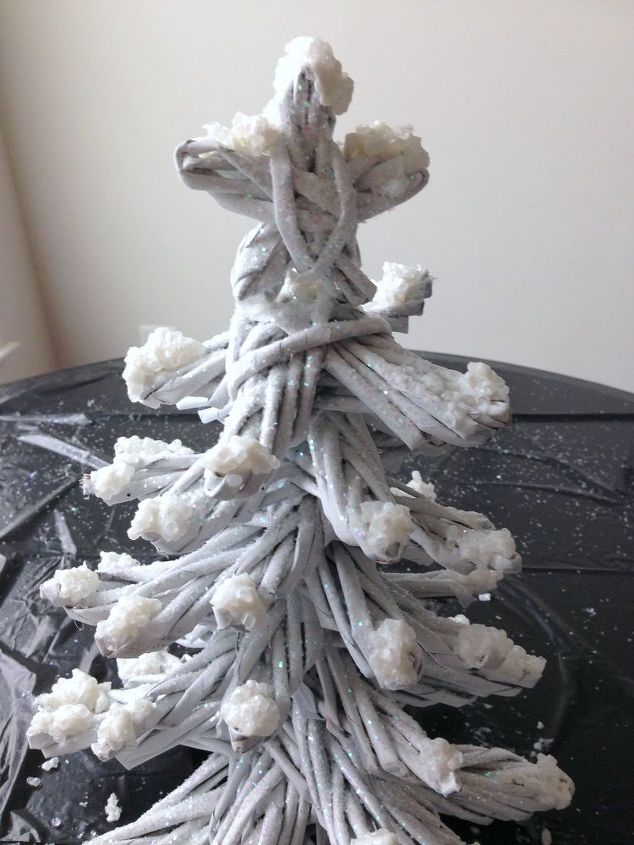
Now, stand back and admire your creation!
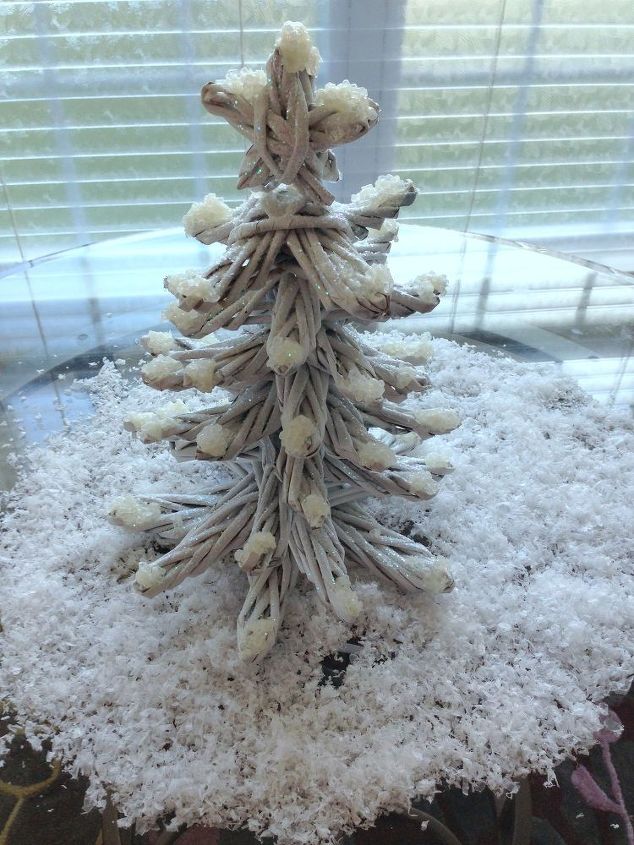
The finished tree is so adorable and can be used as a snowy centerpiece, not just for the holidays, but for the entire winter season! What a fun recycled/upcycled craft!

Want more details about this and other DIY projects? Check out my blog post!
Comments
Join the conversation
4 of 48 comments
-
I dub thee queen of the star makers! Love it, will give it some thought toward the holidays.
-
Really like this! tfs


Frequently asked questions
Have a question about this project?