


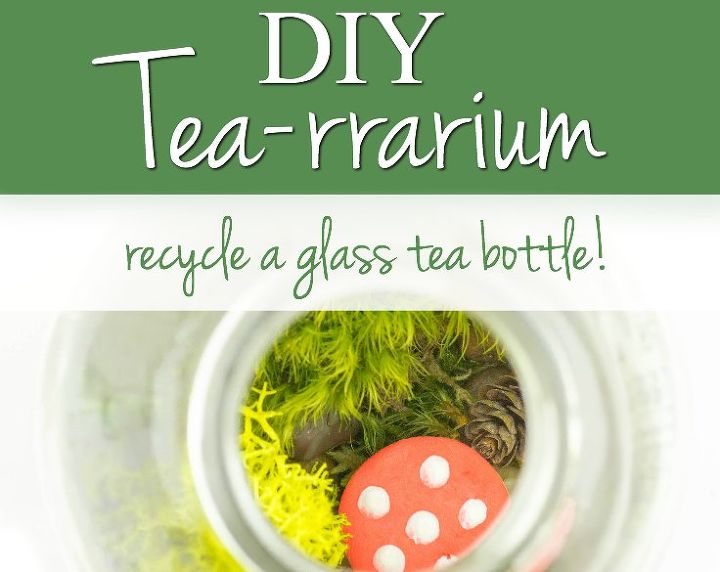
DIY Tea-rrarium

by
Angie Rose
8 Materials
$10
30 Minutes
Easy
What is a tea-rrarium exactly? Well, it is a homemade terrarium in your tea bottle. A terrarium is a closed container or enclosure that contains living plants. This fun project makes a great rainy day activity for any age.
Step 1: You can make your very own Tea-rrarium in any empty glass bottle of tea. It's nice to be able to reuse your bottle for a fun activity. The first step for me was the best step, drinking it!
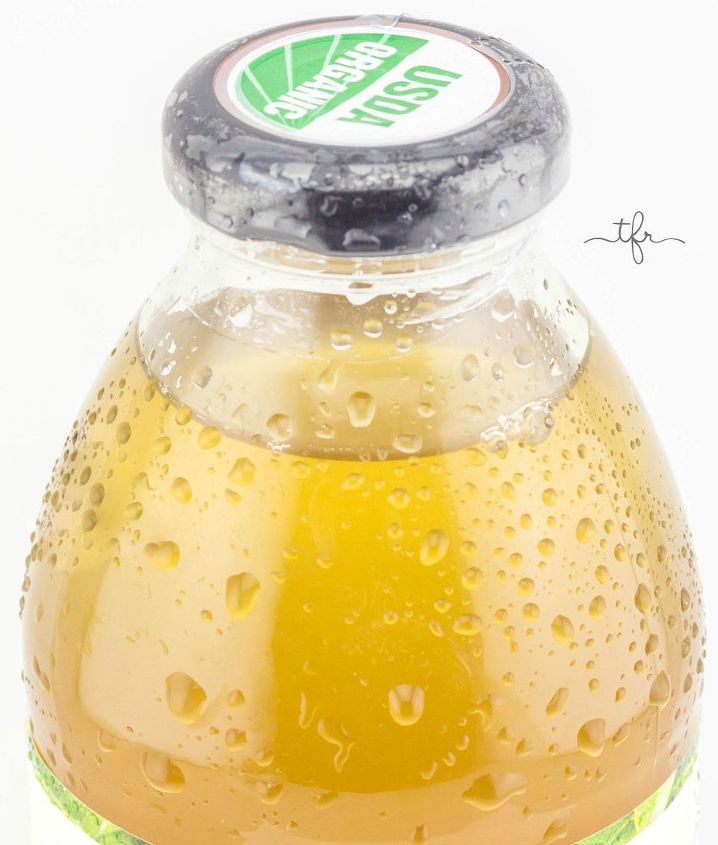
Grab A Glass Tea Bottle
Step 2: After I enjoyed my chilled beverage, the next step was to wash it out. I rinsed my bottle thoroughly to get rid of any sticky ingredients and let it dry overnight.
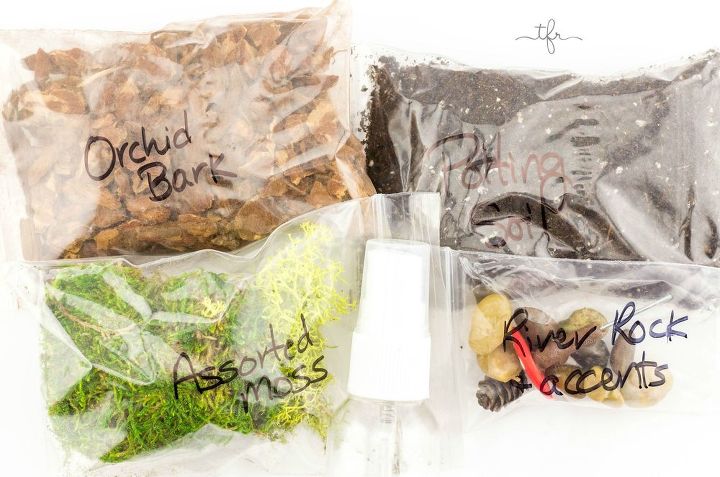
Gather Terrarium Materials
Gather the materials you are going to use in your terrarium. Everything included in my kit can be found at your local home improvement store or craft store. Have fun with it and get creative! Here is a list of what was included. The terrarium supplies provided are from Sandhill Shores.
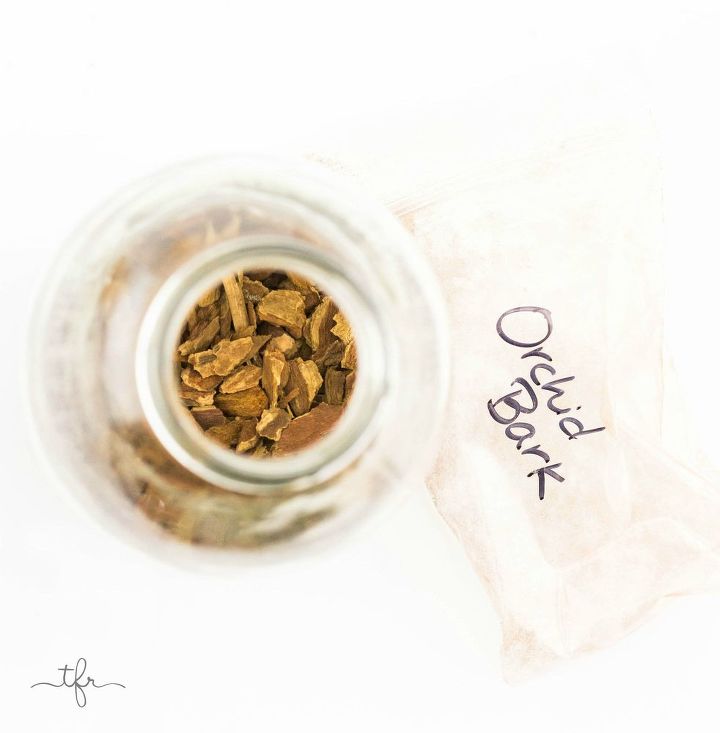
First Layer: Orchid Bark
Step 3: Put down some orchid bark for the first layer in your terrarium. The bark lends a hand with aridity as well as drainage. Don't worry about fussing with it. Once you get it all in your glass, shake it around to even it out. I used a coffee filter with a hole cut into the bottom to help get the bark into my container. Made less of a mess that way.
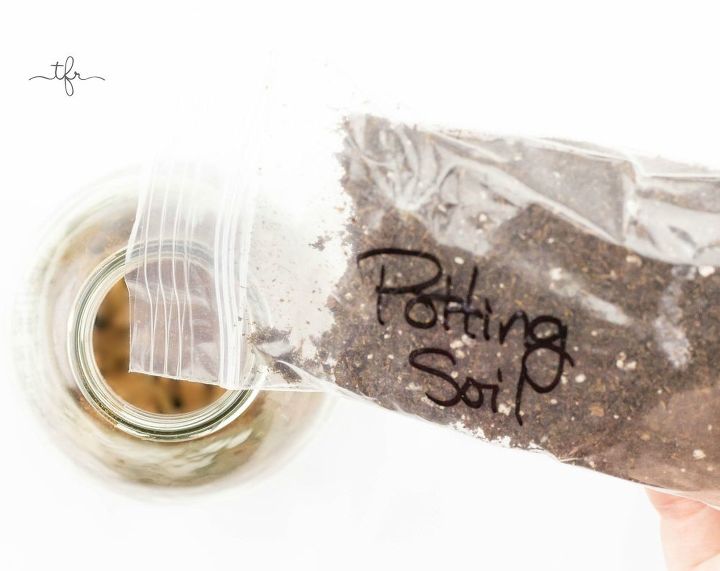
Add In Potting Soil
Step 5: Now it's time to put down your layer of soil. You can purchase soil specifically formulated for terrariums, but potting soil works just as well. Make sure whatever soil you are using is high in organic matter and clean. Soil that you buy in bags is sterilized so you don't have to do any other kind of prep with it. If you would like to make your own soil for your terrarium, you can do that as well. Use one part peat moss, one part sand, and one part garden soil. You can also add vermiculite to help with water retention as well as perlite to increase air circulation.
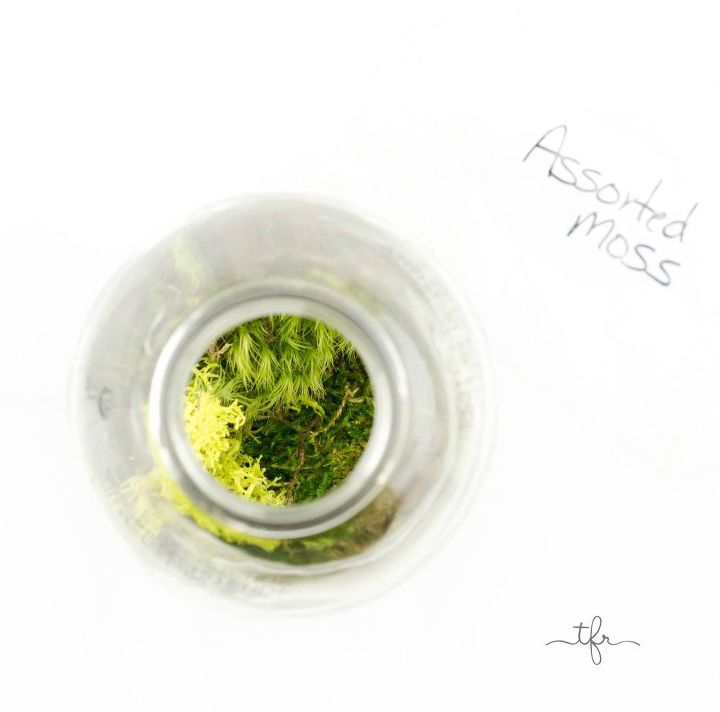
Now Add Your Assorted Mosses
Step 6: Lightly mist your soil with some water. After this, it's time to put in some assorted moss. Remember when adding moss to a terrarium, it requires good drainage as well as air circulation. If moss stays too damp, it will attract mildew. As long as you don't add an abundance of water to your container and allow it to evaporate and not linger, your moss will thrive. Live moss likes bright indirect sunlight. Make sure to keep it out of direct sunlight if possible so it doesn't burn. Types of mosses you can add are Spanish moss, reindeer moss and cushion moss. Add types of moss with different texture and color to add visual interest. Make sure to mist your moss with your spray bottle every 2 to 4 weeks.
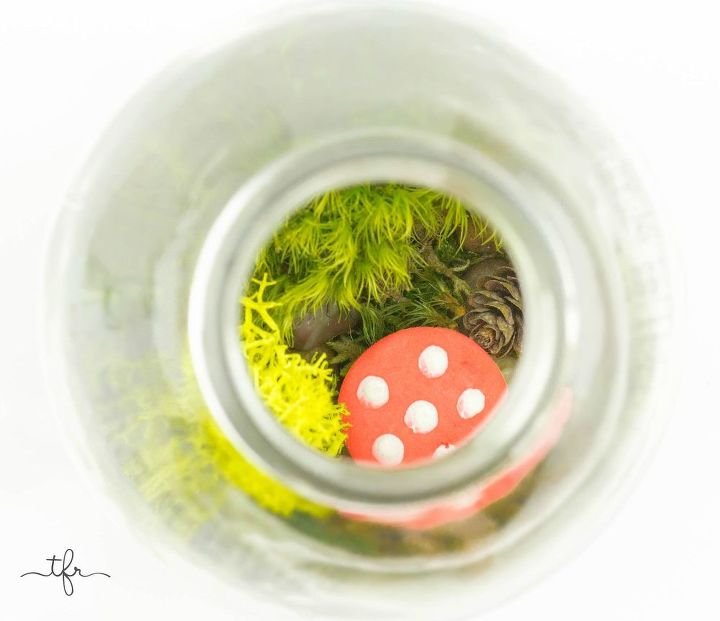
Add In Some Whimsical Decor
Step 7: Now it's time to add some decor! My kit came with some river rocks, tiny pinecones and a whimsical mushroom. You can get creative and also add woodland creature figurines like rabbits and foxes. Adding branches and small twigs covered with lichen is another great option. If you can imagine it, try bringing it to life in your new terrarium. Make it your own enchanting mini forest!

Step 8: Enjoy your new tea-rrarium and show it off! With a little maintenance and upkeep, it should do great. This is a wonderful project for children as well as adults who are looking for a fun and easy gardening activity. Doing something small like this can really teach you so much. It's a great first step if you are looking to enter the wonderful world of terrariums. Adding natural elements together shows me how they all work with each other to create something beautiful. Not to mention just a regular glass bottle can turn into something amazing! I have to admit, I was pretty impressed with how creative you can get with just an every day object found in most refrigerators! Give it a try, you won't be disappointed!
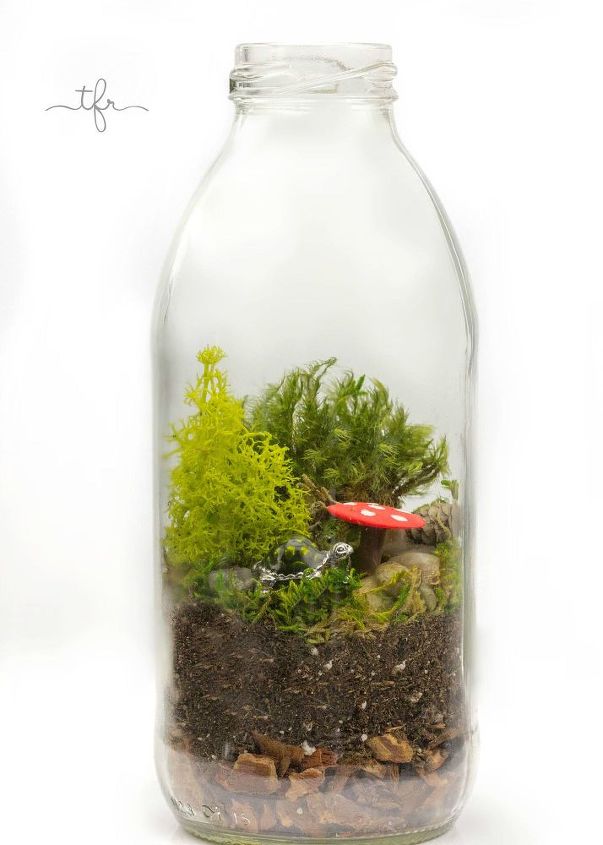
View from the side. I added a turtle to my terrarium today!
Want more details about this and other DIY projects? Check out my blog post!
Comments
Join the conversation
2 of 10 comments
-
I love this!! I adore plants of all kinds and recently saw a tiny terrarium for sale at an EXORBITANT price -- thanx for showing me how I can make this for a teeny fraction of the price!! (I'm putting this at the TOP of my to-do list)!!
-
Thank you Jeanne! It's super easy, once you have your supplies it can be put together in under 10 minutes :) Have fun & let me know how it goes if you decide to give it a try!


Frequently asked questions
Have a question about this project?
Where do you find the activated charcoal? :)
Super cute project. Will definitely try.