


Adding a Drip Cap to Existing Windows

by
TwoPlusCute
2 Materials
$9
Easy
What would you do if, on a rainy day, you looked at your - brand new - window and saw this?
(In case you can't see it clearly, it's water dripping inside the house!)
(In case you can't see it clearly, it's water dripping inside the house!)
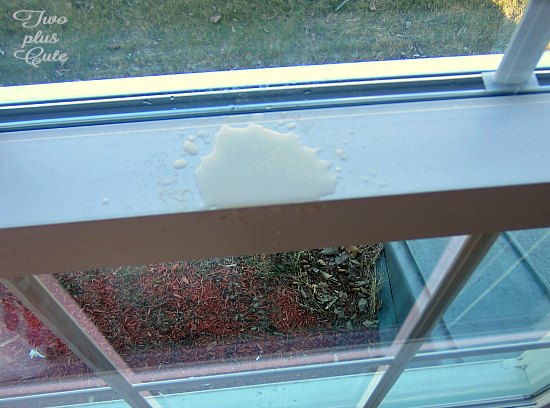
You would fix it of course! And you would freak out slightly if you are like me.

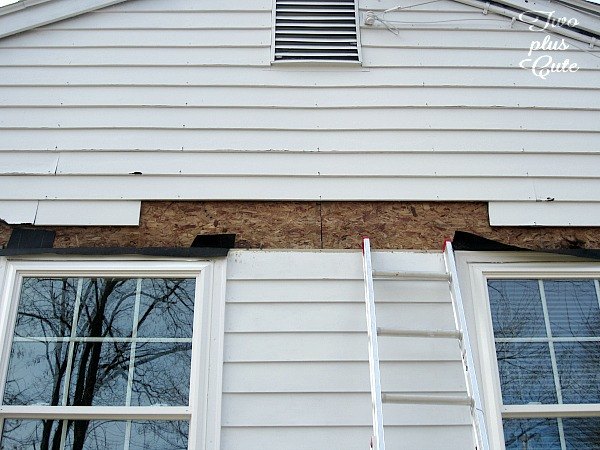
1. First remove the siding.
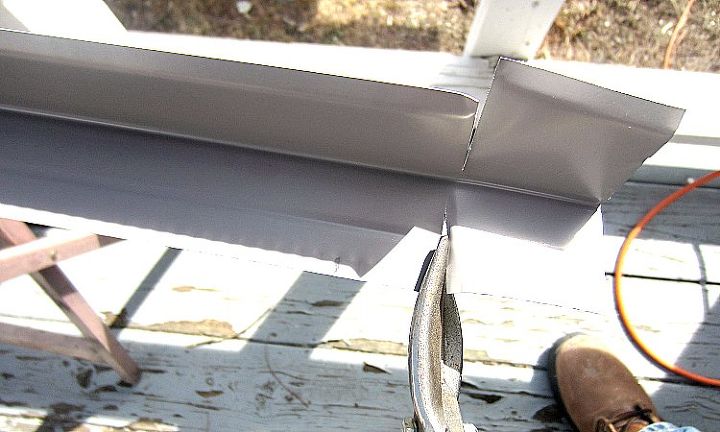
2. Cut a drip cap to size, adding at least an inch of extra length on each side.
3. Grab a good exterior grade silicone caulk and apply a hefty bead over the trim (as seen in the following photo:
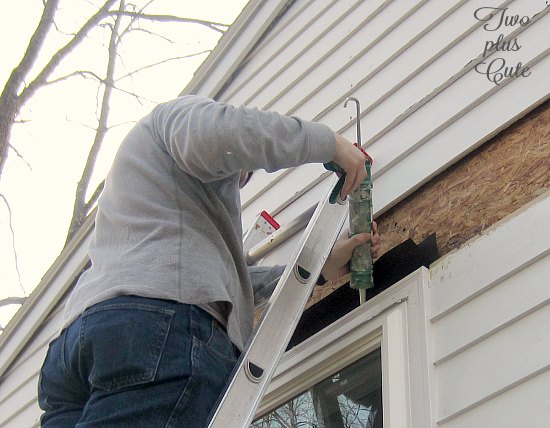
4. Push your drip cap firmly on that bead (as seen in the following photo), making sure any flashing is between the cap and the wall:
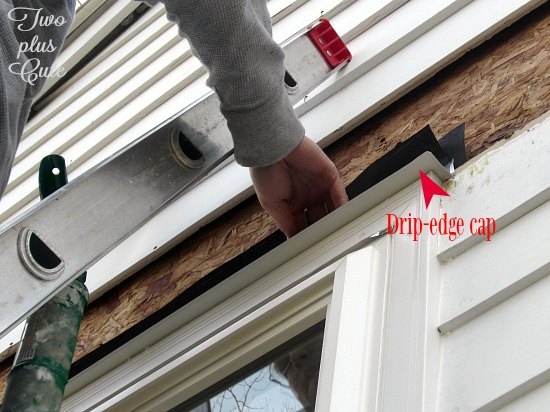
5. Secure the cap in place (with nails).
Want more details about this and other DIY projects? Check out my blog post!


Frequently asked questions
Have a question about this project?