


DIY Fabric Wall Art
Last fall I was redecorating my guest bedroom downstairs. I needed inexpensive wall art and saw a fabric project on an online decor website. I decided to try it out.
It is about as simple and inexpensive as ‘DIY’ gets.
It is about as simple and inexpensive as ‘DIY’ gets.
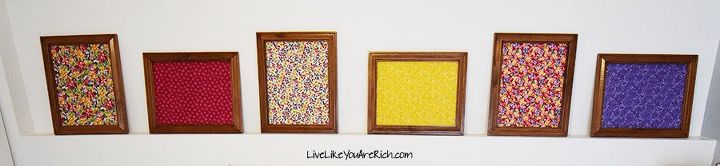
Ready to hang or display your DIY Fabric Wall Art as desired!
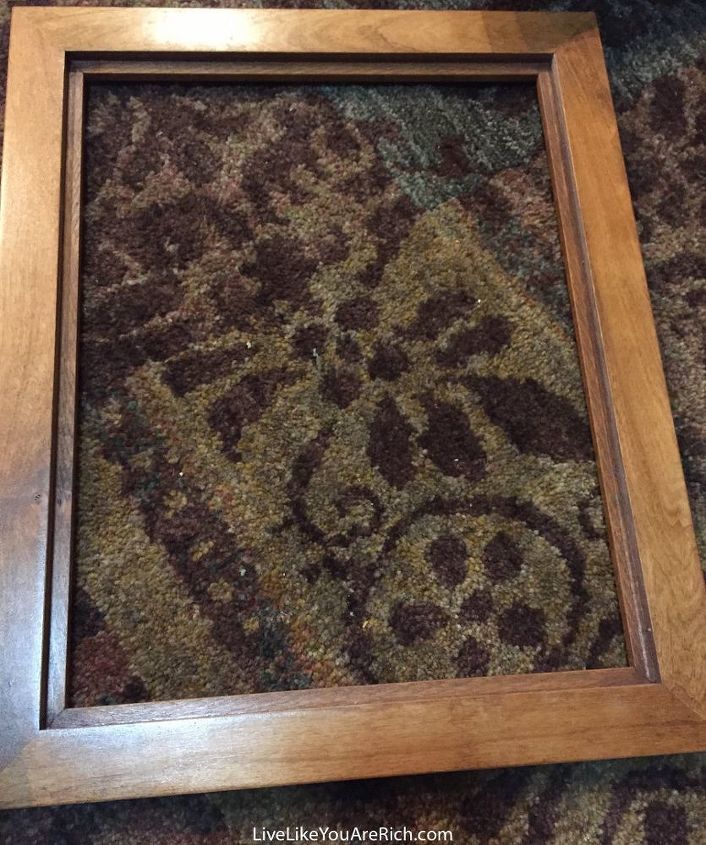
For the materials, I found 6 matching frames at a garage sale for $5.00 total. I found a bunch of fabric remnants, yards, etc. at another garage sale which averaged about .50 cents each. Then I got my staple gun and staples that I already had in my garage out.

First, cut the fabric to fit the outside rim of the frame (which should add about an inch on each side)—this is so you have a little material to work with.
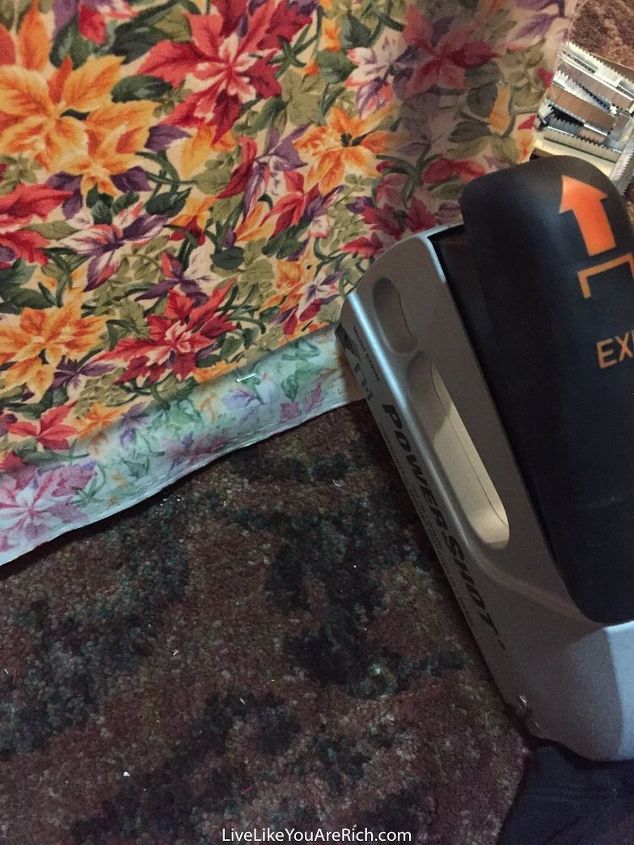
Next, make sure the fabric is centered/lined up correctly. Pull it tightly. Then use a staple gun (Stanley Sharpshooter) and staple the fabric to the frame using (5/16″ light duty) staples .
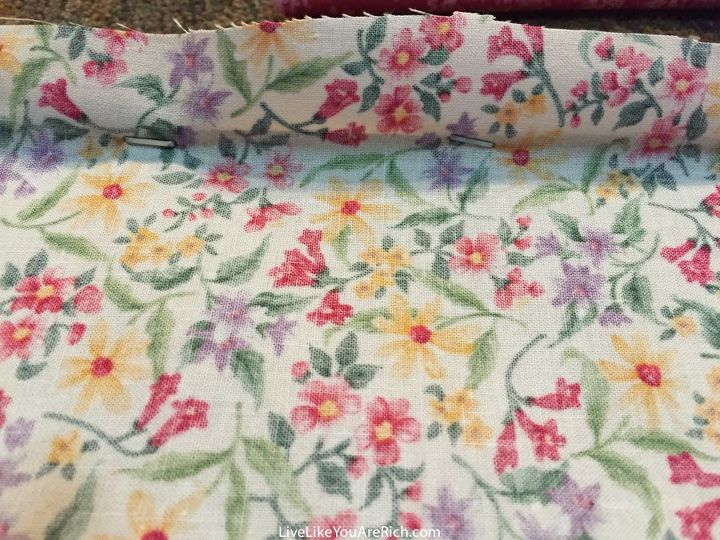
Work your way around stapling the fabric across from each other. I would staple two staples and then pull the fabric tight and staple two on the opposite side of the frame. I worked my way around like that to make sure there wasn’t any lag or wrinkles.

Want more details about this and other DIY projects? Check out my blog post!


Frequently asked questions
Have a question about this project?