


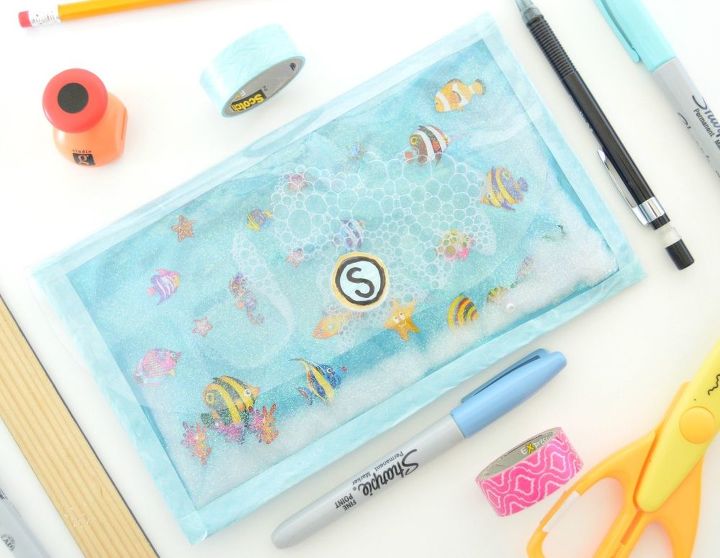
DIY Liquid Pencil Case

by
Sahana
I saw a lot of liquid school supplies DIY's around the internet especially on youtube while I was binge watching. I thought I should give that a try as it was looking fun and interesting. To be honest, my first try was a disaster and a major fail. But it was totally due to my impatience. I learnt some not to do things along the way and finally got it right. And today I am sharing it with you all.Are you ready to jump into this fun DIY tutorial? Here is how.
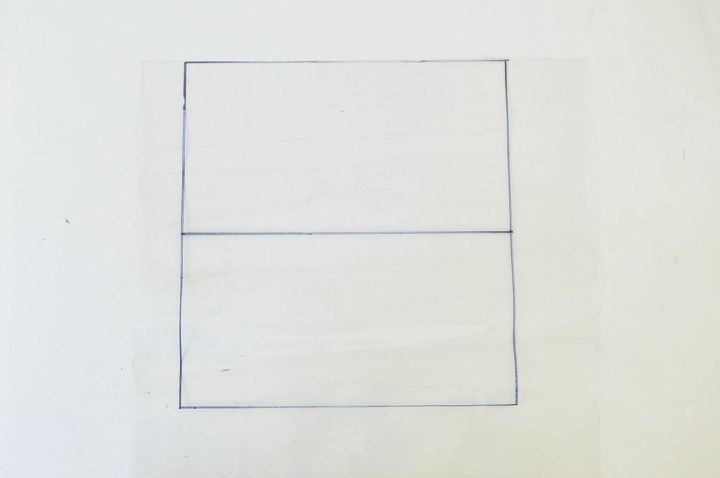
Cut two 8.5" X 6" vinyl piece for the front part of pencil case and one 8.5" X 9" for back. Use marker to mark on the vinyl. Leave the marks while cutting or use a paper towel dipped in rubbing alcohol or nail polish to remove the marks.
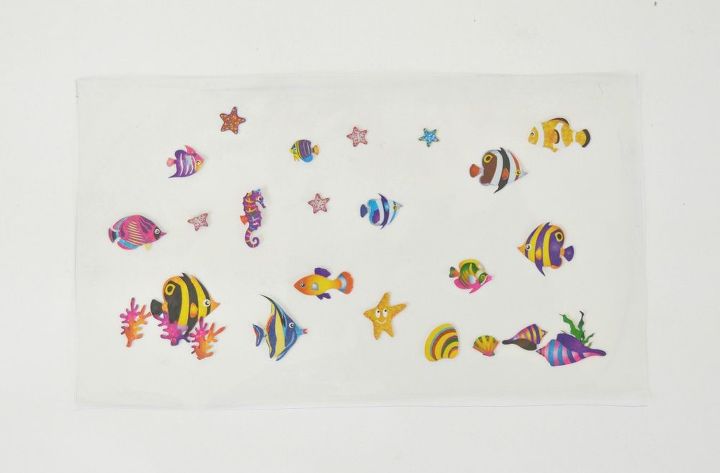
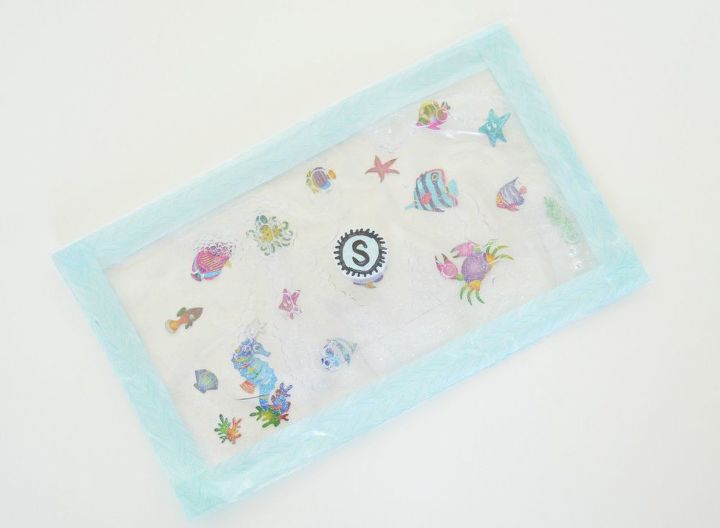
Take one front piece and glue the stickers to the vinyl using a tiny bit of vinyl glue.
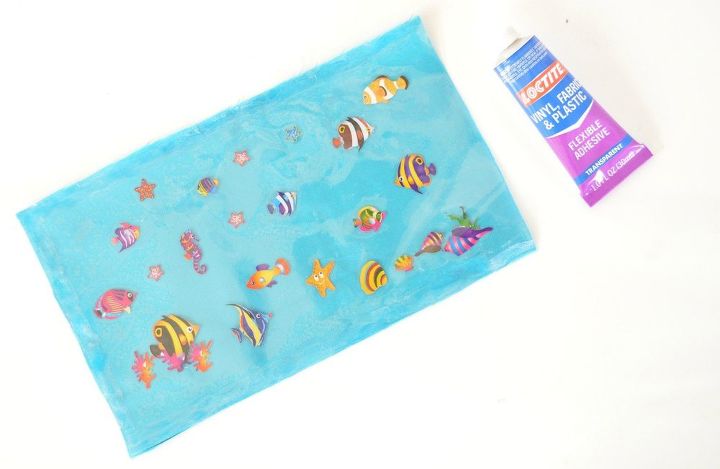
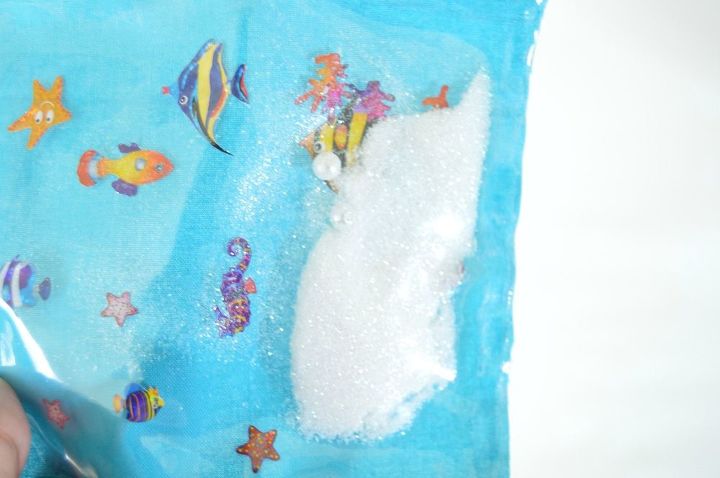
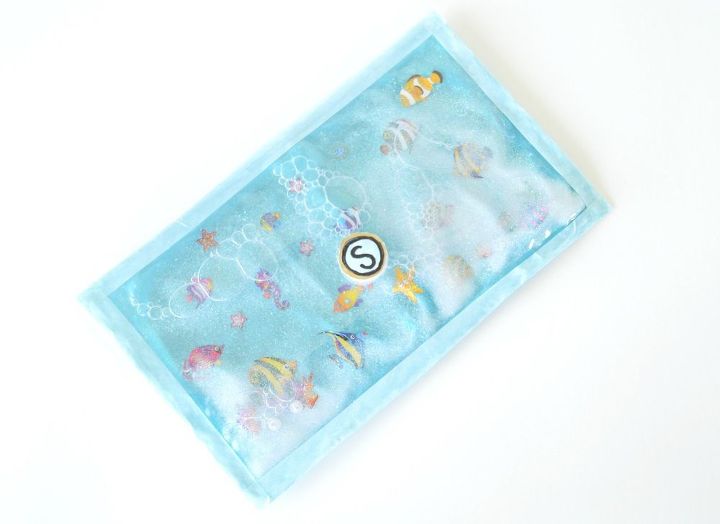
Apply glue on three corners of the vinyl with stickers and glue the another piece on top to create a sealed pouch. Be generous while applying the glue and make sure you apply evenly to tightly seal all the three corners.Use a toothpick to apply glue and work in a small area at a time. Allow the glue to dry for 24 hrs. I made two type of pencil case one is the clear one and another is with fabric backing. If you are making the fabric backing, allow few mins for the glue to dry then apply glue in the same way to the back of the pouch you created and glue the fabric to it. (Only on three sides).

To see how I completed this pencil case, you can visit my blog.
Want more details about this and other DIY projects? Check out my blog post!
Comments
Join the conversation
3 comments
-
so cute and fun!
-
Cool project!


Frequently asked questions
Have a question about this project?