


How To Turn an Old Toolbox Into a Lovely Centerpiece
Hey friends! I shared this tutorial on Hometalk's Facebook live last week. In this post, I share a tutorial for how to turn an old toolbox into a lovely centerpiece for your home.
I started by cleaning the box. After it was clean and dry, I gave it two coats of chalk paint. After both coats were dry, I lightly sanded it down, not to distress it but to make it feel nice and smooth.
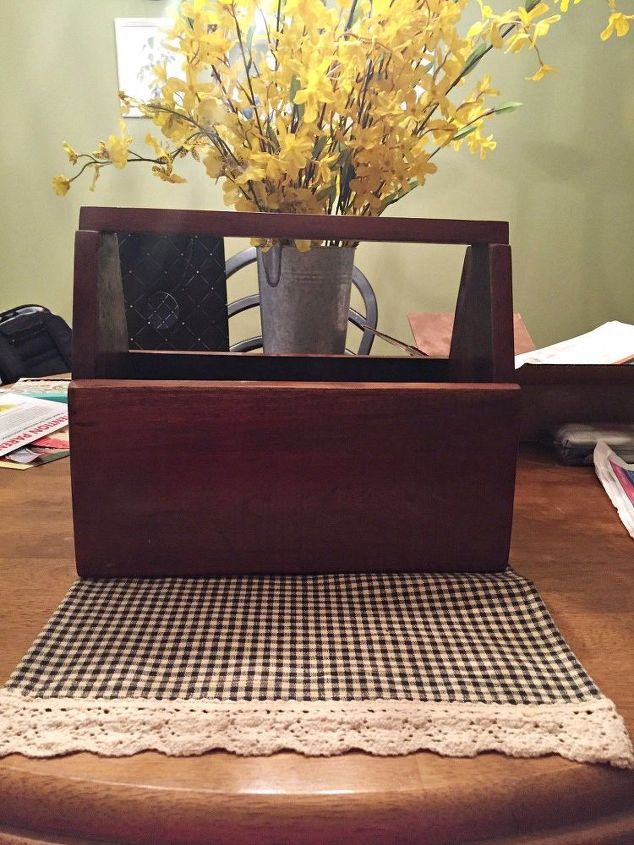
This is what the box looked like when I found it. I scavenged it from a garage I was picking through. I decided I wanted to paint it with some chalk paint and make it into a spring centerpiece.

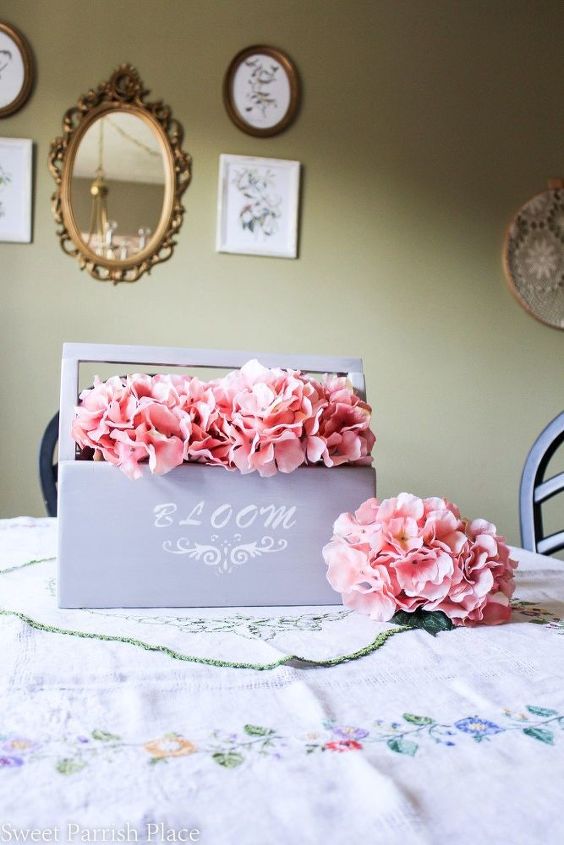
I then decided I wanted a decorative stencil, so I stenciled on the word bloom and a little decoration beneath that. After that was dry, I gave it a coat of clear wax and buffed it with a clean dry cloth. I placed two flower pots inside and filled it with pink hydrangea.
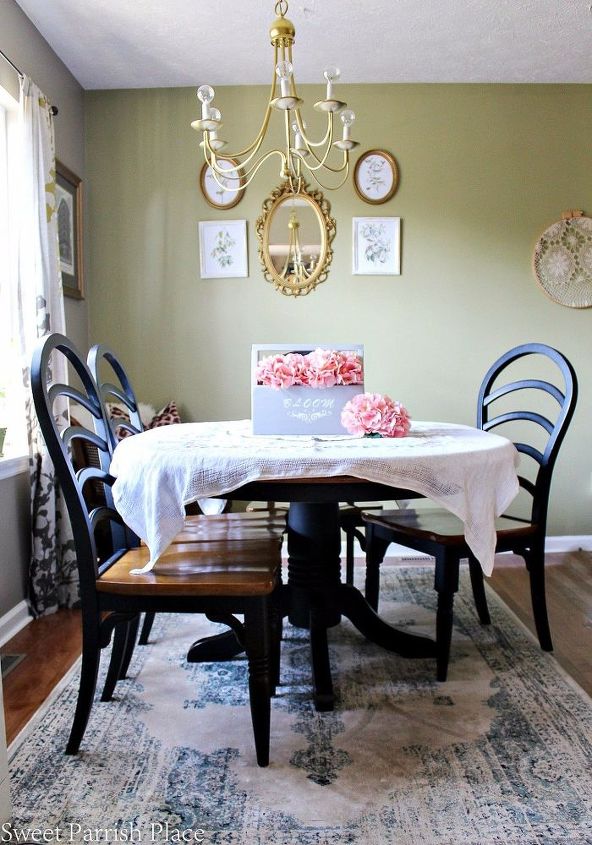
You can read the full tutorial with detailed instructions over on my blog!This cute box is very versatile and can be used lots of ways. Here it is on my dining table, which is where it will stay for a little while at least!

Comments
Join the conversation
-
very pretty
-
Cute, I am just wondering why it cost $40 US? It seems expensive for such a simple revamp....
I too, much prefer the rustic look but it is pretty....
Thanks for sharing.
Blessings,
Michelle
Vancouver Island, BC


Frequently asked questions
Have a question about this project?