


Terracotta Garden String Dispenser

by
Zest it Up
$5
1 Hour
Easy
We were so excited to share a few ideas for terracotta pot crafts on Hometalk Live this last week. It was a lot of fun connecting with DIYers all over the world! If you are interested in seeing that video, I have included it at the bottom of the original blog post (just in case you have FOMO 😉 ).
We had a lot of fun demonstrating our Gold Foil Terracotta Planters and our DIY Rope Planters. They all turned out so cute! Today, I am sharing with y’all how to use an inverted pot to organize your potting shed. After all, this warm spring air is probably enticing a lot of you out into the garden, right?
Photo Cred: Anya McInroy
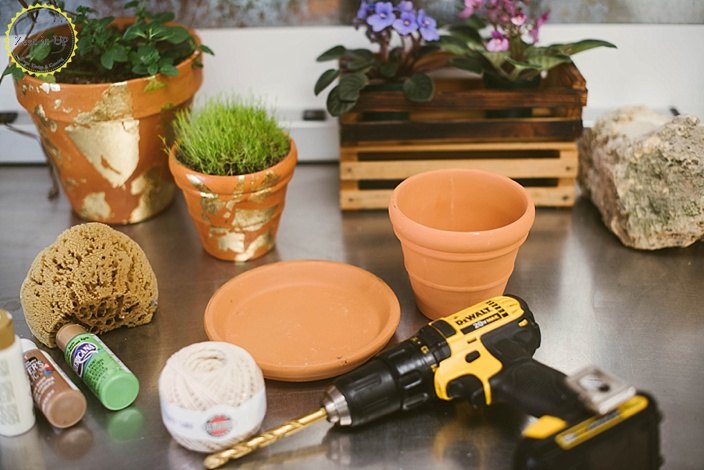
Supplies
- 6″ terra cotta pot (I sourced mine at the 99c Store)
- 7″ or 8″ terra cotta saucer
- green, brown and white acrylic paint
- natural sponge
- garden string
- drill (optional)
- matte clear coat (optional)
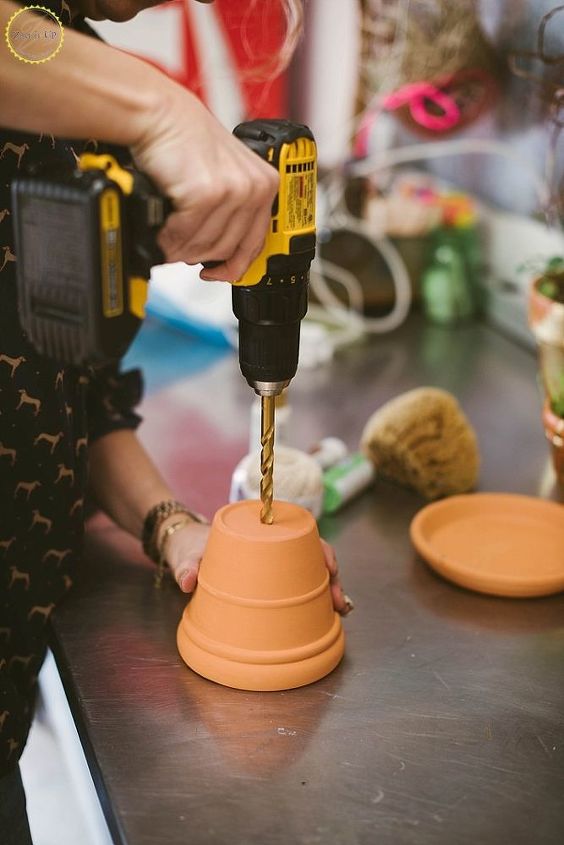
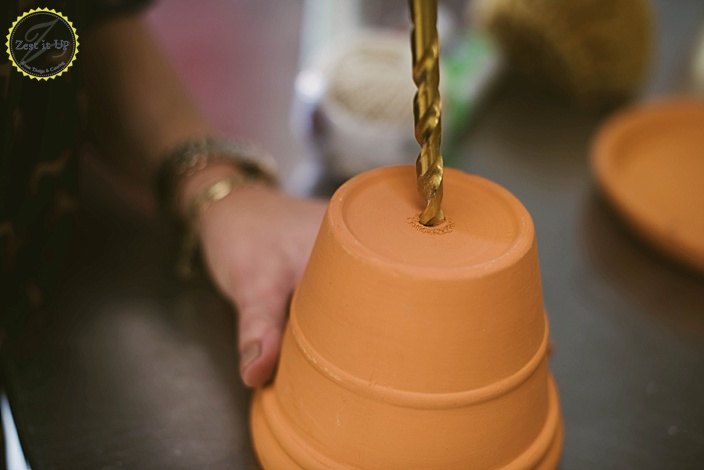
Ok, the drill may not be needed for you. I just happened to have chosen a terra cotta pot that was actually a cachepot (aka no drain hole). If your pot already has a drain hole, then cheers! You can skip this step!
After my drain hole was set, I wet my natural sponge and squeezed out the excess water. Now it is time to play with paint! I wanted my terra cotta to have a lovely patina that made it feel like it had been outside on the potting bench for a good long while.
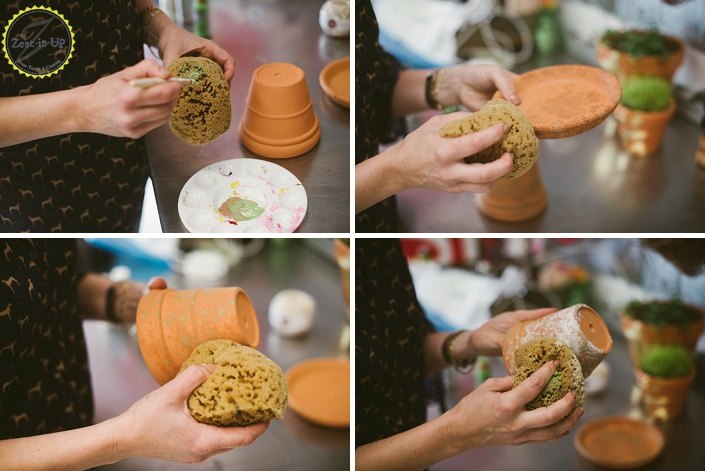
Using the green, white and brown paints, I began sponging on layers until I was happy. I tend to like mixing the paints on the sponge, so that it creates more of an organic texture. Use the clean side of your sponge to move the paint around on the surface of the terra cotta.
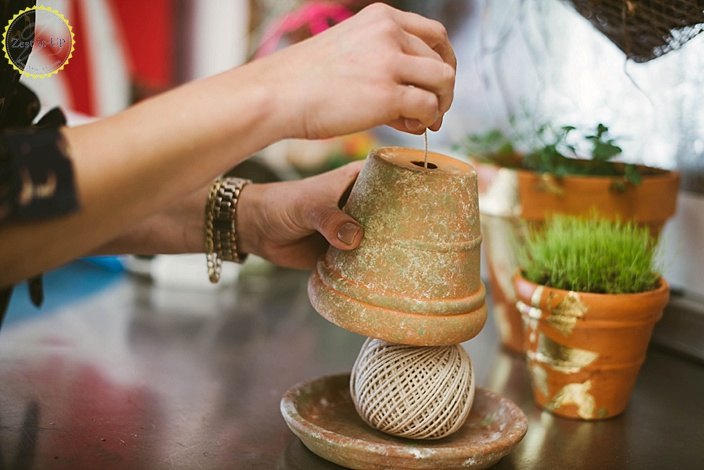
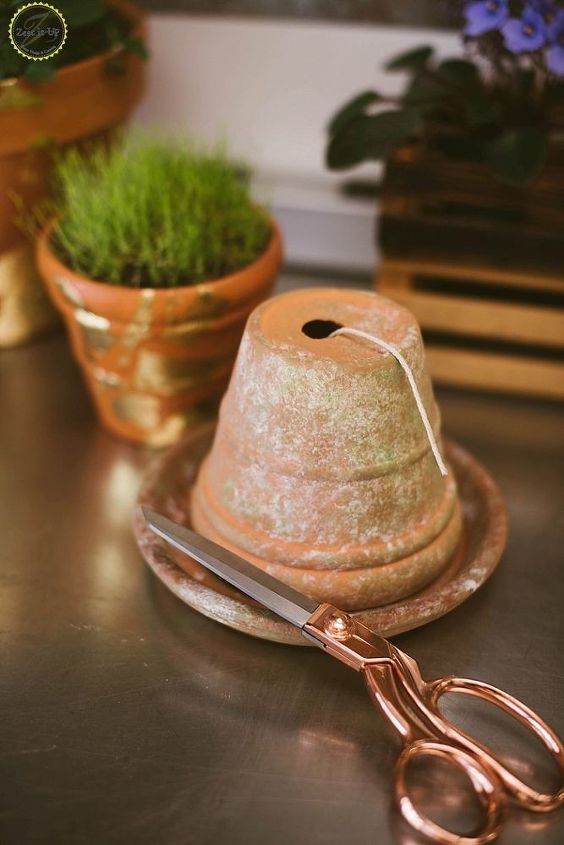
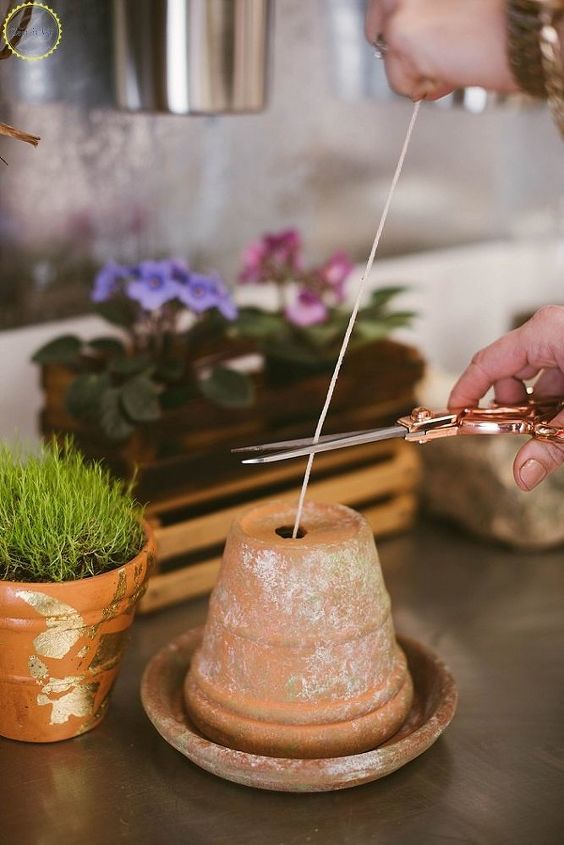
Once you have painted the pot and the saucer, you are essentially done. Now, simply place your string on the saucer and invert the pot to cover it…pulling the tail of string through the drain hole for dispensing.
If you are concerned about your painted patina getting ruined outside, feel free to give your dispenser a matte protective clear coat. I personally opted out of coating my dispenser. Reason being, I wanted it to develop even more patina while it lived outside.
Viola! I love crafting that is pragmatic and purposeful!
Visit our blog to see the video tutorial!
Cheers!
xoxo
Chanda
Want more details about this and other DIY projects? Check out my blog post!
Comments
Join the conversation
3 of 7 comments
-
I always get a chuckle seeing the various misspellings of “voila”. 😊
-
This could be a great idea for my knitting needs. I use a plastic container in which I've made a hole in the top, and it being so light weight, I often knock it to the ground. Also quite ugly. So I could make one like yours, and decorate it to go with my room décor, and put my knitting into a pretty bag beside it.


Frequently asked questions
Have a question about this project?
How do you drill a hole in the pot without cracking it?