


DIY Baby Shower Decor Idea — the Fabulous Garland

How to make baby shower decor. In today's tutorial we'll craft amazing baby party decorations. These wonderful DIY ideas will help you to make the party unforgettable!
Check out the video above to learn how to make your own!
To make a garland for this special occasion we’ll need white paper, pink and grey baby scrapbook paper.
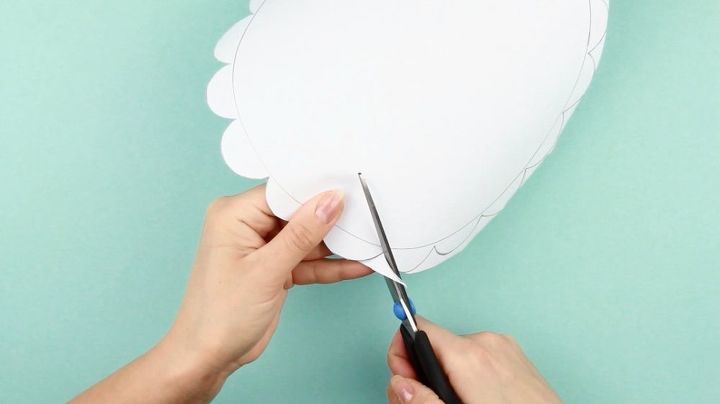
Draw a circle on white paper. You can use a round plate.
Add small semicircle details across the line. Cut it out.
Make three round details. And three square ones made in the same way.
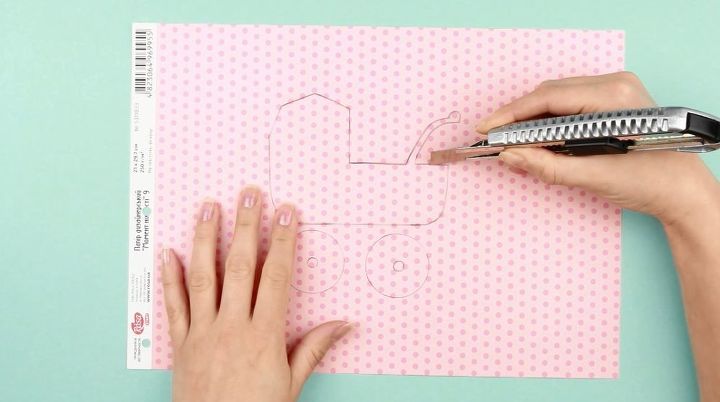
Outline a baby carriage on pink paper. You can either copy an image or download a picture.
Cut out the silhouette with a craft knife or scissors, as you like.
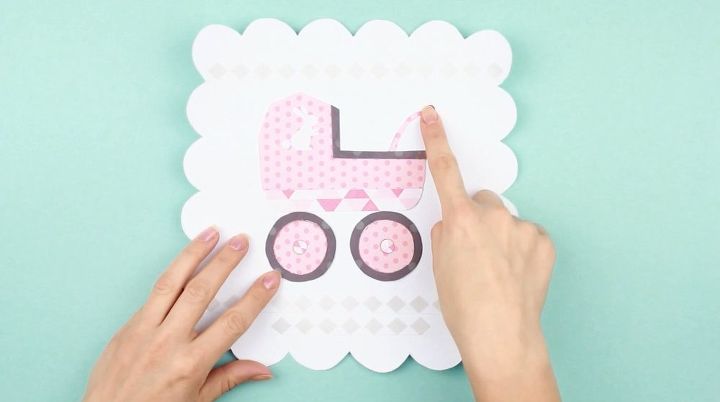
Place it in the center of a square detail.
Add a few elements with another print for the wheels.
Embellish the lower part of the carriage.
Cut out a small rabbit. Attach the elements with white glue.
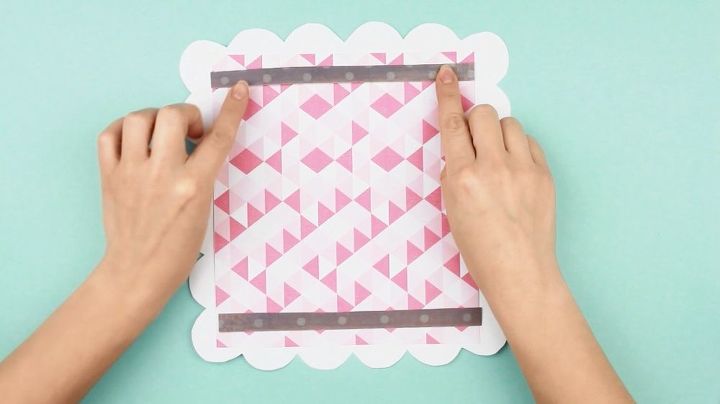
Add patterned strips on top and bottom. Stick another shorter one here.
Cut out dark edging for the wheels. And for the carriage.
Attach with white glue.
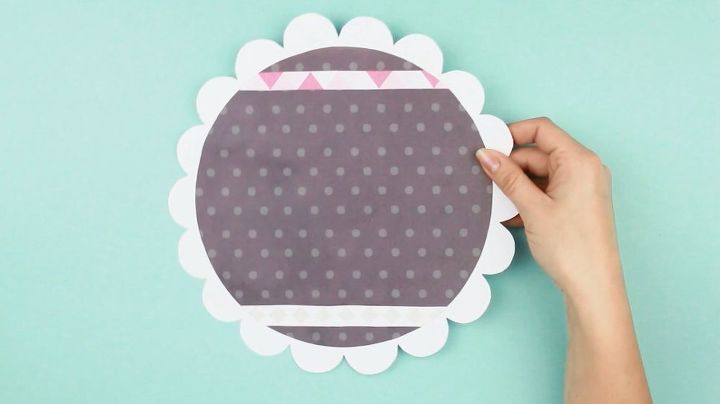
Choose dark grey background for a round detail. Adhere.
Cut out light grey and pink patterned strips for the top and bottom. Here it is!
Now take a square detail and cut out pink patterned background. Thus we alternate the garland details of square and round shapes with grey and light colors. Adhere.
Embellish the element with dark grey strips.
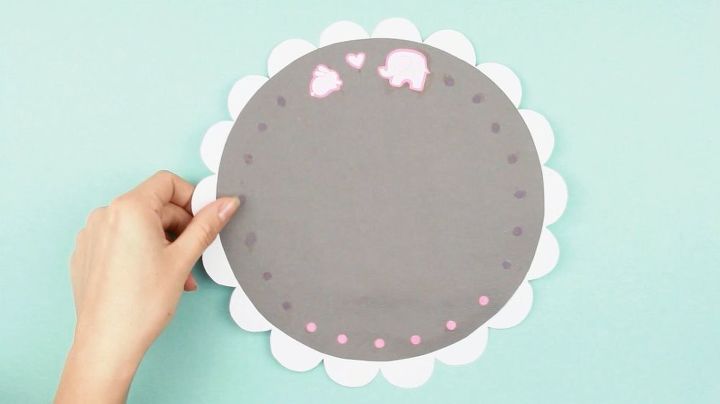
Choose a plain grey background for the next detail.
Decorate it with these lovely cutouts. Stick them on top.
Add tiny circles of grey and pink colors on the lower part. Use a hole punch to make the embellishments.
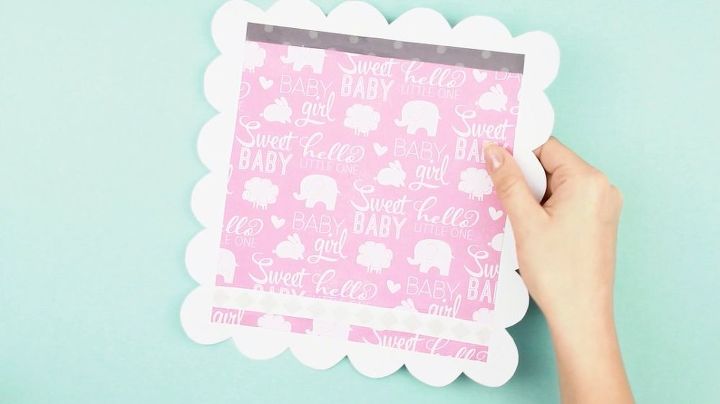
Combine a pink background with a square detail again.
Add grey strips of different shades.
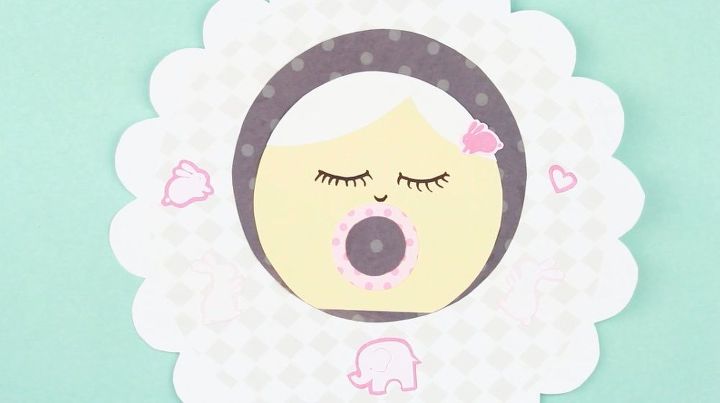
Make a baby face on the finishing round element. Cut out paper animal prints.
Make one small circle and another bigger one for a pacifier.
Prepare a yellow circle for the face. And a dark grey cap to contrast a light background.
Cut out a double leaf shaped detail from white paper.
You’ve got a hair outline. Attach the composition.
Draw eyes with a pencil first. Then define with a black marker.
Add a small nose. Done!
Measure out an interval between strips on the white paper. Use a ruler.
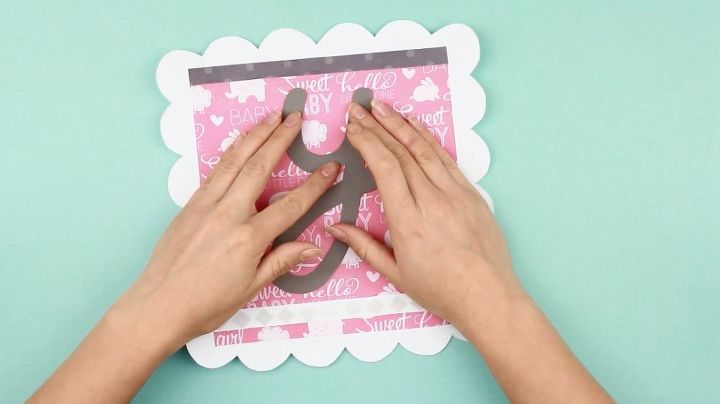
Draw the letter “B”. You can choose a font you like and print out the word “BABY”. Cut out.
Erase the pencil. Attach the letter.
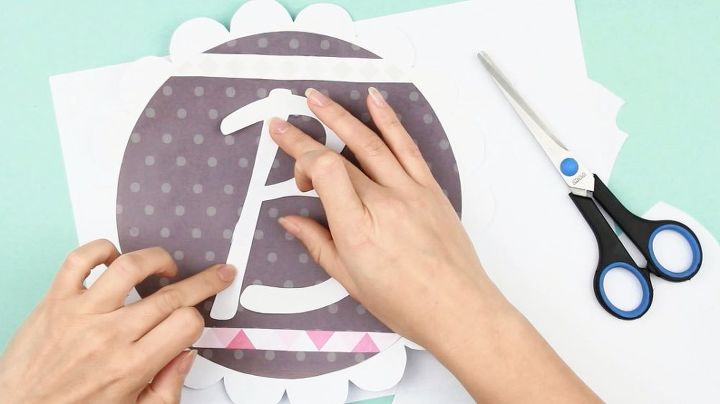
Outline “A” on the grey paper. Cut it out.
It matches the pink background perfectly. Adhere.
Add a funny elephant lower.
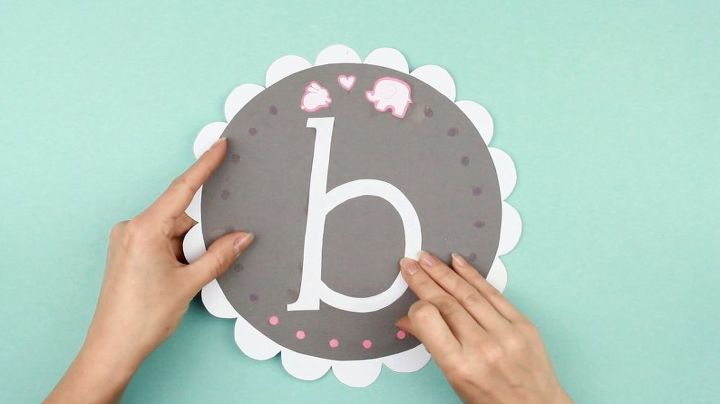
Draw the other “B” on the white paper again. Cut out. Attach.
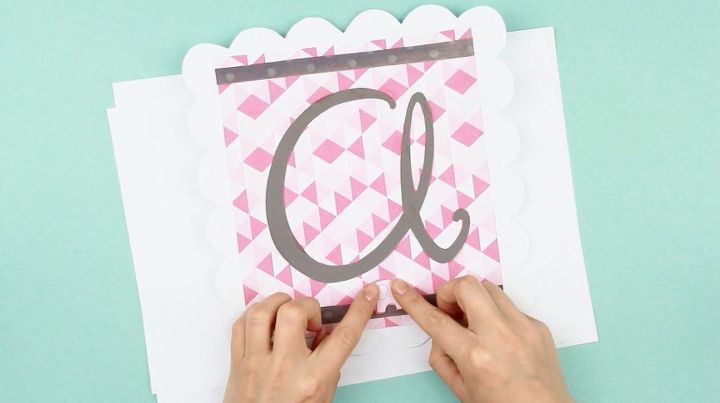
Sketch the last letter on the grey paper. Cut out and stick.
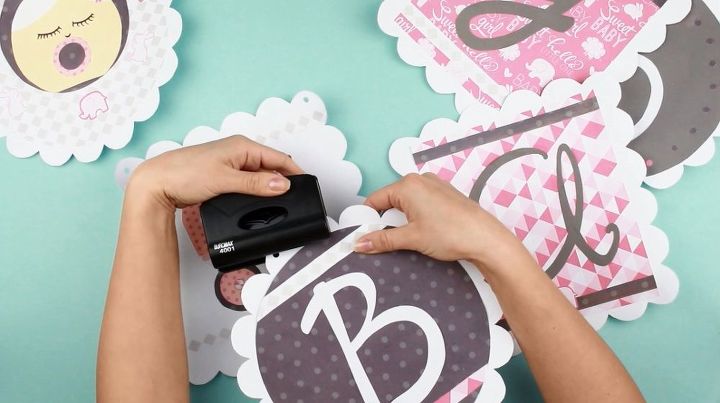
Punch the upper corners. Join the garland with white rope.
First thread the baby carriage. Then the letters.
Finish the garland with the sleeping baby.
Take short pink ribbon pieces. Tie them up to the rope between the letters.
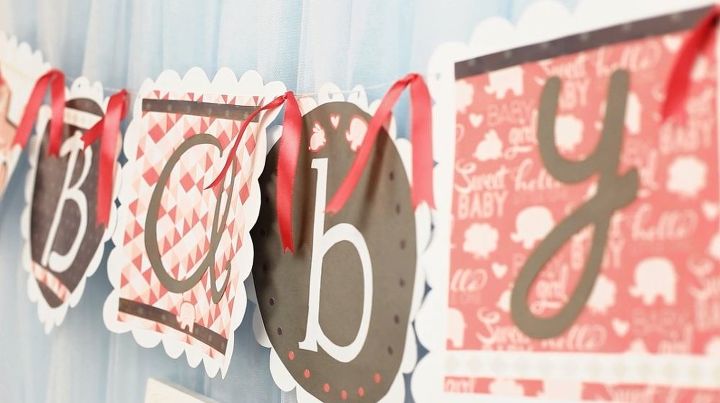
The fabulous garland will become the central element of the baby shower party decoration.
If you want to make something special for the mom to be check out how to make a flower crown!
If you like this project, check out our youtube channel OR our super cool website
Thanks so much for reading/watching!


Frequently asked questions
Have a question about this project?