


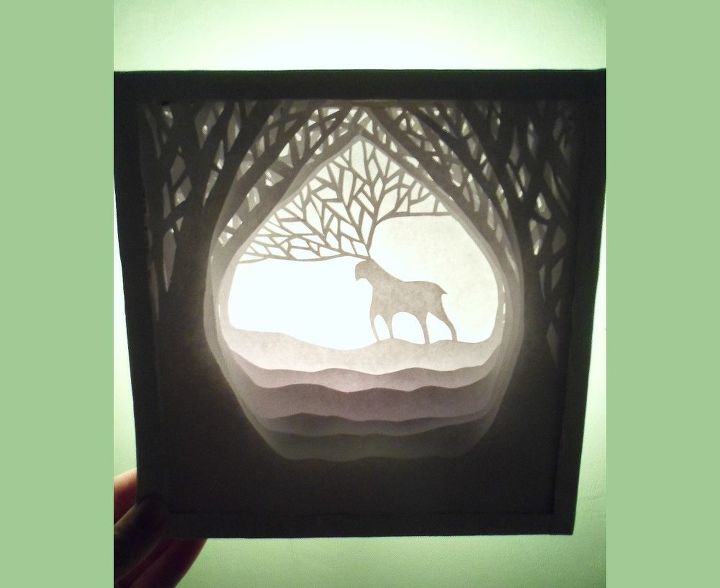
DIY Amazing Light Box *step by Step

♥️ materials:
▫️ white papers
▫️ 3d box
▫️ cardboard
▫️ scissors
▫️ hot glue gun
▫️ modeling knife
if you want to watch as a video this craft, look at last step. I share a video for this post. Hope everyone like as me.
.

⬆️ Cut your papers the size of 3d box. I cutted 21x21. ⬆️
.
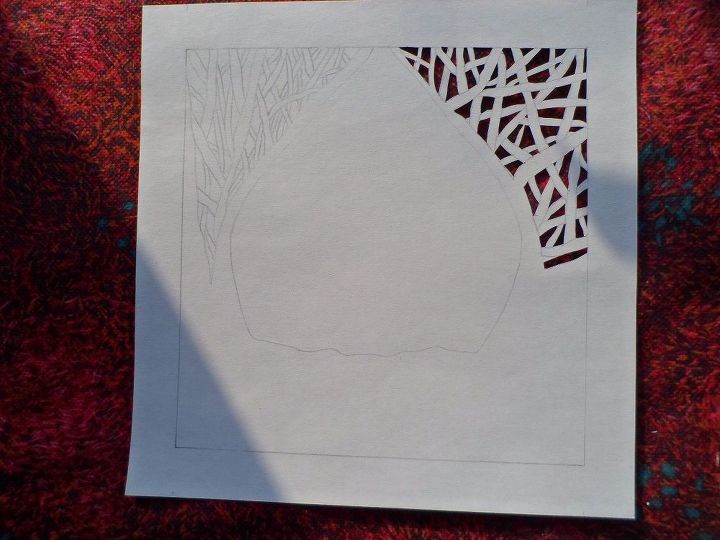
⬆️ Draw your picture on 1st paper. Cut out places without drawings. ⬆️
.
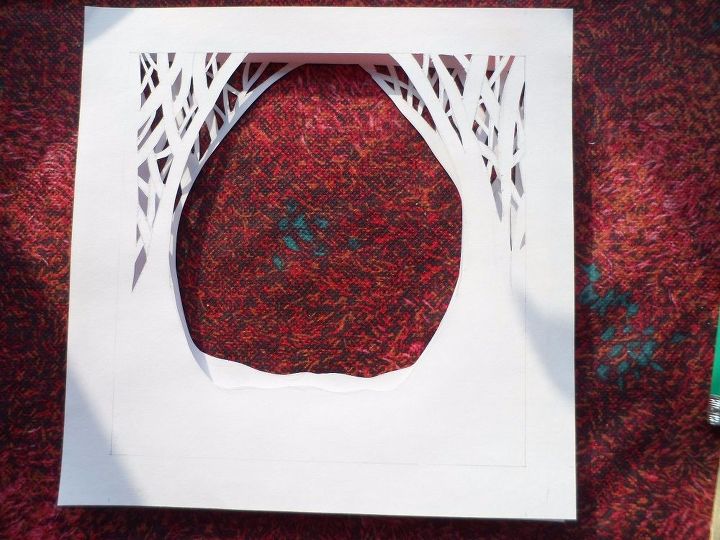
⬆️ 2nd Picture Pattern is Bigger than 1st picture. ⬆️ ⬆️ Draw and cut more papers like that. ⬆️
.
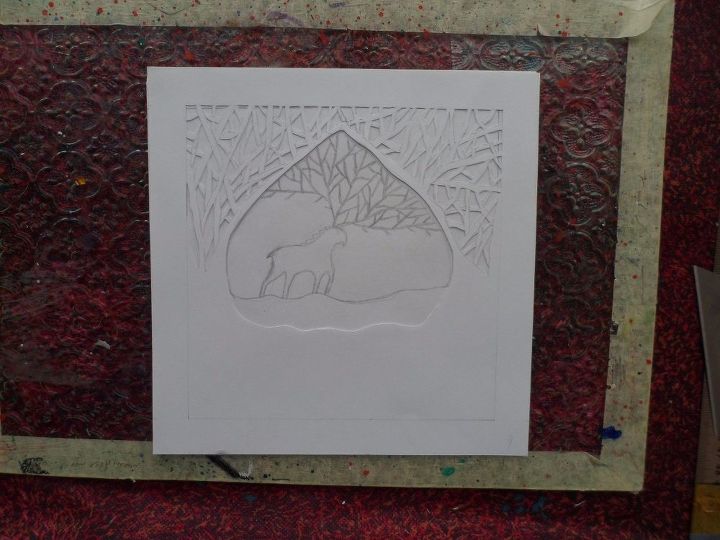
⬆️ Draw and cut all papers. Last pattern is different that all. I drew a deer. ⬆️
.
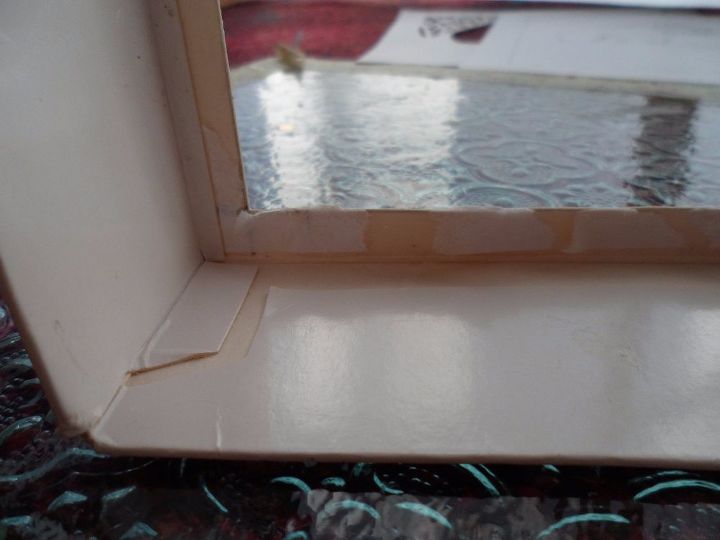
⬆️ Use a 3d box. I used a chocolate box :) ⬆️
.
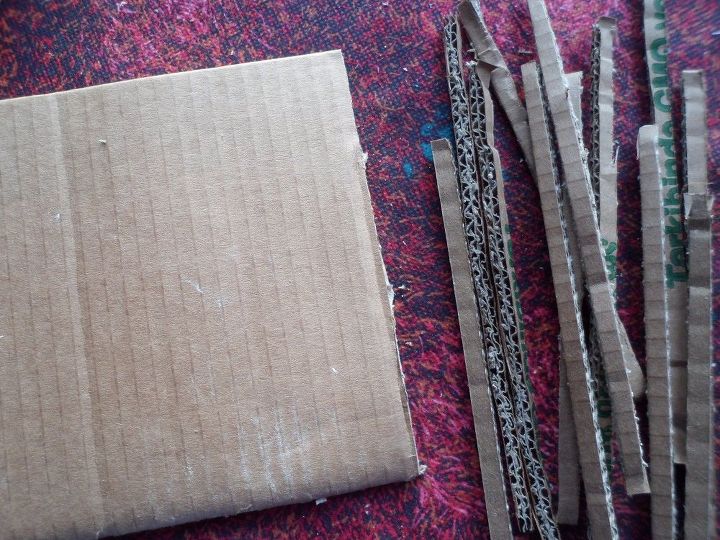
⬆️ Cut your cardboard 0.5 cm x 21 ( 21 cm is margin size of my 3d box, it is changeable for your 3d box) ⬆️
.
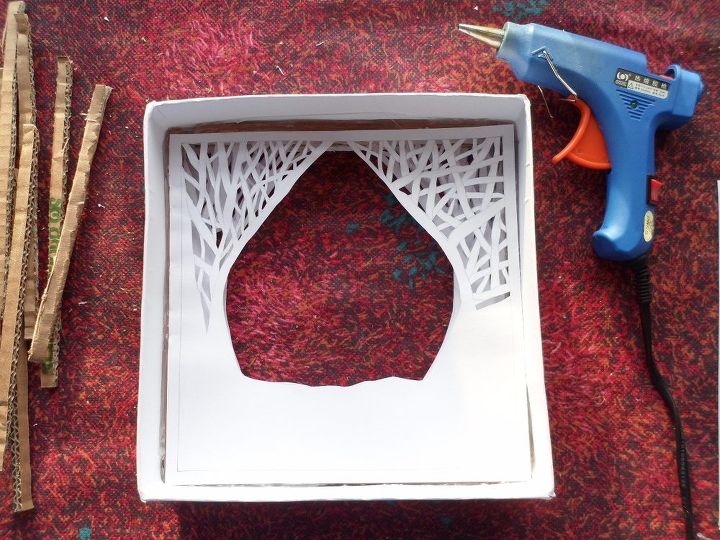
⬆️ I used hot glue gun. It is so easy tool :) 1stly turn backside of your box. Paste your 1st picture inside box. This is 1st step. ⬆️
.
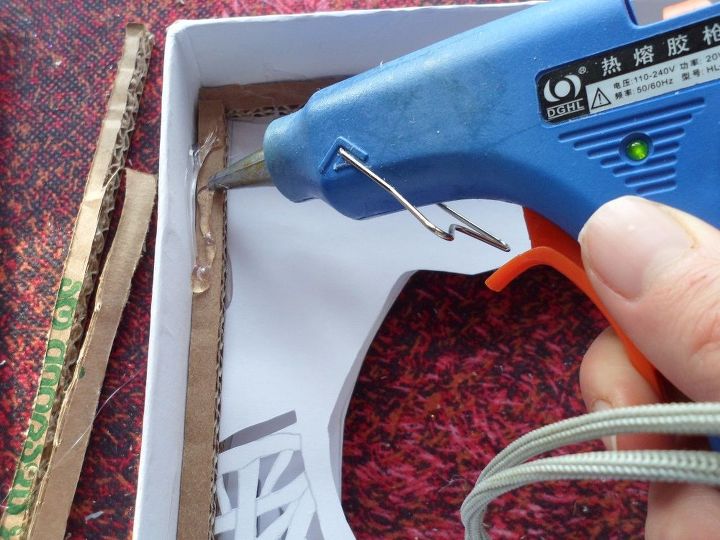
⬆️ and 2nd step for glue: paste the cardboard line on 1st paper step and of course inside of box.and again paste a paper and cardboards, a paper and cardboards again and again. ⬆️
.
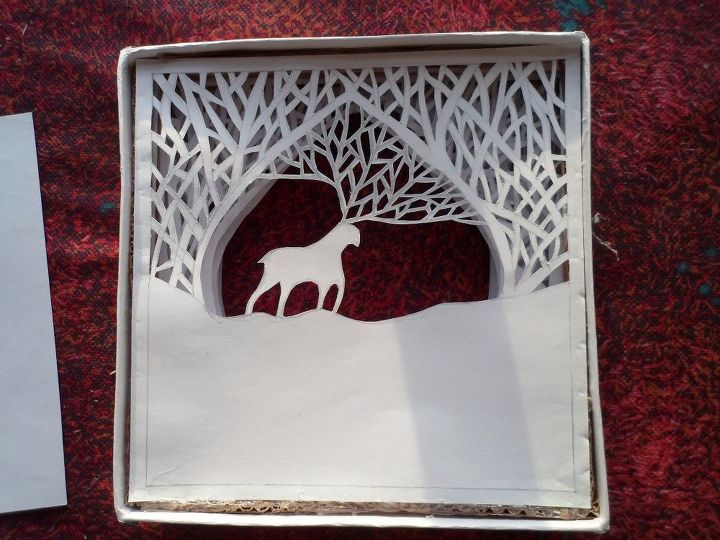
⬆️ I pasted my all papers. ⬆️
.
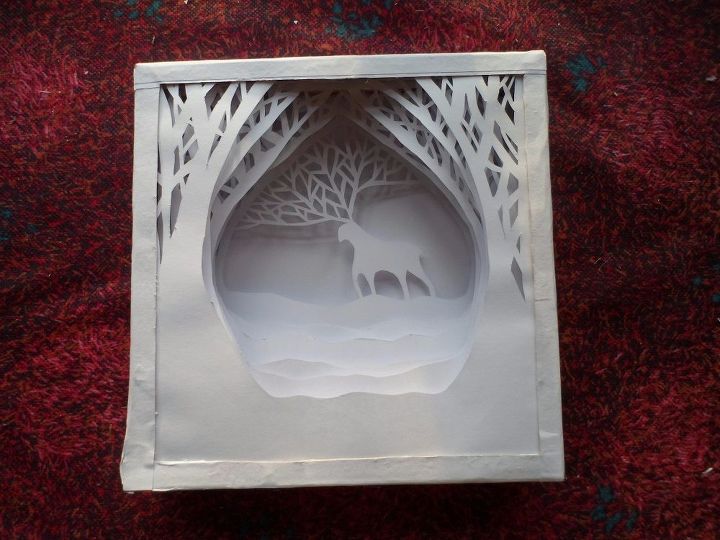
⬆️ Turn the front of your box. ⬆️
.
.
You can watch a video for all steps. You can see all steps.


Comments
Join the conversation
-
Very nice! You've given me so many ideas now.
-
This is intricut looking. So pretty.


Frequently asked questions
Have a question about this project?
Where is the light behind the box?
This is very cool. You did not show where your light source is from. Is it just the natural room light?
this is amazing!
Do you have any printable directions I can follow to create the cut-outs? I dont think I will be able to do it on my own...
Where dd you find the picture?