


Recycling Old Candles Into New Ones

1 Material
$20
24 Hours
Medium
Ever dropped a candle and cracked it? Or burned one halfway down only to have the wick disappear, never to be seen again? I have and it's super frustrating! So I decided years ago that there's got to be a better way. 
I begin by gathering all of my old and damaged candles. I put them in several plastic bags and took them in to the backyard with a hammer .
I then proceeded to take out the week's frustrations by whacking the wax into smaller pieces with the hammer. I do this so it will all fit into the pitcher I use to melt it down and so it will all melt down more evenly.
We started with this
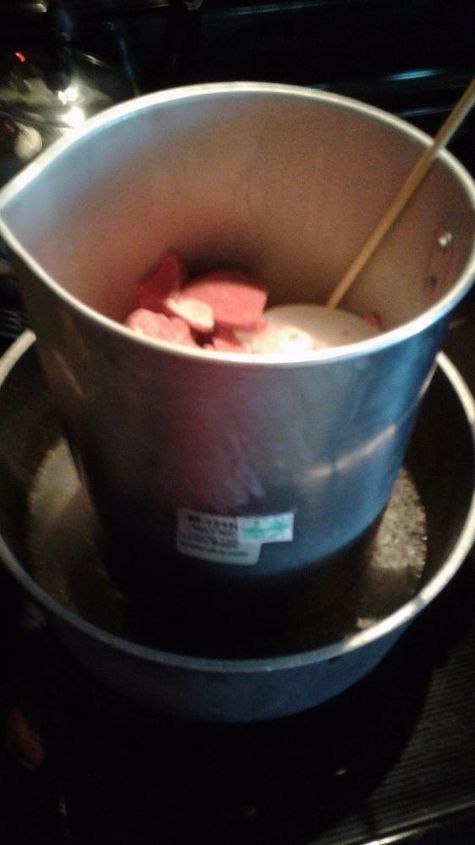
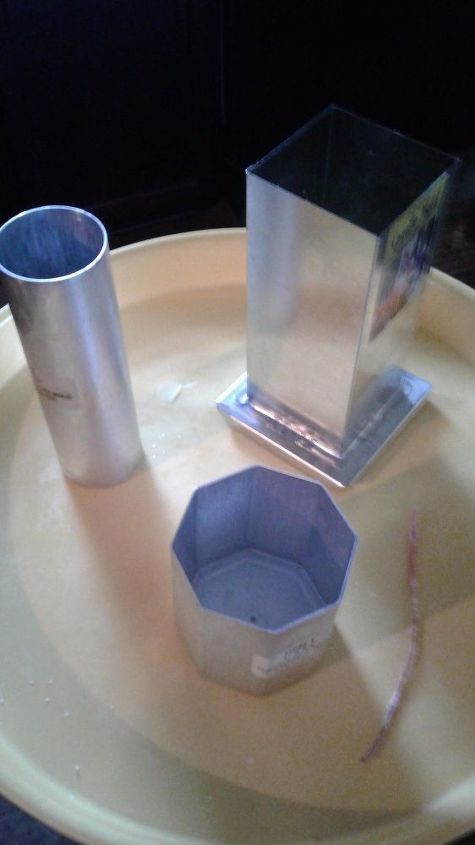
And move to this. I put about an inch of water in the pot (and you want to use an old one that you picked up at a garage sale) over medium heat. While the wax is melting, I prepped the molds.
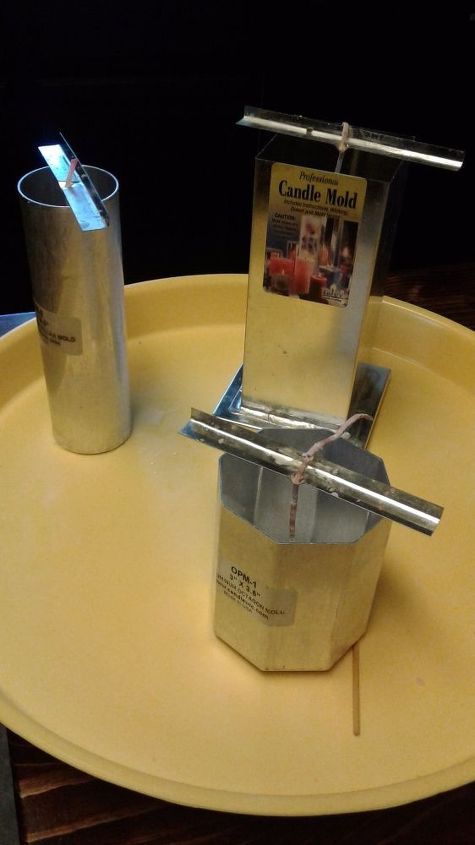
I sprayed the inside of each one with nonstick cooking spray and wiped out the excess with a papertowel . If you don't wipe out the excess, the surface of the candle will be oily and pitted. Then I threaded a wick through the hole at the bottom of each one and placed mold sealer to hold it in place .I add a cross piece of scotch tape over that to help really bond the seal.

Then I turned them over and anchored the wicks at what will be the bottom of the candles.
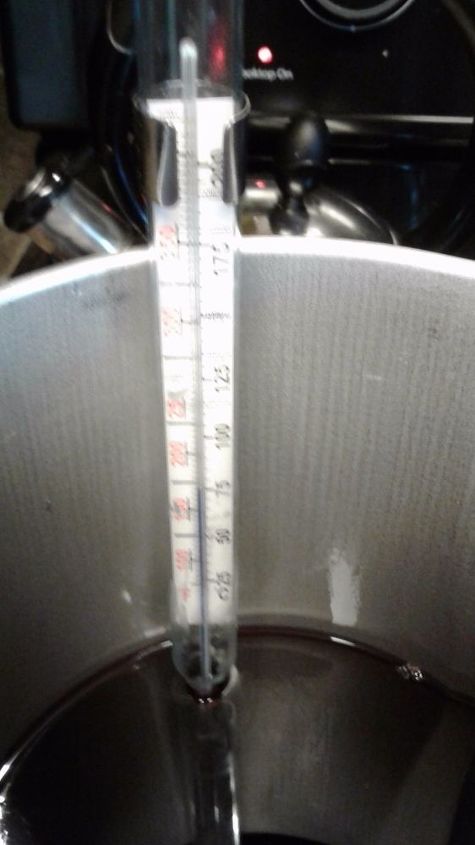
All this time I am keeping an eye on the wax and stirring with a wooden dowel one would normally use to make shish kebobs. Wax has a flash point, like cooking oil, and will catch fire if it gets too hot.
Use the old Candy thermometer and at about 175 degrees Fahrenheit, you're ready to pour. Leave about 3 to 4 ounces in the pitcher to top off the candles and I'll explain what that means in a moment
So after you pour in the wax, use a pencil or the dowel to lightly tap the sides of the mold. This helps to release any air bubbles in the wax. After the wax cools for several hours, use the dowel to poke several holes around the wick. There will still be air bubbles in the wax and they tend to gather around the wick. That's why your wick "drowns " in other candles.

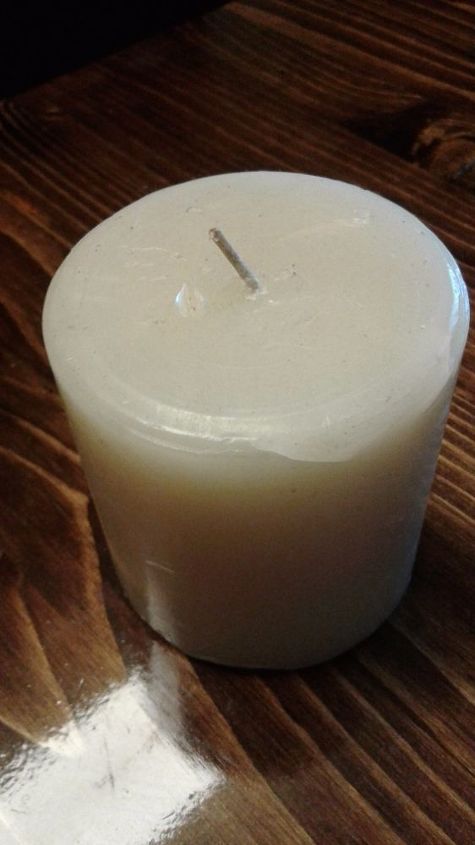
This is what your candle should look like after cooling 6 to 8 hours. This is why we saved a few ounces to top off the candles . Melt down the last of the wax and pour in the molds. When completely cooled, you can remove the tape and mold sealer (mold sealer can be used again if kept in air tight container) and flip it over. If it doesn't just slide out, place it in the refrigerator for 15 minutes or so .
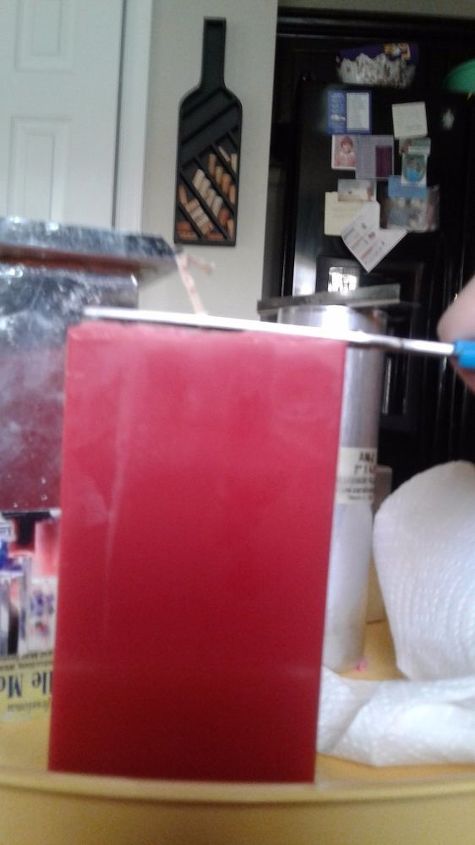
Don't forget to cut the excess wick from the bottom of the candles where it was anchored at the top of the molds.
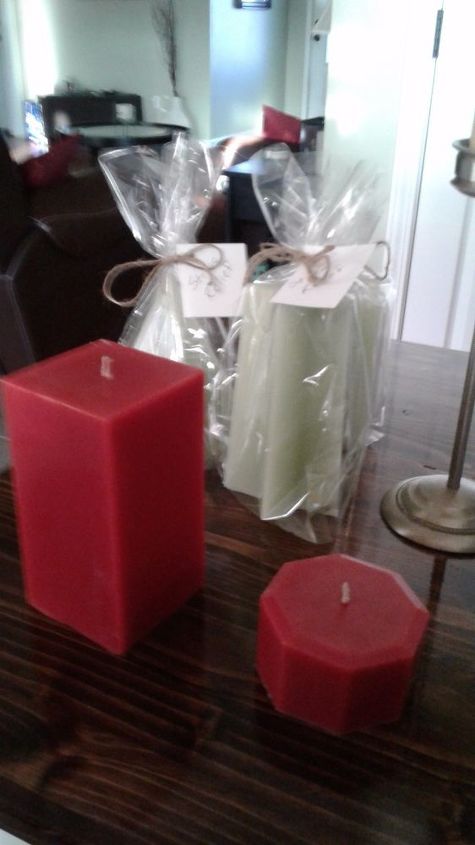
Here are the candles I just made along side some I had already made and placed in clear party favors bags and tied up with twine I got from the Dollar Tree.
I hope you find this post informative and someone can use it to save a candle today 
Comments
Join the conversation
4 comments
-
What a great idea! I hate waste!
-
So smart, and it really is a great gift idea!


Frequently asked questions
Have a question about this project?