


How I Made a Custom Kitchen Silverware Drawer Organizer
3 Materials
$60
3 Days
Medium
When I designed my kitchen, I purposely put in a large drawer for utensils and serving utensils. But had a very hard time finding the right size organizer that would give me enough openings for all the things I wanted to store in the drawer. So, instead of waiting for someone to put this item on the market, I decided to make it myself. And, you can too. Read below to check out the steps.
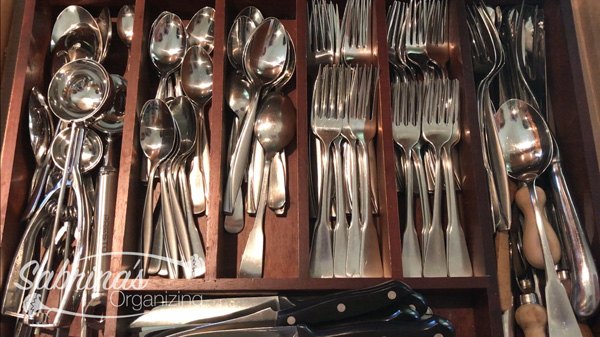
Here is the before organizer I used. As you can see, while it was organized, all the utensils were layers on top of one another and made it hard to close.
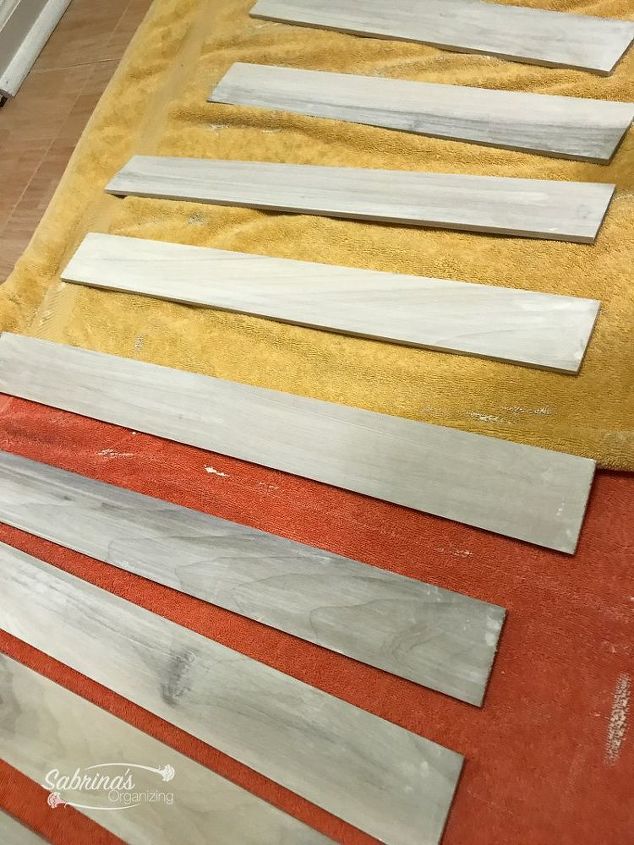
I started out by waxing with a white wash the pieces of wood. Then, I decided to cut them.
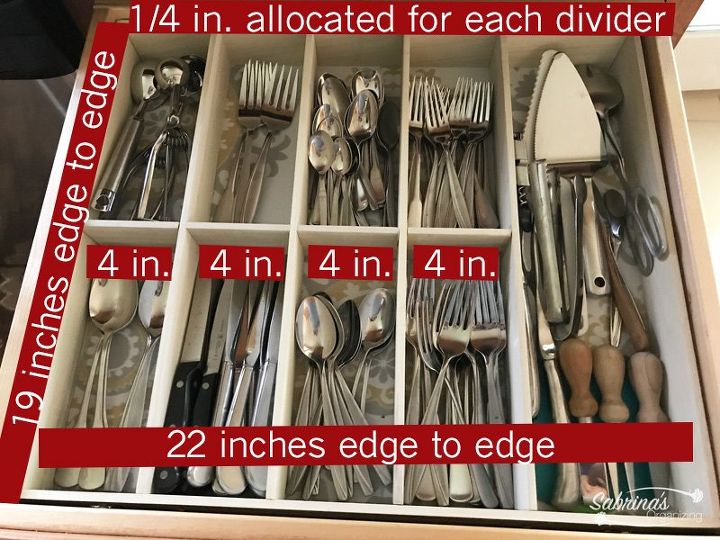
This is how I determined the measurements of the drawer and how big I needed to make the spaces in the organizer. Read more about this on the blog.
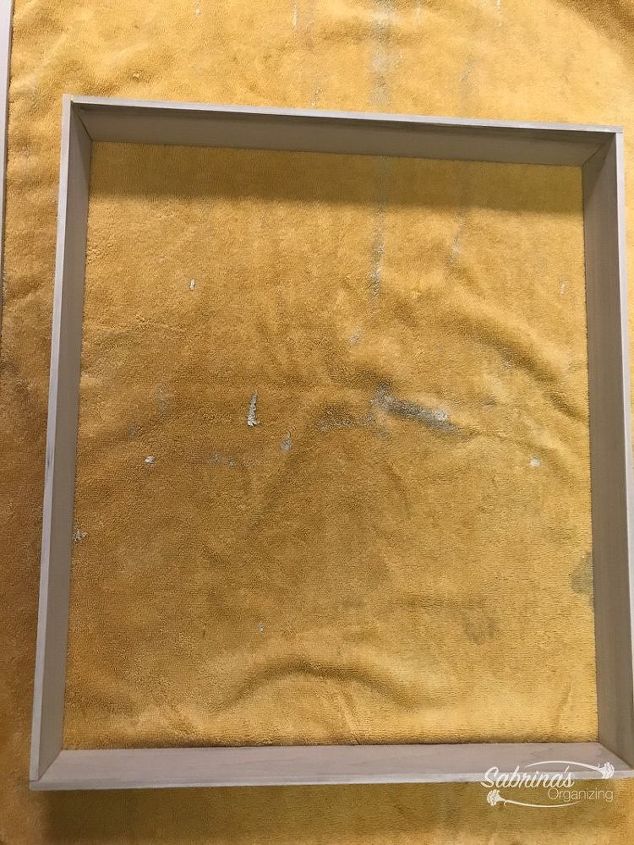
I cut the side pieces and then clamped them together and glued them. I allowed it to dry for 24 hours.
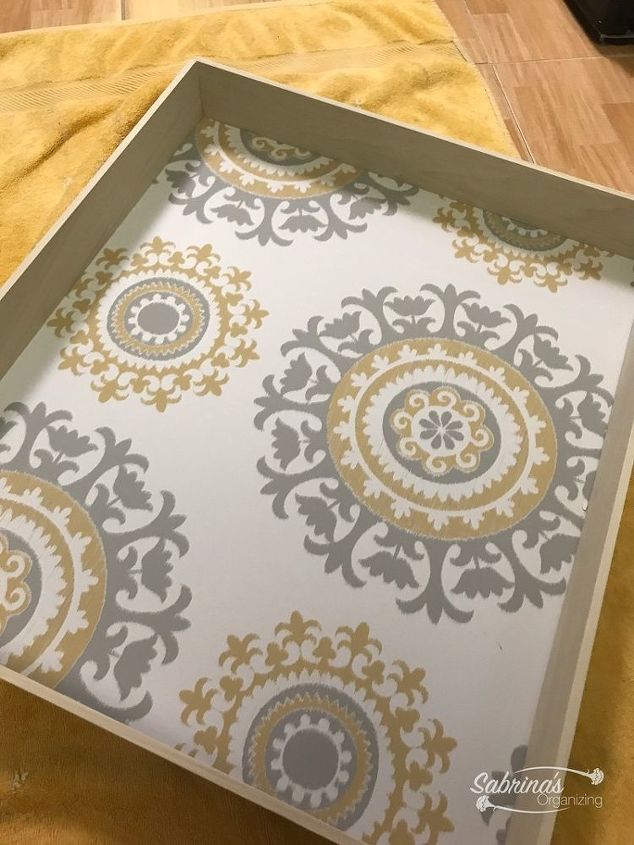
I then added the self-stick wallpaper liner to the back of the box. then, I nailed and glued it to the back of the sides.
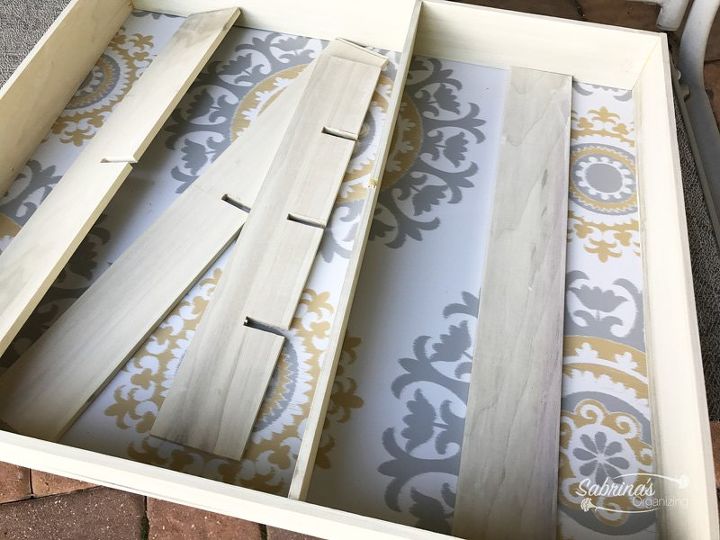
I then created the dividers. I wanted the dividers to be removable so I just notched them and only fixed the right side where the larger serving items would be stored. This would give stability to the dividers.
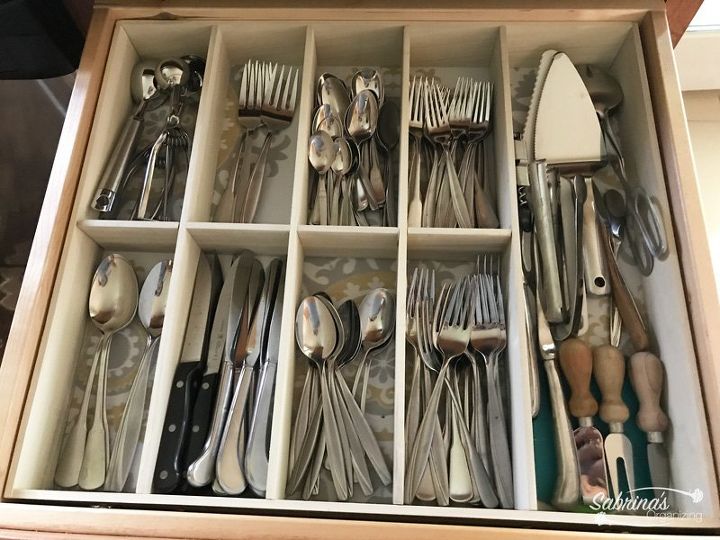
And, here is the final image! I really enjoy it. It's exactly what I wanted. Yay. Read more by visiting our blog.
{
"id": "4115518",
"alt": "",
"title": "",
"video_link": "https://www.youtube.com/embed/MrMr6CfKNqo",
"youtube_video_id": "MrMr6CfKNqo"
}
{
"width": 634,
"height": 357,
"showRelated": true
}
Here's our video of the before and after. Check it out and subscribe to our future home improvement and quick meals project. Feel free to check out our other DIY home organizing projects. https://sabrinasorganizing.com/category/organizing/diy-projects/

Want more details about this and other DIY projects? Check out my blog post!
Comments
Join the conversation
2 comments
-
I'm inspired
-
I’ve been fighting with my silverware drawer for years, tried many plastic store bought trays that never really fit my needs (or the drawer). Thanks for the great idea!! Another one of those “why didn’t I think of that” !!


Frequently asked questions
Have a question about this project?
where did you put the finally product?