


A Small Decoupaged Wheeling Box

by
Emily
3 Materials
3 Hours
Medium
I bought this little wheeled box maybe 20 years ago from a garage sale held by a friend moving out of town. I assured her I was going to take it home and paint it immediately!

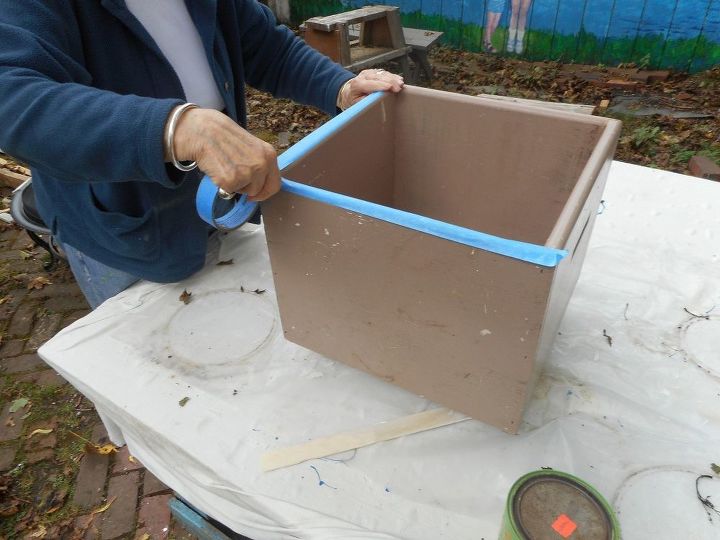
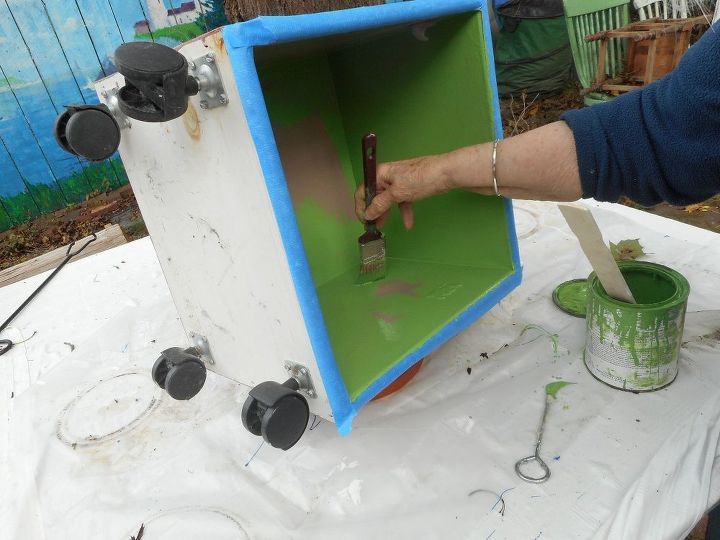
First I painted the box. Inside first, but first I had to tape edges as they were the outside color.
I painted the outside my favorite green (oil) paint
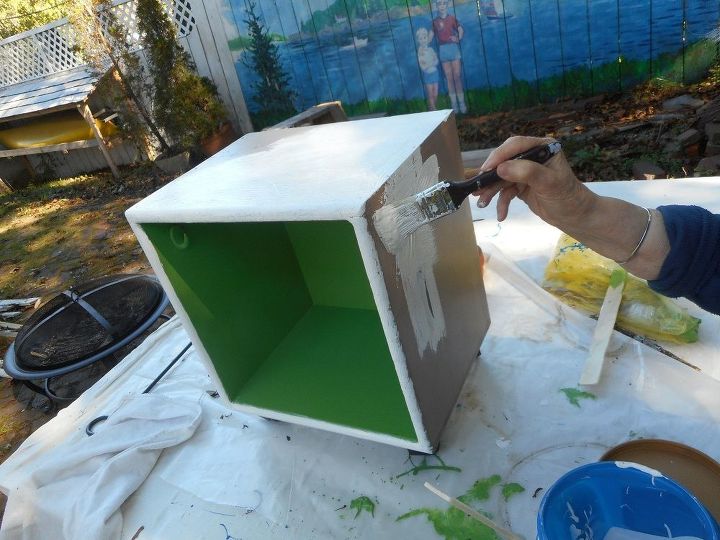
Next day I painted the white outside coat (I had removed the tape upon finishing green coat)
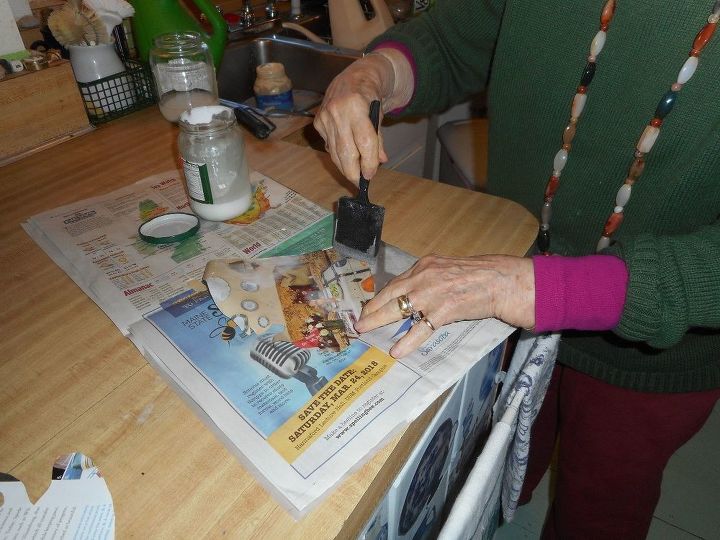
I prepared the decoupage elements with which I was going to decorate the box.
I do a rough cut first, to just remove excess paper.
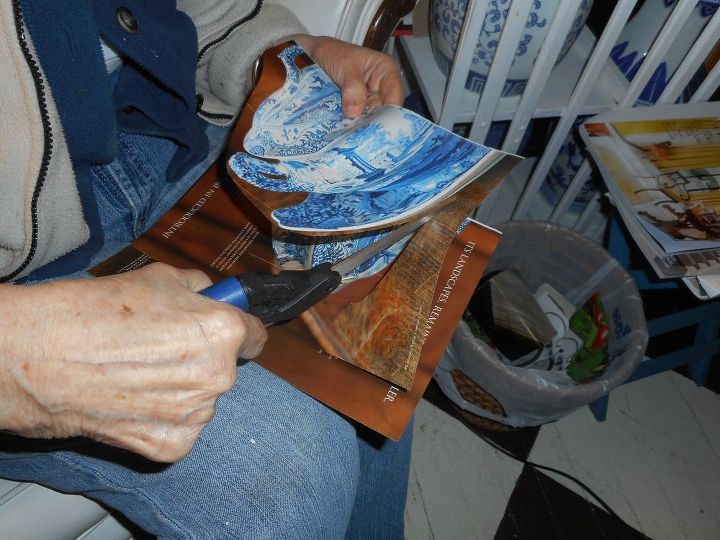
Then I used fine scissors for the final cutting. These are surgical scissors I bought at a medical supply store. I use them only for decoupage.

Next I applied glue (Elmers white glue) to the back of the first element.
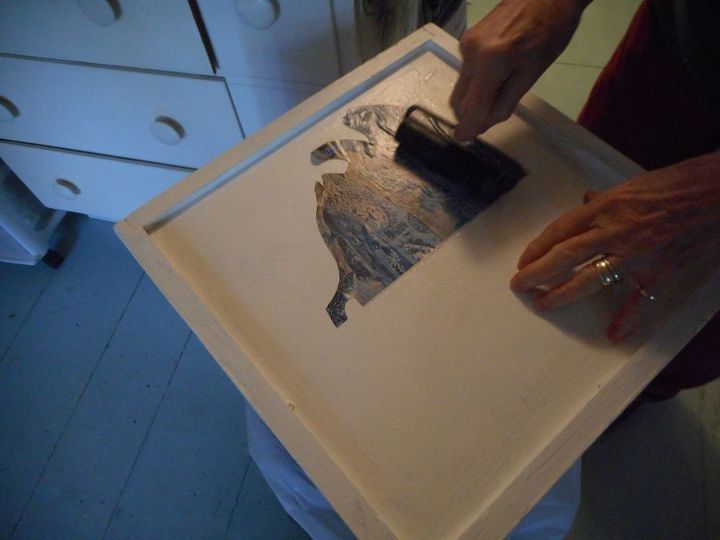
I then placed the element and first wiped it with a wet rag. and then used a brayer to remove all bubbles and smooth out any wrinkles.
After applying all elements, and letting them dry. I styled the piece by placing a inside a beautiful soup tureen my daughter once bought me. The friend from whom I first bought this comes to my house once a week for a Mah Jongg game and we use this little stand/box to hold refreshments. I will be so pleased to show her better late than never!
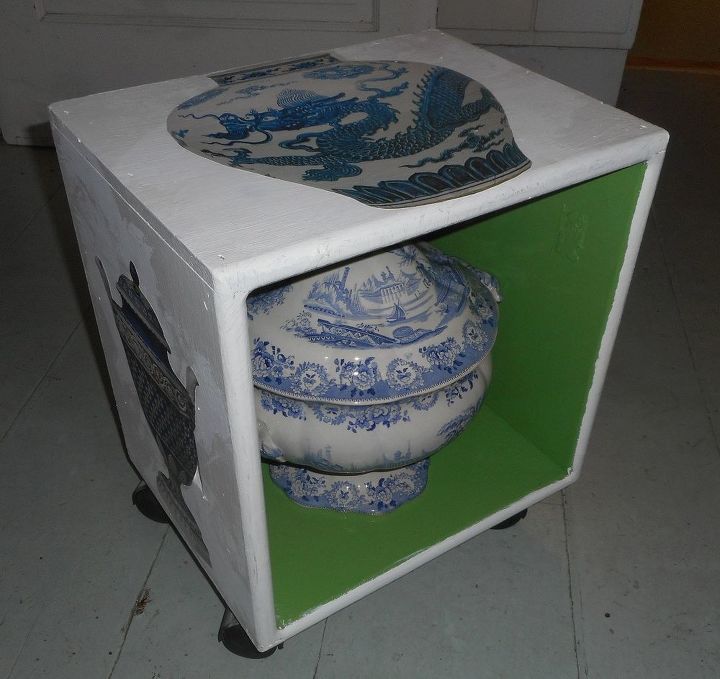
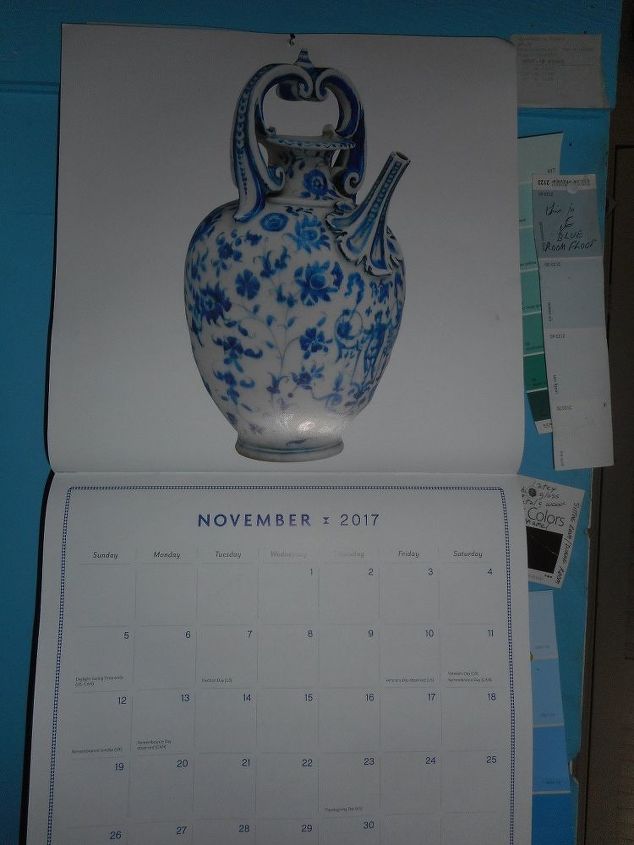
Oh I forgot to say that the piece is not exactly completely done as I have to wait till the end of October so I can use the calendar picture that is on the back side of October!


Frequently asked questions
Have a question about this project?