


Tub Front

8 Materials
$55
3 Hours
Easy
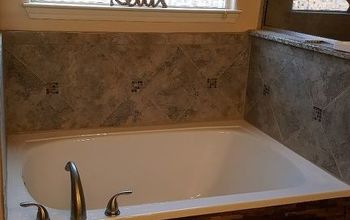
While my tub may not make the 'World's Ugliest' list, it could definitely use a makeover. With just a few items and an afternoon, you can build a new tub front and give your bathroom an entirely new look - no contractor required!
{
"id": "4501073",
"alt": "",
"title": "",
"video_link": "https://www.youtube.com/embed/uRzgQq505Pg",
"youtube_video_id": "uRzgQq505Pg"
}
{
"width": 634,
"height": 357,
"showRelated": true
}
Here's your supply list:
* A piece of wood that fits across the entire length and width of your tub. I used a half inch thick board so that the bead board would have a strong backing with little to no give.
* Bead board cut to the same measurement as your piece of wood.
* A length of baseboard cut to the length of the tub.
* A length of PVC board also cut to the length of the tub. I used 7.25" PVC board because I had to compensate for the curve in my tub. For straighter tubs, 5.5" PVC might be better.
* A length of decorative molding, like chair rail, also cut to the length of the tub.
(For all of the lumber items, you can usually get the store to cut it for you if you don't have the tools to do it yourself.)
* If your tub is curved, you might need some additional wood shims to anchor your board to the tub. My tub was so curved that I needed a piece of 2x4 on either end.
* Liquid Nail
* Paintable caulk or silicone. I recommend one that dries quickly and is paintable in 30 minutes.
* Wood filler
* Sand paper
* Tape measure
* Nail gun
* Paint and a paint brush
First, measure your tub's length and height to get the measurements you need for your wood.
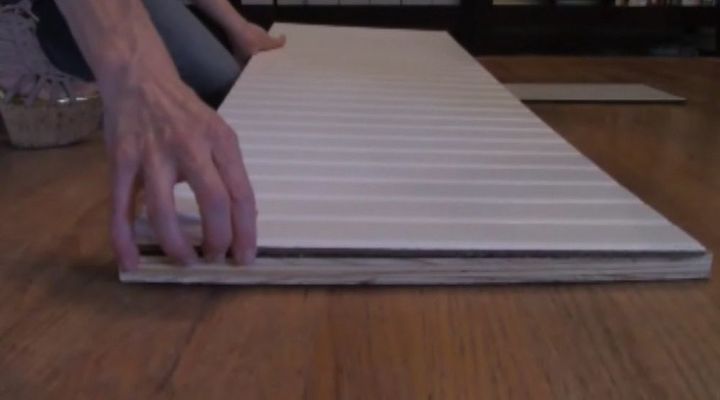
Once you've either purchased the cut to size pieces or cut them yourself, glue the bead board to the wood board with Liquid Nail. Make sure the bead board lines up along all sides and you firmly press it down. If you carefully flip the glued pieces over, you can use your body weight to smash it all down without damaging the bead board. Let it sit for about 10 minutes, for the Liquid Nail to set.
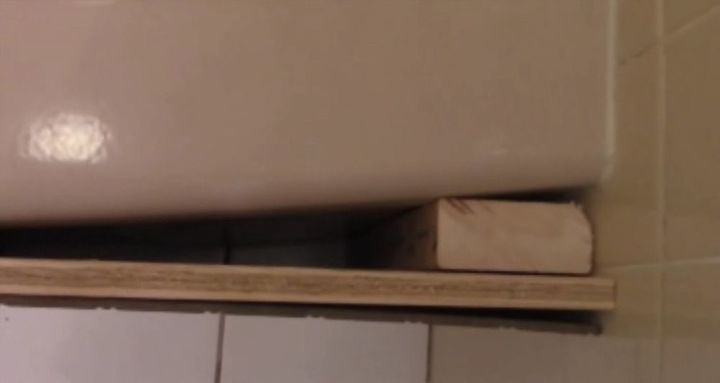
Next, place your glued board up against your tub. If you've got a curve, you'll see exactly where you'll need to add some shims. Or in my case, a couple of 2x4s! Simply use the Liquid Nail to adhere the scrap wood to the tub and then more Liquid Nail between the scrap and the board. For straighter tubs with no need for shims, glue your board directly to the tub. Press firmly to set the whole thing in place.
Liquid Nail the back of the base board and glue it along the bottom length of the bead board. Since I wasn't going to be able to walk on the bead board, I used a nail gun to ensure this piece would stay put.
Use the wood filler to hide your nail holes. This dries in only 15 minutes and you can sand it smooth with the sand paper.
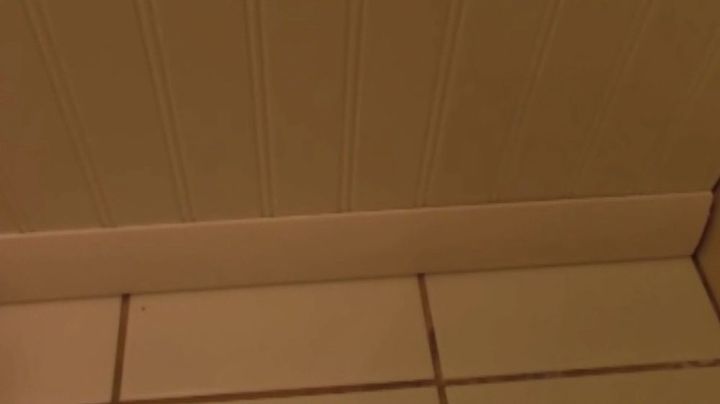
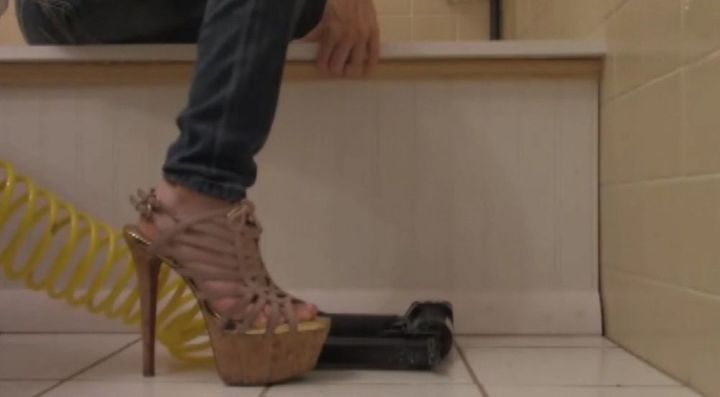
Place your PVC board so that it sits along the top of your tub side but sticks out past the front and you create a lip. Note where exactly the board will sit then remove it and apply Liquid Nail to only that area. Run a bead of Liquid Nail to the top of your wood board as well. Press down firmly and wipe up any glue that might squeeze out on either side.
Fit your decorative molding so that it sits on the top edge of your bead board and directly underneath your PVC board. The molding is not only a pretty transition, it will hide any uneven cuts that you may have made on your bead board. Because the molding is thin, I skipped the glue and just nailed it in place. Wood filler and sanding will hide those nail holes as well.
Time to caulk! Use your caulk or silicone along every single edge - up along the wall, the top and bottom of the base board, top and bottom of the decorative molding, and where the PVC meets the wall. Don't forget the PVC facing the inside of the tub. Make sure this is caulked especially well because this has the best chance of getting splashed.
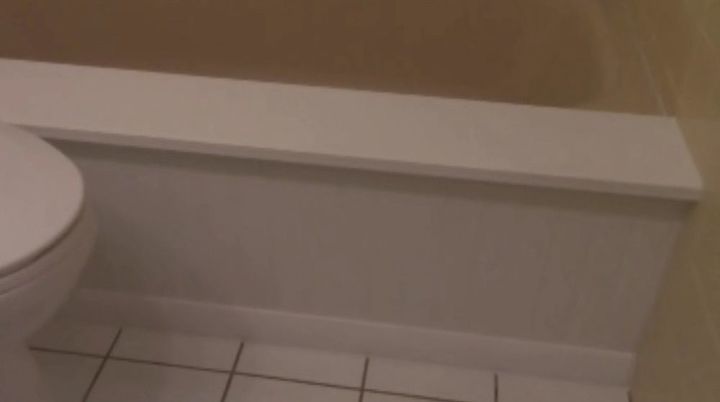
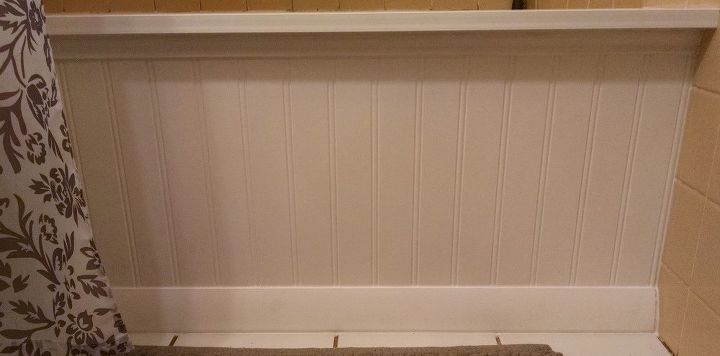
Once the caulk has dried according to its directions, you're ready to paint! Even though I was sticking with white, using paint covered my sanded wood filler and ensured everything was the exact same shade.
One afternoon is all it takes to create a custom, built in look for your tub front!
Resources for this project:
See all materials


Any price and availability information displayed on [relevant Amazon Site(s), as applicable] at the time of purchase will apply to the purchase of this product.
Hometalk may collect a small share of sales from the links on this page.More info


Frequently asked questions
Have a question about this project?