


How to Tie a Bow Like a Pro

by
Alicia W
2 Materials
$6
5 Minutes
Easy
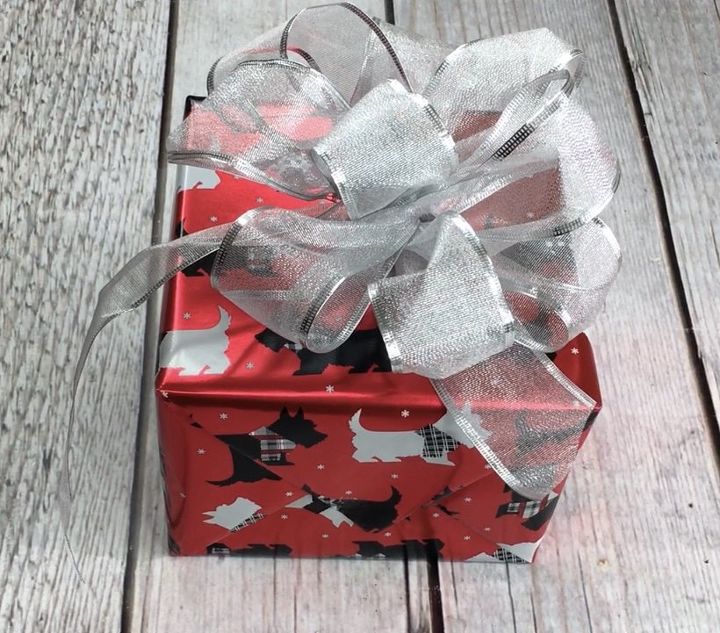
Do you love the way those beautiful full bows looks but don’t have any idea how to make them? Here you go.
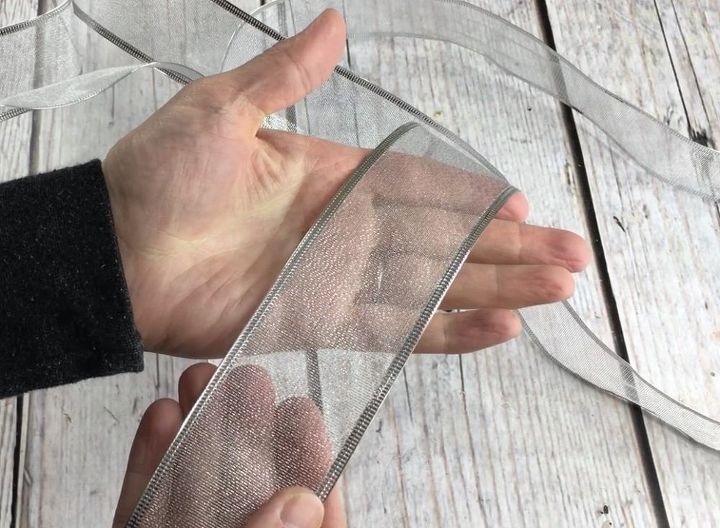
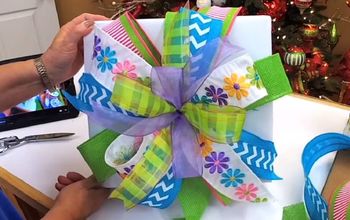
The first bow we’re going to make is made with ribbon that is two sided which means it’s the same on each side. It also has wire.
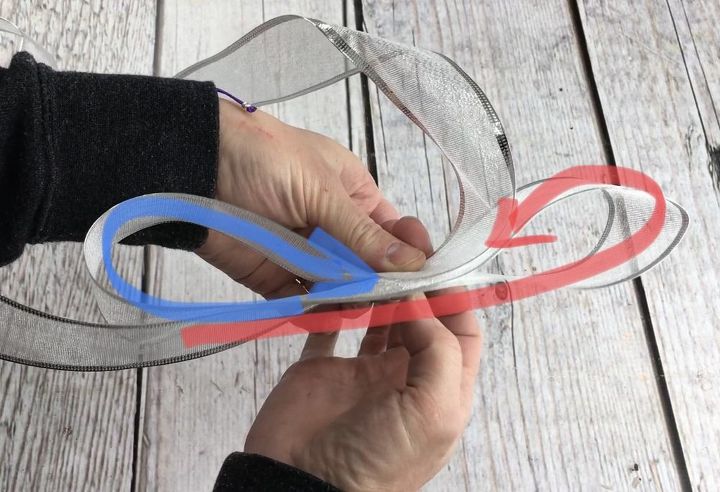
Step 1: Begin by making a loop (red) to the right then make another loop (blue) to the left. Make sure the loops are the same size.
Step 2: Continue to make loops on each side. My bow has 4 loops on each side. You can add as many loops as you like. The more loops, the fuller the bow.
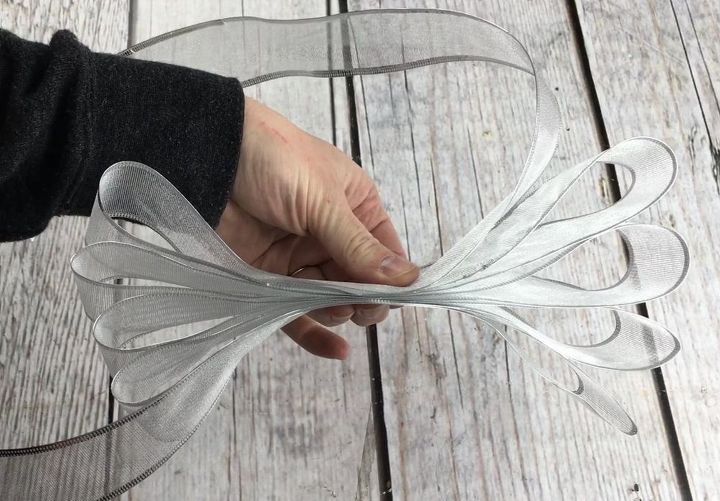
Step 3: Bend a pipe cleaner over the middle of the bow and twist.
Step 4: Make a smaller loop in the middle. Bring the pipe cleaner through the small loop and twist close.
Step 5: Pull the loops to form a full bow, munipulating them as you need to.
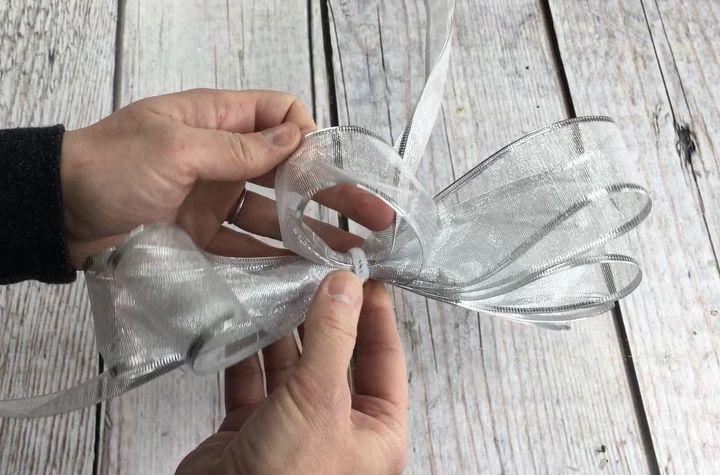
Step 6: Tape the the pipe cleaner ends to your gift.
The next bow we’ll make is one sided and has wire.
Step 1: Begin by holding your ribbon with the right side down.
Step 2: Make a loop to the right so the right side is up.
Step 3: Holding the middle with your thumb, twist the ribbon so the back is facing up.
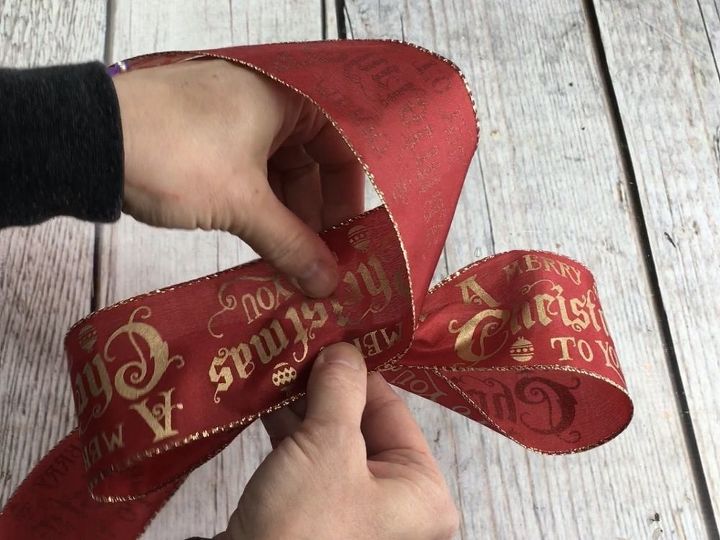
Step 4: Make a loop to the left so the right side is up.
Step 5: Run the ribbon to the middle and hold with your thumb.
Step 6: Continue to make loops, twisting the ribbon in the middle. Make as many loops as you like. I made four on each side.
Step 6: Continue to make loops, twisting the ribbon in the middle. Make as many loops as you like. I made four on each side.
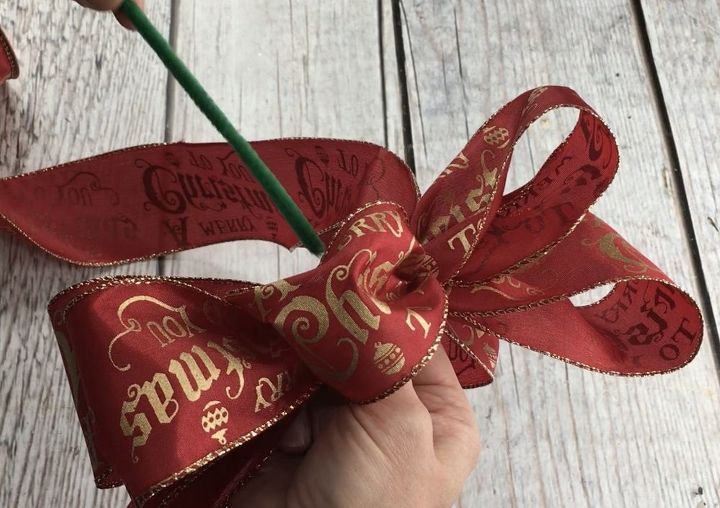
Step 7: With your thumb holding the middle, make a smaller loop in the middle.
Step 8: Thread a pipe cleaner through the middle and twist the pipe cleaner in the back of the bow.
Step 9: Fluff the bow.
Step 10: Tape the pipe cleaner ends to the package.
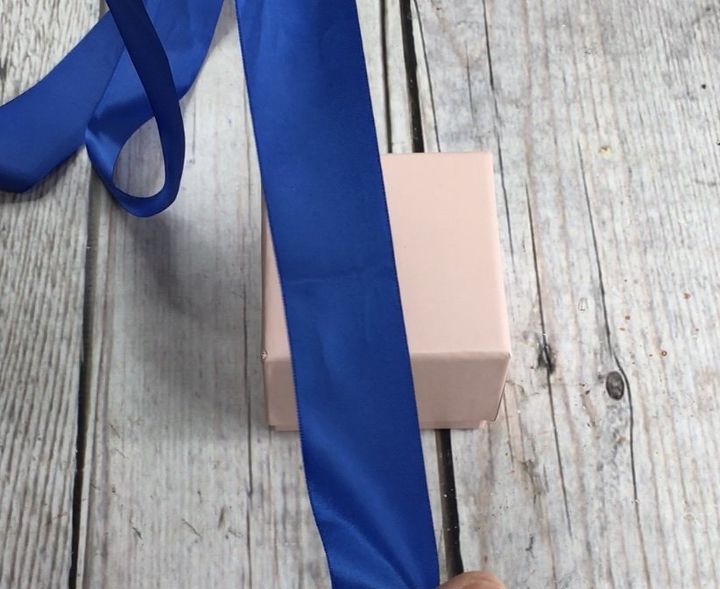
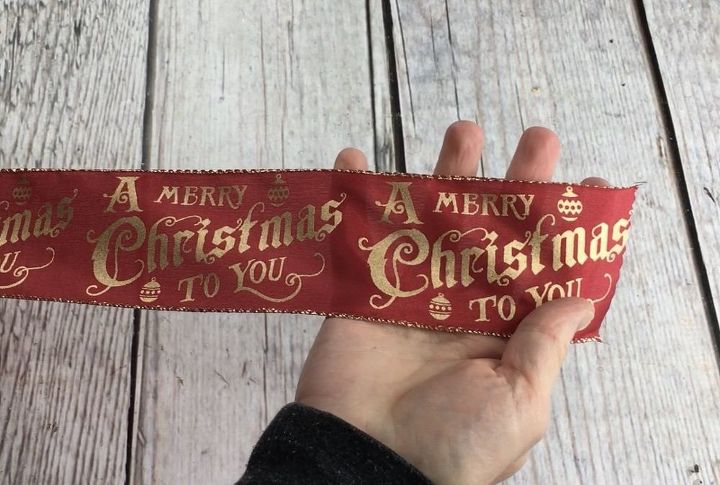
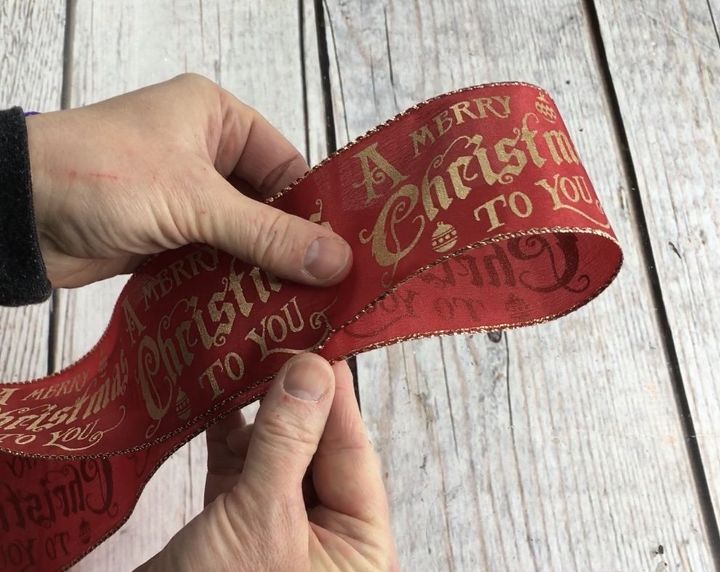
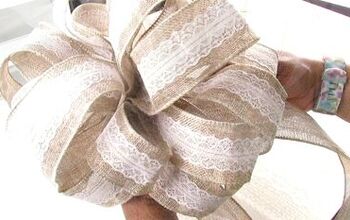
The third bow is made with one sided ribbon without wire.
Step 1: Wrap the ribbon around your gift with the right side up.
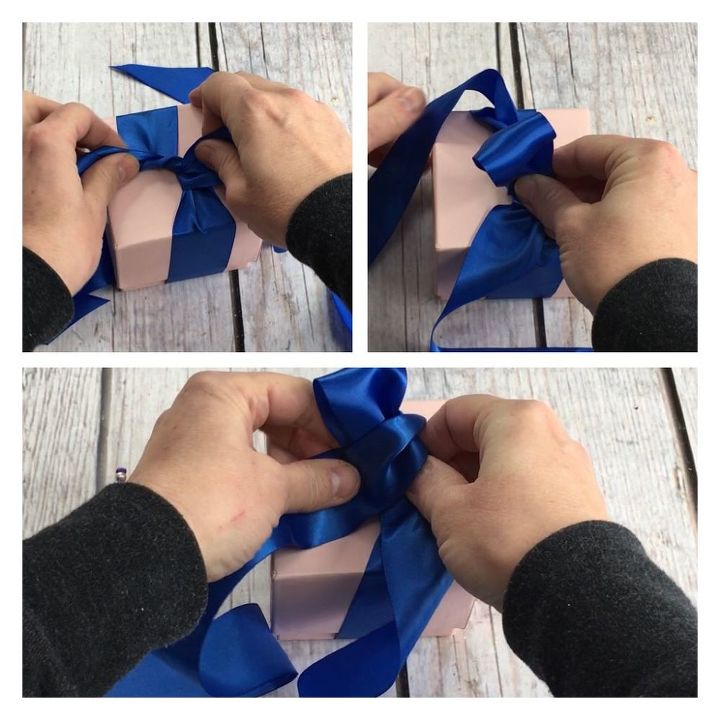
Step 2: Bring the top ribbon under and around the bottom ribbon.
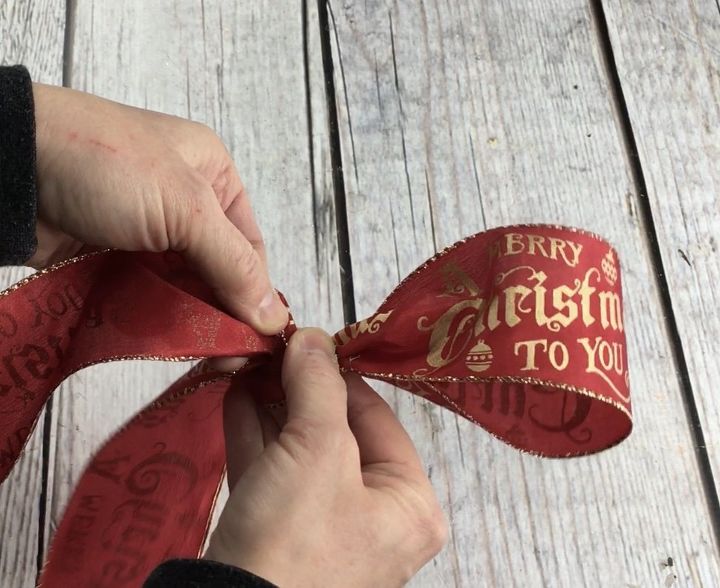
Step 3: Using the ribbon to the right, make a loop.
Step 4: Bring the ribbon on the left around the loop and pull through.
Step 5: Twist the ribbon so the right side is up.
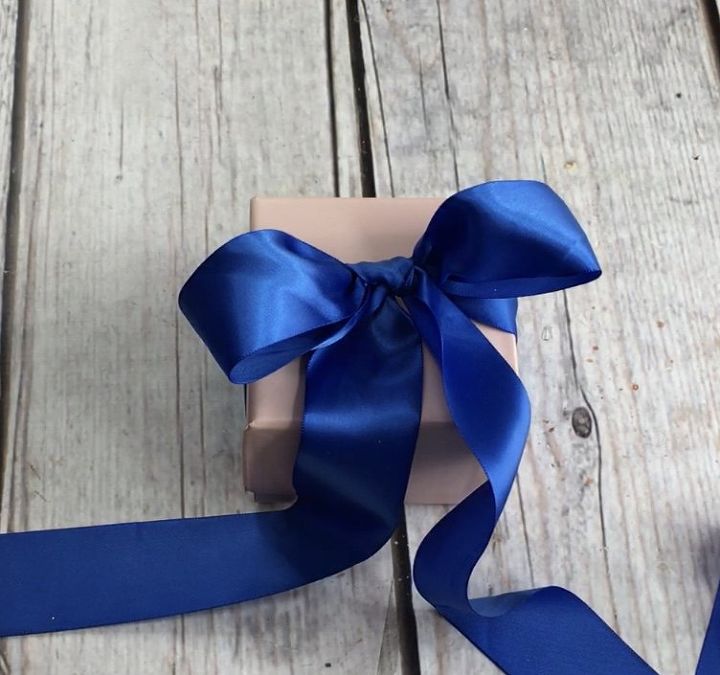
Step 6: Pull the ribbon so the loops are the same size.
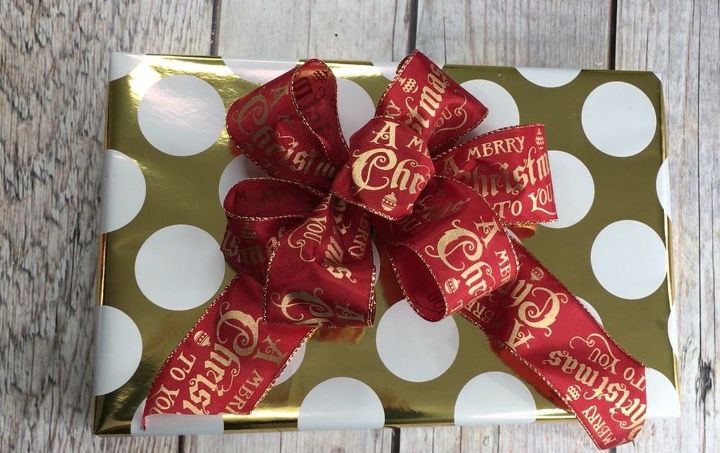
I hope these steps help you make the perfect ribbons for all of your gifts.
{
"id": "4515846",
"alt": "",
"title": "",
"video_library_id": "7425",
"thumbnail": "https://cdn-fastly.hometalk.com/media/2017/12/06/4515846/how-to-tie-a-bow-like-a-pro.jpg"
}
{
"width": 634,
"height": 357,
"showRelated": true,
"noautoplay": ""
}


Any price and availability information displayed on [relevant Amazon Site(s), as applicable] at the time of purchase will apply to the purchase of this product.
Hometalk may collect a small share of sales from the links on this page.More info
Comments
Join the conversation
2 of 19 comments
-
Yes..and yours look beautiful…thank you
-
For most professional looking results, choose ribbon that is heavier weight, and wired ribbon that is thicker and has stiffer sides. The loops will hold their shape more readily than thin cheapo ribbon that creases and sags.


Frequently asked questions
Have a question about this project?
How long a piece of ribbon do you start with?