


Quick Fireplace Mantle Easel

by
Jim Cox
4 Materials
$61
40 Minutes
Easy
A quick and affordable way to add some color and decor to my mantle.
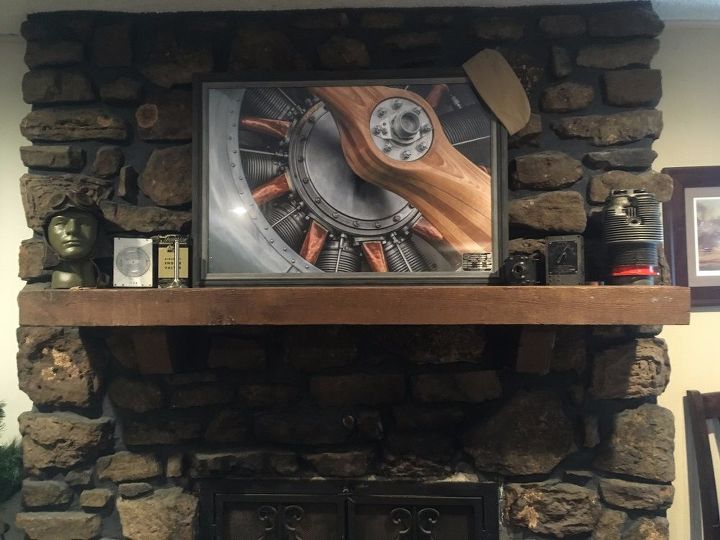
This my year-round fireplace mantle with an aviation theme and several antiques. I needed something brighter for the holidays
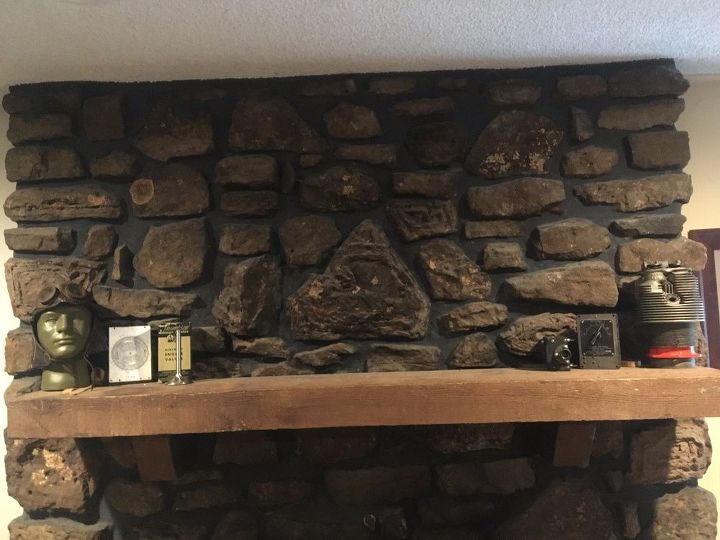
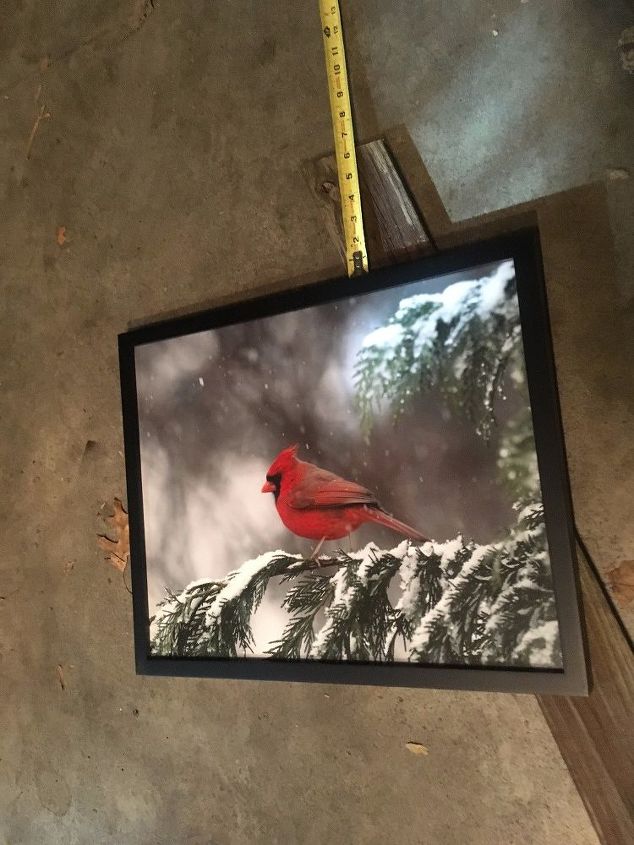
Here's the empty space. I really didn't want to spend the $$ for another 24x36" frame and print, so I hoped to use something smaller, but make it look like it filled the space. That's when I came up with the idea for an easel.
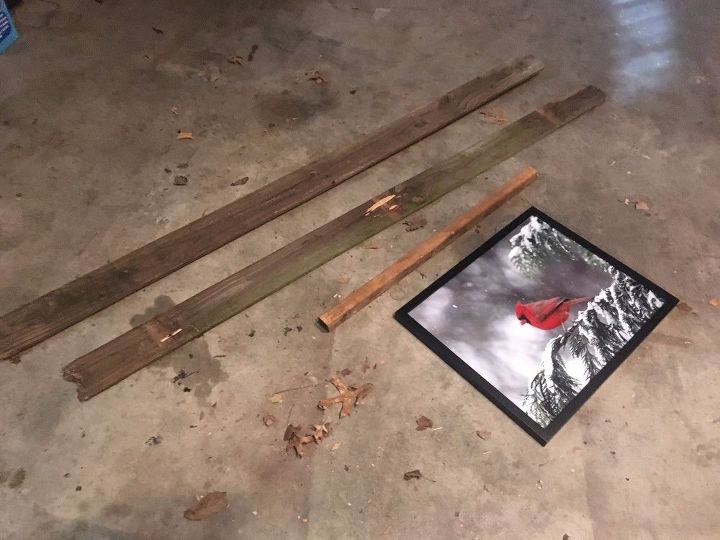
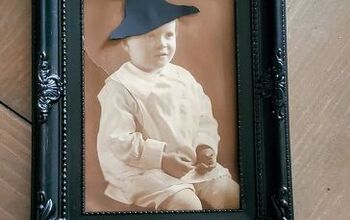
I printed this cardinal from google images to a 16x20" size from Walgreen's and added a frame from Michael's. Raw materials were two scraps of reclaimed fence cedar and a short scrap of 2x2 just in case. In one of my other posts I show you how to 'mist' the wood to a different color. I may yet add some green to this.
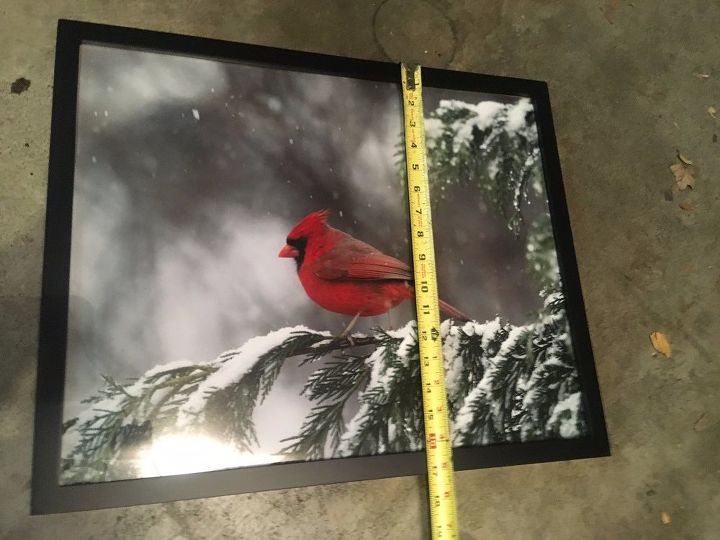
I decided the picture should be 2/3 of the space, so I measured it (approx 17") and decided to split the remaining 1/3 (12") of my goal size both top and bottom. I eventually ended up with 6" above the frame and 8" below.
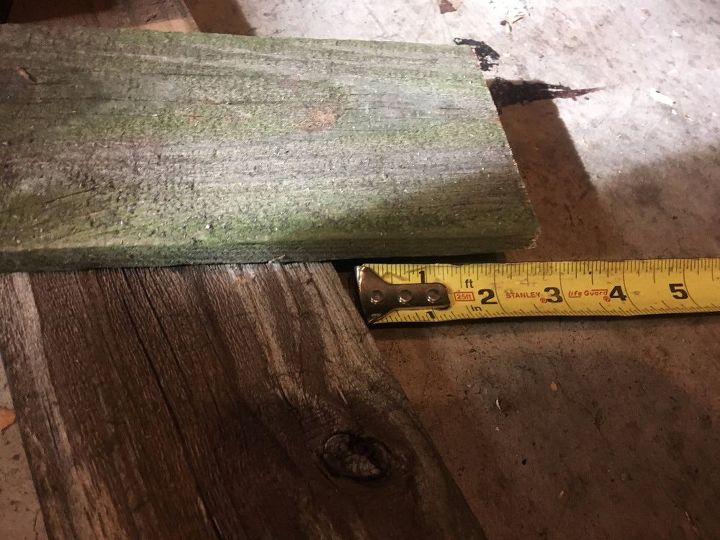
I cut one end of the reclaimed fence wood at a 20° angle and positioned it to extend 6" above the frame, roughly 12" / 2
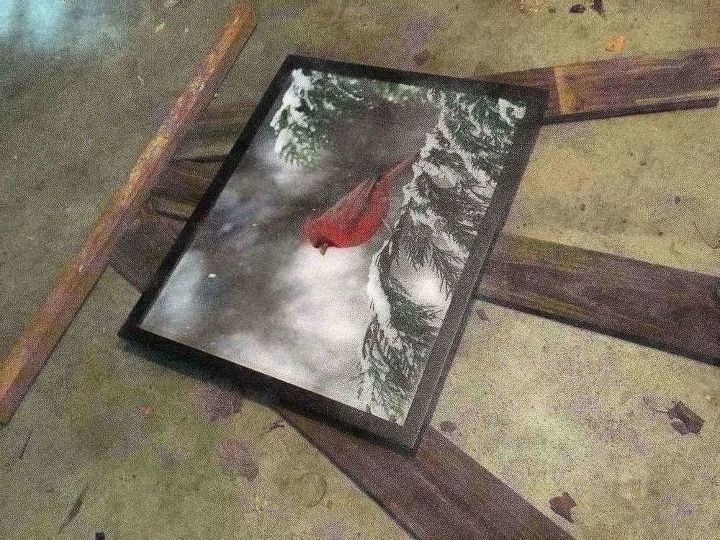
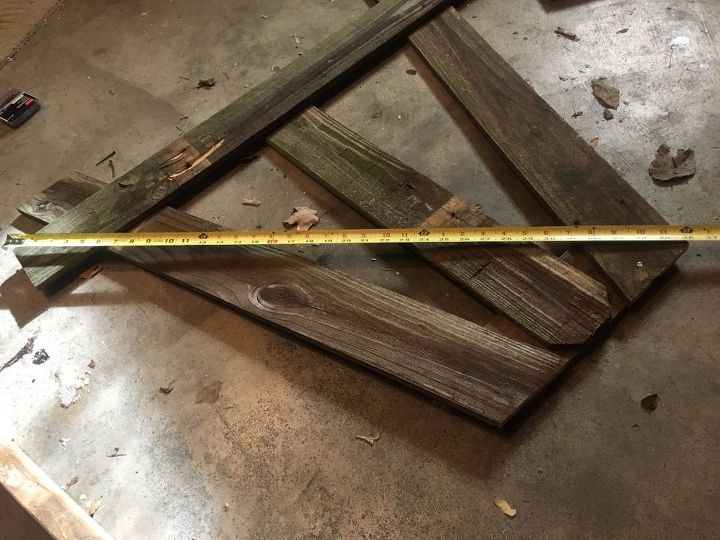
I cut the first board to length, and then cut a second board and flipped it over to mirror the first. I used the scrap 2x2 to line up the top and decided to add a center board for sturdiness. I cut the center board so it would not extend below the easel. It's easier to make two things the same length than three
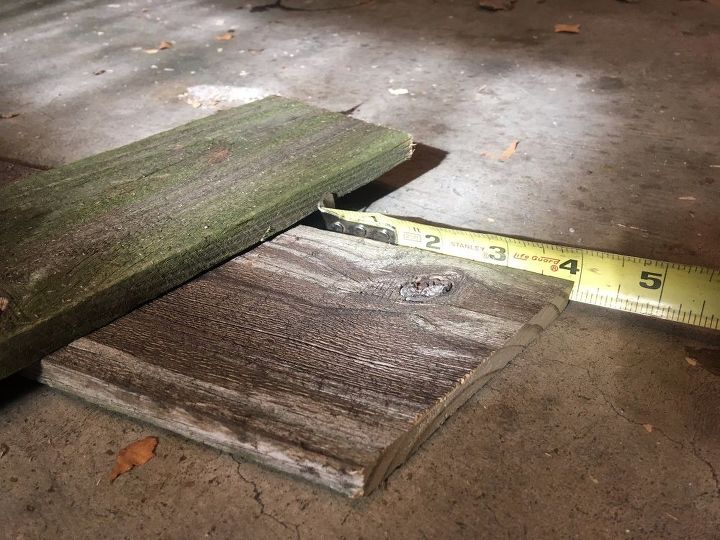
I placed another piece across the bottom of the easel (note center board is now hidden at the bottom) for the frame to rest on, eyeballed it, measured, and cut square.
I cut a piece of scrap to tie the top of all three pieces together. This will go on the back and be mostly hidden.
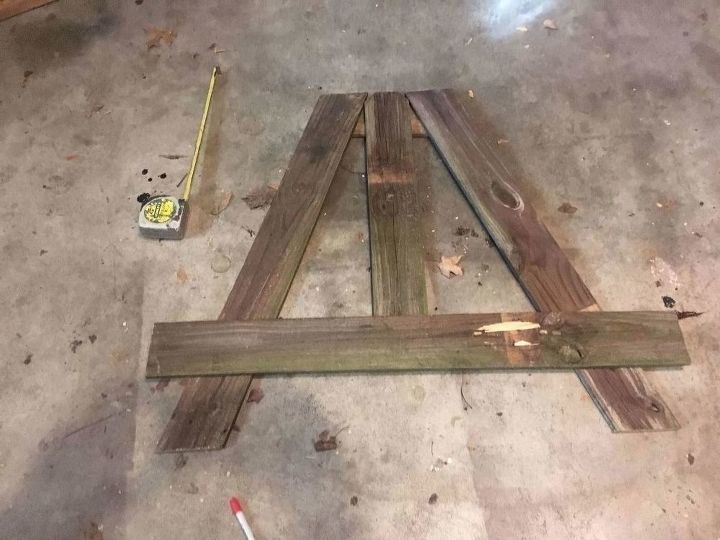
Here are the five pieces of wood test-fit together. No nails yet, I wanted to measure multiple times before I assembled it permanently to make sure it all lined up.
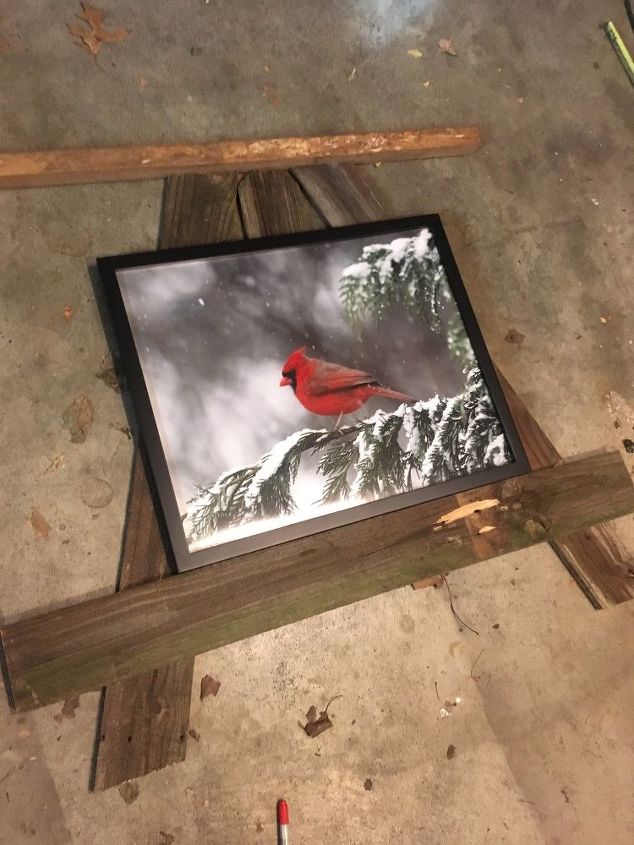
Measure below the rest on both sides and adjust
measure on either side of the rest and adjust
Viewed from the top
measure diagonally each direction to verify it's all square before nailing it together.
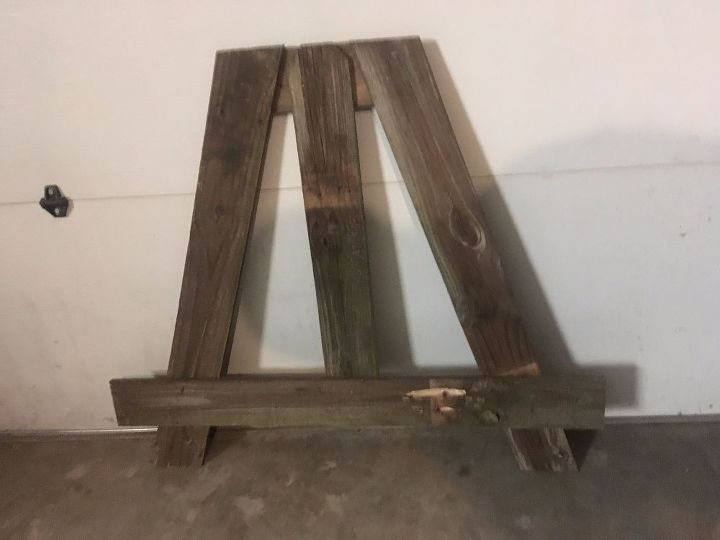
Here is the assembled easel. The only tools used were a hammer, tape measure, miter saw, and wire cutters (to cut off the nails that protruded thru to the back).

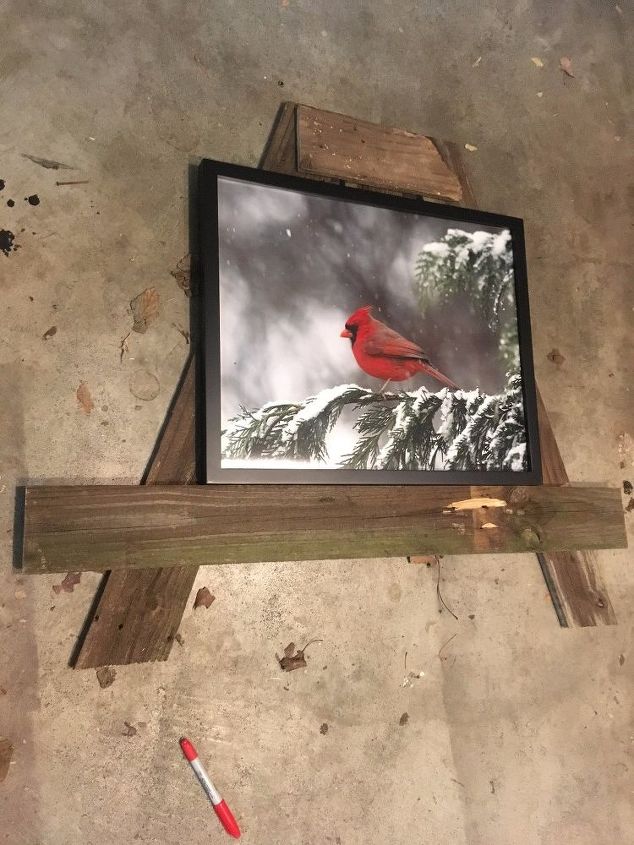
I test-fit the easel on the fireplace and decided it needed to come out away from the rocks etc a few inches. I used paper and styrofoam cups behind the easel until I got the angle I wanted, and measured the gap behind the top of the easel for this cut. Here's a short stub of 2x2 scrap to be screwed onto the back of the easel at the top with a cordless drill. I went thru only the short board on the back so the screw would not be too visible.
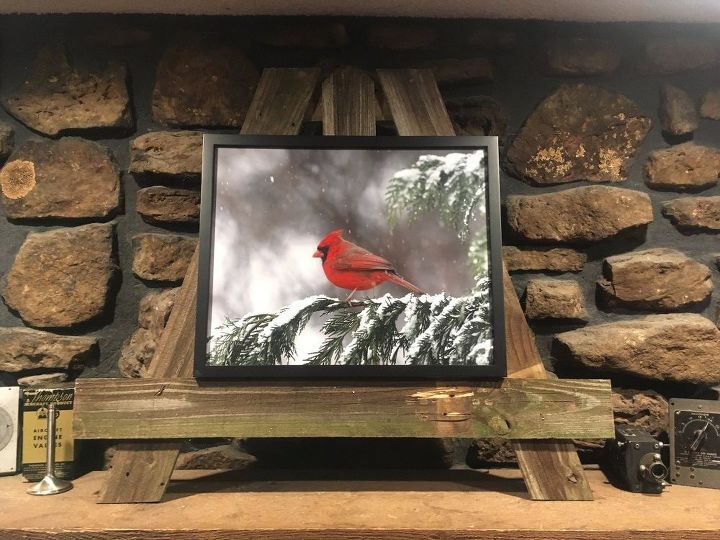
Here's the finished easel with photo and frame. This adds some red and green to the room for the holidays, fills the space, saves some $$ too compared to a larger print and frame. (quick FYI I got both the photo and frame half-off with email coupons so the actual cost could be less if you wait for special offers  ). Best holiday wishes to everyone!
). Best holiday wishes to everyone! Resources for this project:
See all materials


Any price and availability information displayed on [relevant Amazon Site(s), as applicable] at the time of purchase will apply to the purchase of this product.
Hometalk may collect a small share of sales from the links on this page.More info
Comments
Join the conversation
3 of 16 comments
-
Awesome, love it..
-
If you are talking about Oshkosh then you have lots to choose from. I went one time and it was amazing! Maybe pale clear blue skies with a yellow or green plane? How about a red, white and blue for July? But always use the Red cardinal for Christmas. It's beautiful and my favorite and it flies too.


Frequently asked questions
Have a question about this project?