


Creating Rusty Missouri (or Any State) Art With Paint and Cinnamon

8 Materials
$15
2 Days
Medium
I might just become an artist after all. You know…kind of like Grandma Moses who started painting in earnest at the age of 78. The month I go on Medicare I find out I can actually come up with a piece of art on my own….visualizing something in my head and having it actually become a piece of art before my eyes. What a rush! But, before I quit my day job (retirement)….ok and teaching online part time and painting and selling furniture and pieces of art I create, I confess I was inspired by a technique I learned from an excellent tutorial I saw in one of my Facebook painting groups. But, hey! Let me have my moment. I usually have to see something someone else does and be inspired by it and then create what I’ve seen done. Yes, I am usually a follower. Today, I “moved to the front of the line”, if only for a moment, and it felt great! Now that you know I am this famous artist, I’m going to show you how I learned this awesome technique of creating rust with paint and cinnamon. Yes, cinnamon! It is really pretty amazing and so much fun to do.
Dollar Store Picture Frame
First things first, though. I watched an awesome, awesome, video tutorial on how to create rust by Fiona Debell. This lady is very talented and I love that she shares her talent. Otherwise, I would have never known I could be an artist, even if it is for just one project. For more details on viewing this video (linked with permission), and a link to another artist's FB page, Catalyst Creations by Carla Abbie Shaw who uses this technique on clocks, please see my blog post by clicking on the link at the bottom of this tutorial. So how did I become an artist? It was an accident. After watching Fiona's video and being inspired by Carla Abbie Shaw, I thought I would practice this technique. I created this Rusty Missouri piece of art from a Dollar Store Picture frame. Read on for step by step directions.
Supplies needed
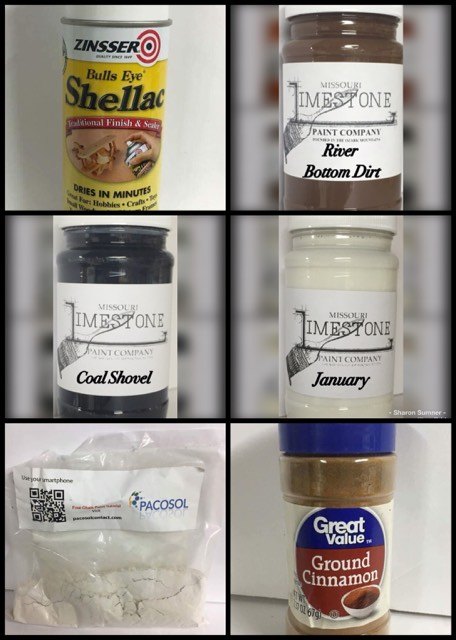
Supplies: In addition to the picture frame, I used these supplies, along with some clear and dark wax. I also created a stencil on my Silhouette machine from a site offering free images. A piece of sandpaper was used to distress the map just a bit. The brand of chalk-style paint, wax, and cinnamon isn't important. Any brands should work.*Square Picture frame (Wall Art) from Dollar Tree - Size 10" x 10"*Chalk-style paint - I sell a brand of chalk paint so naturally I used my brand which is Missouri Limestone Paint Company I used "Coal Shovel" (black), "River Bottom Dirt" (brown) and "January" (white). Any brand should work.*The magic ingredient to get good texture - I used a powdered limestone I bought on Amazon. See photo below.*Cinnamon - yes, the kind you use in your food. The plus side of this is your project starts smelling really nice. You might get hungry at this point.*Stencil of Missouri - I found a free Silhouette cut file online. I resized it to about 6.5 W and 7.75 H. Here's the link to the state file. They have one for every state. I used a stencil sponge dobber for stenciling.*Furniture Wax - clear and dark*220 Sandpaper for very, very light sanding on the map
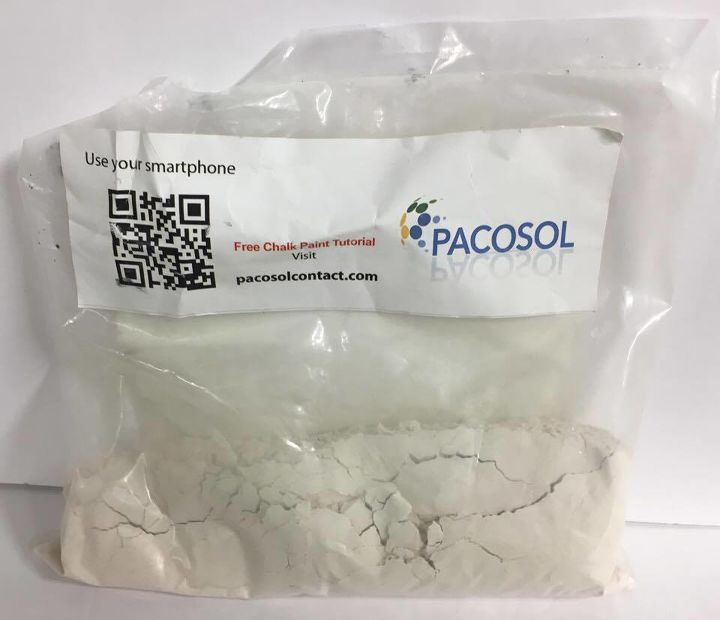
Calcium Carbonate (Powdered Limestone)
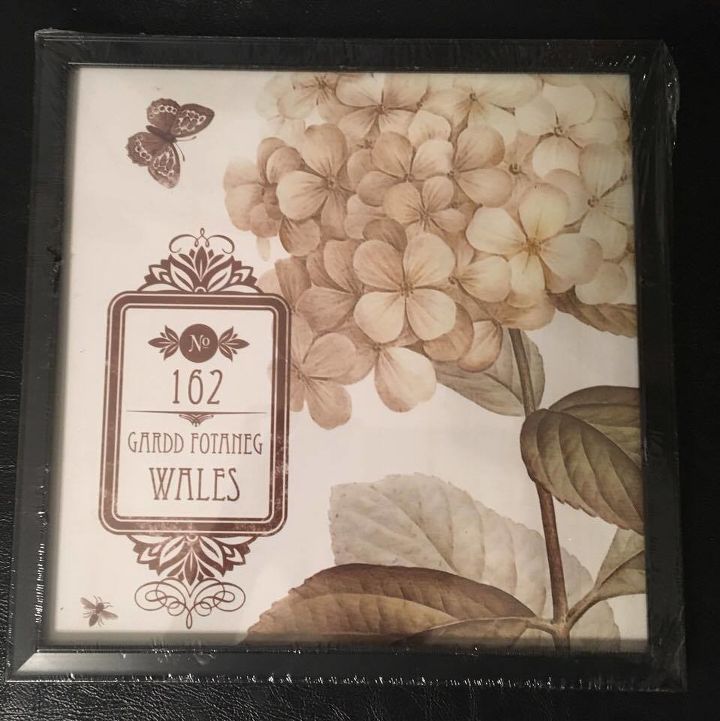
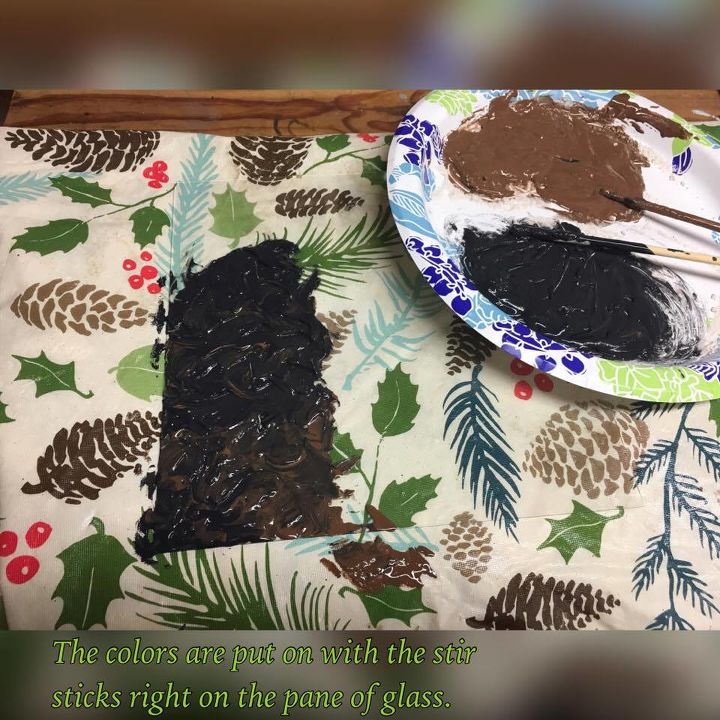
Introduction to Project:I was in Dollar Tree and I saw these neat square pictures labeled Wall Art on the back and all encased in plastic. I thought the art must be a thin piece of wood or heavy cardboard so thought that would be good for practice, so I bought one. When I got home and removed the plastic, I saw it was actually a picture frame and the wall art was a piece of paper. Hmmm...I wondered if it would be possible to use this technique on glass? Now, I know that glass is a pretty slick surface for paint, but Fiona did show that once dry, the paint she used was hard as a rock and didn't scratch off, but still, I wasn't sure about glass. Since I was experimenting, I decided to give the glass a little grip and sprayed it with Zinsser spray shellac. I honestly don't know if the shellac made a difference or not, but the paint I used became as hard as a rock on the glass and doesn't scratch off, so I'm not taking any chances and will use Zinsser on future pieces. Process:Step 1: Mix the powdered limestone with the black and brown paint until you get it so thick you can put it on the glass pane with the stir sticks. Add the white paint to another paper plate and add the powdered limestone to it, mixing well. Set the white paint aside.
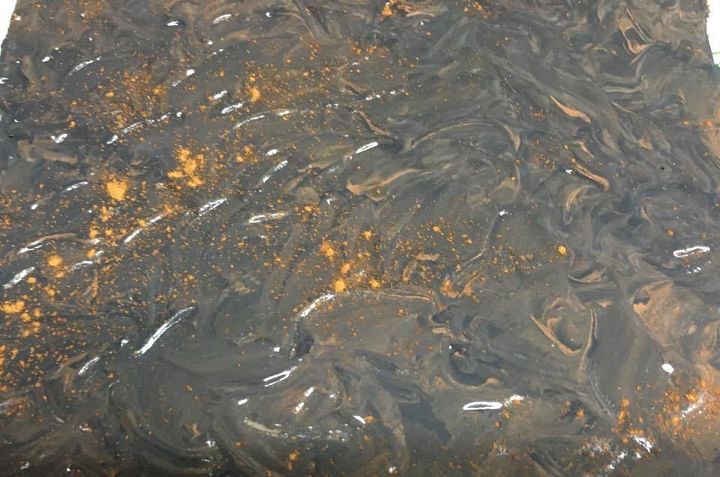
Add the black/brown textured paint to glass
I know it is hard to see but the pane of glass in the photo is lying on the tablecloth with some of the paint on it. Step 2: Add a little black and then a little brown and blend them together. You'll still want some of the brown showing but you don't want to see two distinct colors, you want them to blend. Continue adding the black and brown paint. Dab around until you like the look you get. Save any leftovers of this and some of the white to dry brush the frame later.

It's time to add the cinnamon!
Step 3: You are now going to sprinkle a little cinnamon over your wet textured black and brown blended paint, probably a little more on the edges, where you would normally see more rust. Kind of stand the pane of glass up and tap the back so any loose cinnamon will fall off. Don't disturb the rest of the paint.
The cinnamon will look like rusty areas
Step 4: Let dry. The drying process will take awhile as your paint is so thick. I let mine dry overnight. Just like with Fiona's brand of paint and texture medium in the video I watched, mine was as hard as a rock when dry.
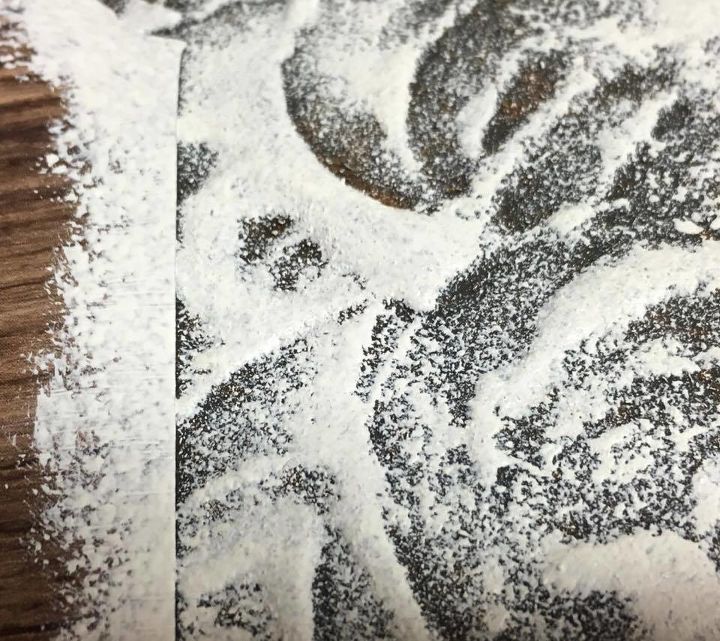
Step 5: You are now ready for the stencil. I centered my stencil and made sure the edges were down really well. It is hard to do with such texture, but I was very careful when stenciling. (What little bleeding I got, I touched up later with a small artist brush and some of the black/brown mixture.) Then I put paint on a stencil sponge dobber and really offloaded most of the paint (by dabbing on a paper towel) before starting to stencil. I was very careful on the edges using the stencil sponge dobber. I had to go back with a regular small paint brush to get in some of the nooks and crannies in the center area of my textured map.
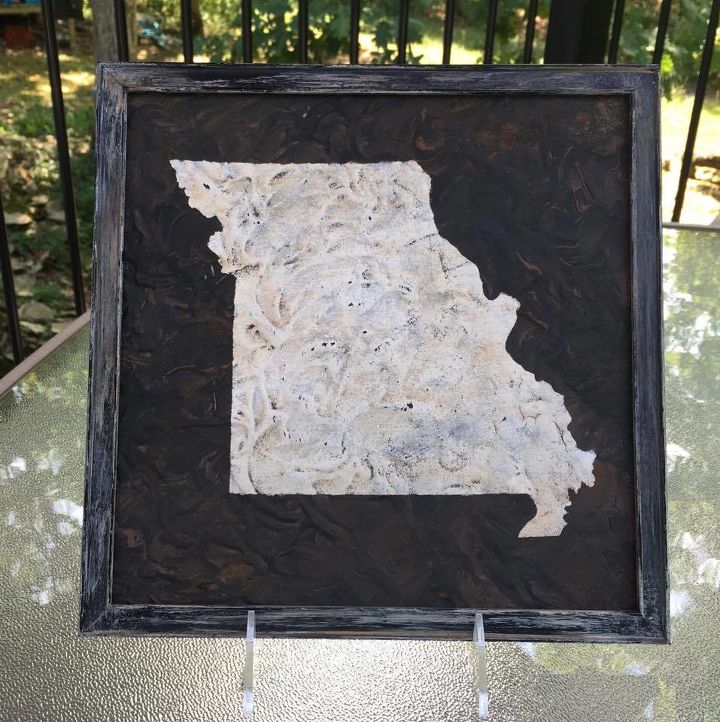
Final Steps:Step 6: I also dry brushed the picture frame with the white and left over black and brown texture material until I got the look I wanted.Step 7: I used a little 220 sandpaper and lightly distressed the map a bit...Very light.Step 8: I used clear wax over the whole thing, and then the dark wax. The dark wax is what gives the map that rustic look. It really is hard to remember this beautiful piece of art started out as a pane of glass in a picture frame. My experiment became my first piece of art I created. If you make one, please go to my blog (see link below) and add a photo of your project to the Comments. I'd love to see how yours turn out. Thanks!


Frequently asked questions
Have a question about this project?